as promised, i'm back with a quick tutorial on how to make the lindsey adelman chandelier.
i thought that her instructions were easy to follow and mostly clear, so start there if you want step-by-step instructions. we had a few issues, which i will explain below. i feel like i should note that prior to this project, mike and i had done some electrical work in our house (both installing new fixtures and running all new wiring), so we were already comfortable with basic wiring skills. we had also made a light fixture for our dining room, which made me a little more confident going in to this project.

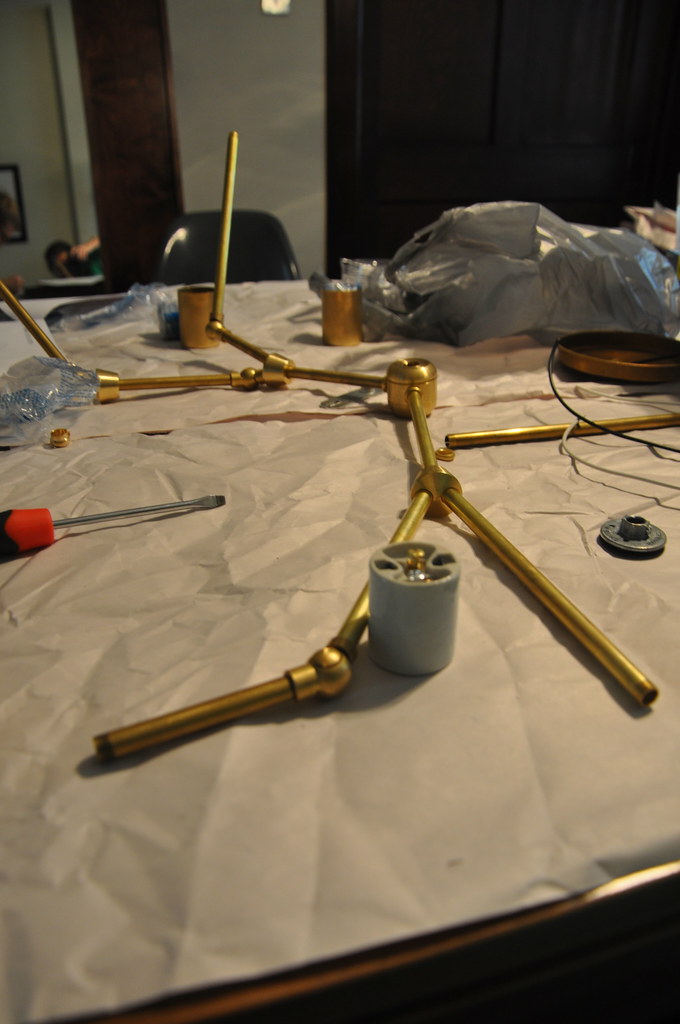
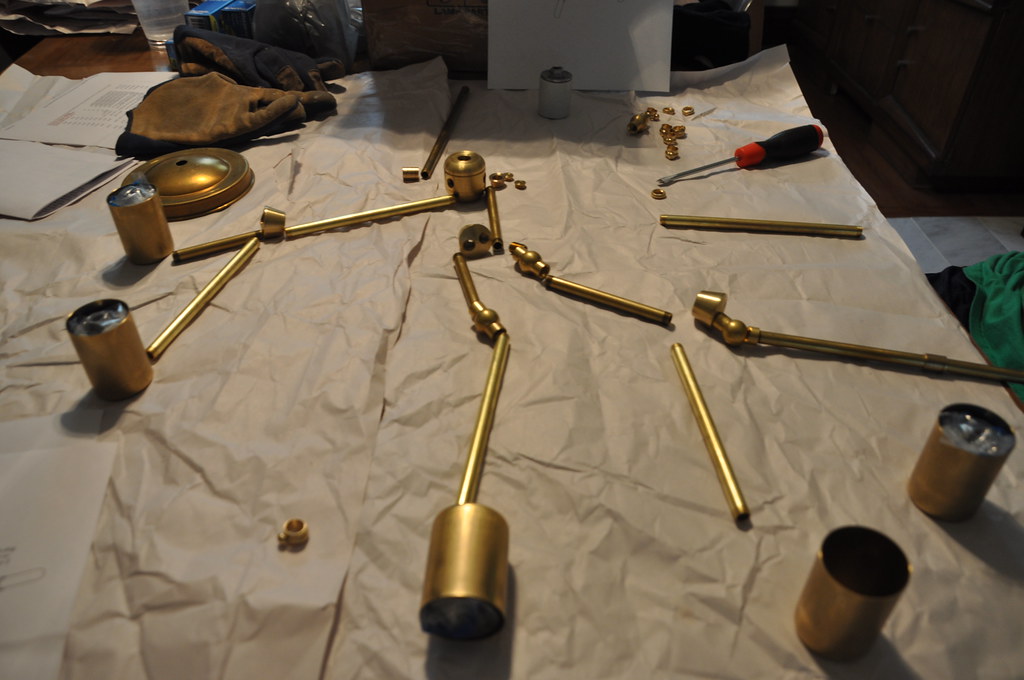
the first thing i did was review the instructions, including the materials list. we wanted to hardwire the fixture (her instructions are for a plug-in fixture), so we needed to order a few different parts. i also wanted to use 5 bulbs instead of 6. we ordered everything from grandbrass, except for the wires which we bought from lowes. unpacking the box and seeing all of these pieces was a little concerning... hard to believe that this was going to make a light!
next we did a quick layout of the pieces. her instructions include a nice diagram, but didn't specify lengths for each individual brass tube, so we came up with something that we thought would work for us.
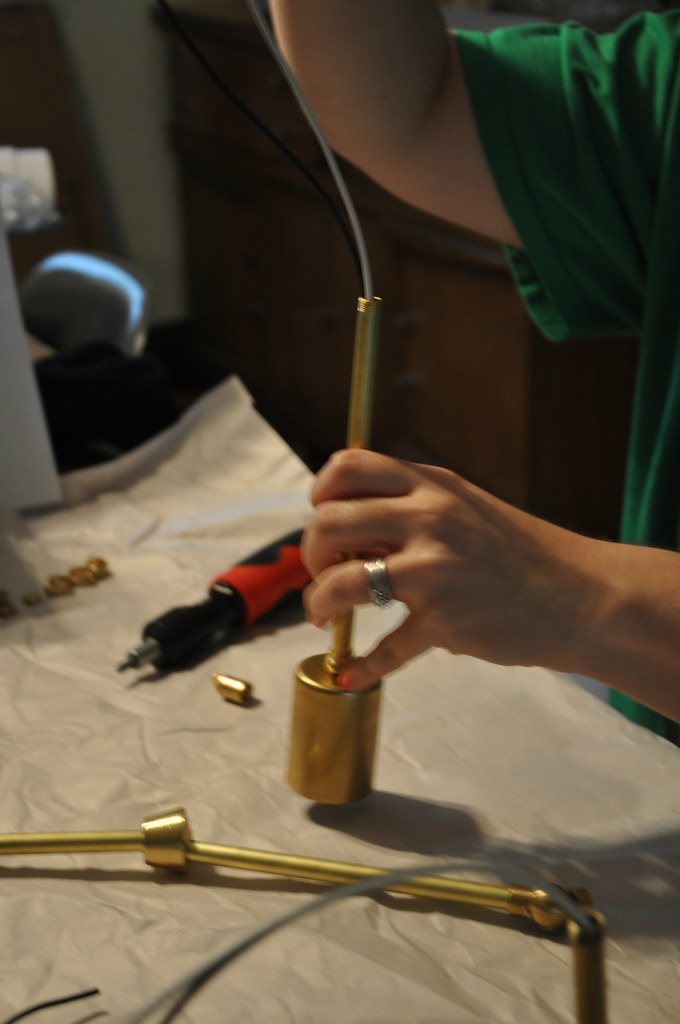
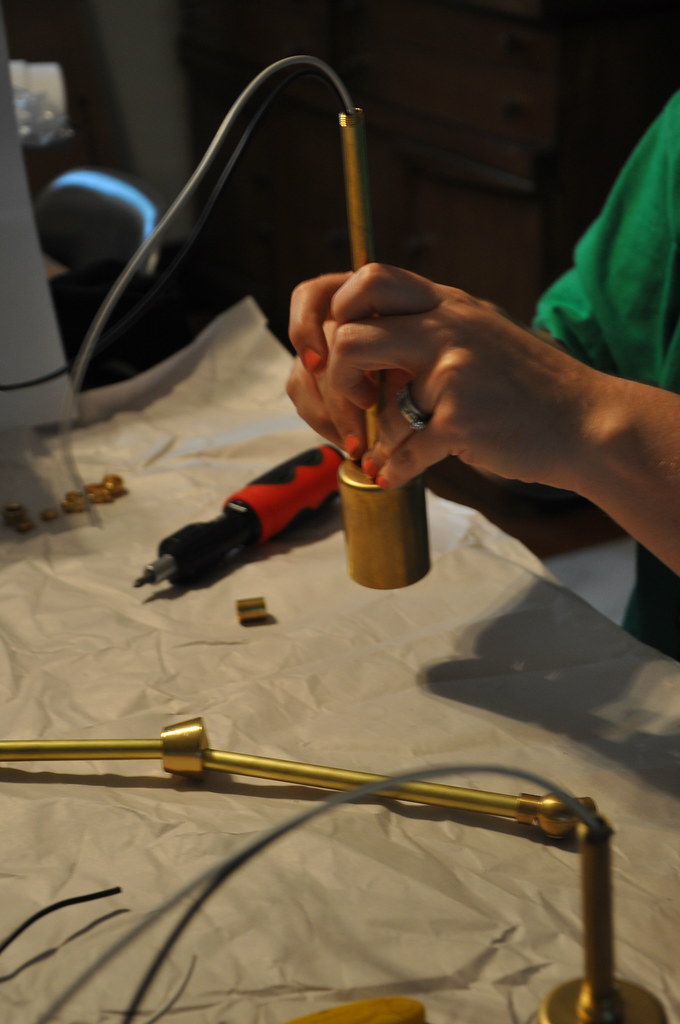
then, we started wiring! we found that it was easiest to start at the socket and work our way in towards the center of the fixture. each arm has its own set of wires. we cut a good length of wire to make sure we had enough.

once you got the process down, it was actually kind of fun to build.
at some point, we realized that the gauge of wire that we bought was too thick, it wouldn't fit through the tubes and fittings once we had several wires that needed to run together. so we had to take it all apart and start over with new wires.
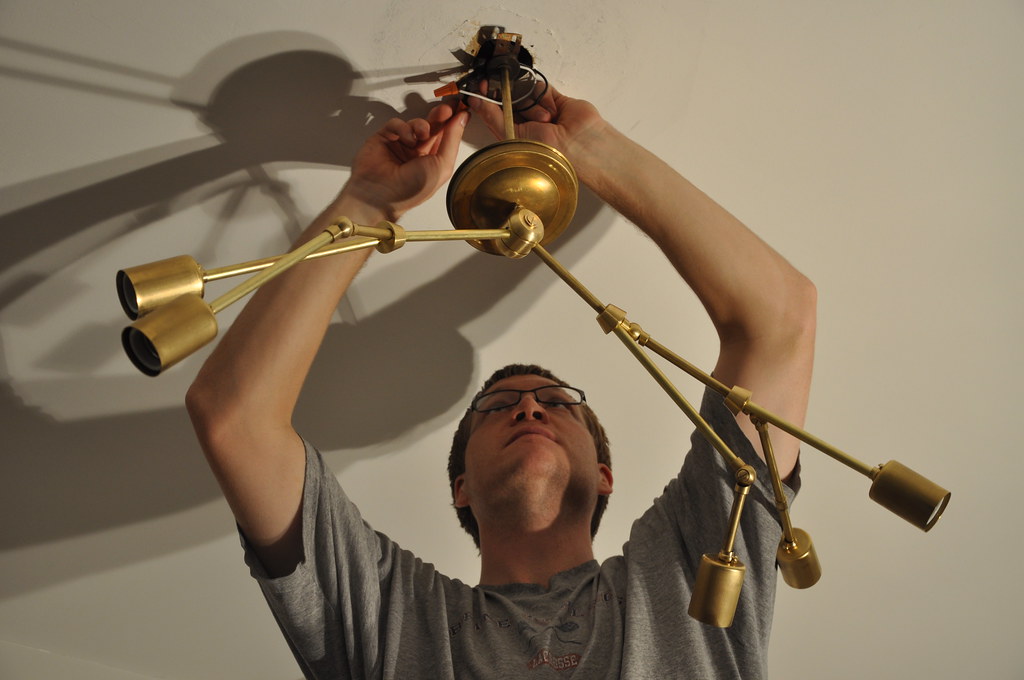
once it was all together, we tried to install it in the kitchen. we already had a mounting plate in the ceiling which conveniently had a hole in it that we could thread the top tube in to. this made things a lot easier. otherwise we would have had to install a new mounting plate first. you connect all of the wires from each "arm" in that center piece, so you are only connecting one set of wires up at the ceiling.
the first time we did this we had a short when we flipped the power back on and tried to turn on the switch. we had to take it down, and after much investigation (including borrowing a special meter from the electrical engineer i work with), we figured out that one of the wires had gotten twisted in the assembly process, so the coating had come off and the copper was touch the brass arm. once we fixed this problem, the fixture worked!
then we decided that the clear tubular 40 watt bulbs that we bought were not bright enough. and that the clear bulb had a lot of glare, so we tried out a few standard 60 watt to see if that was better.
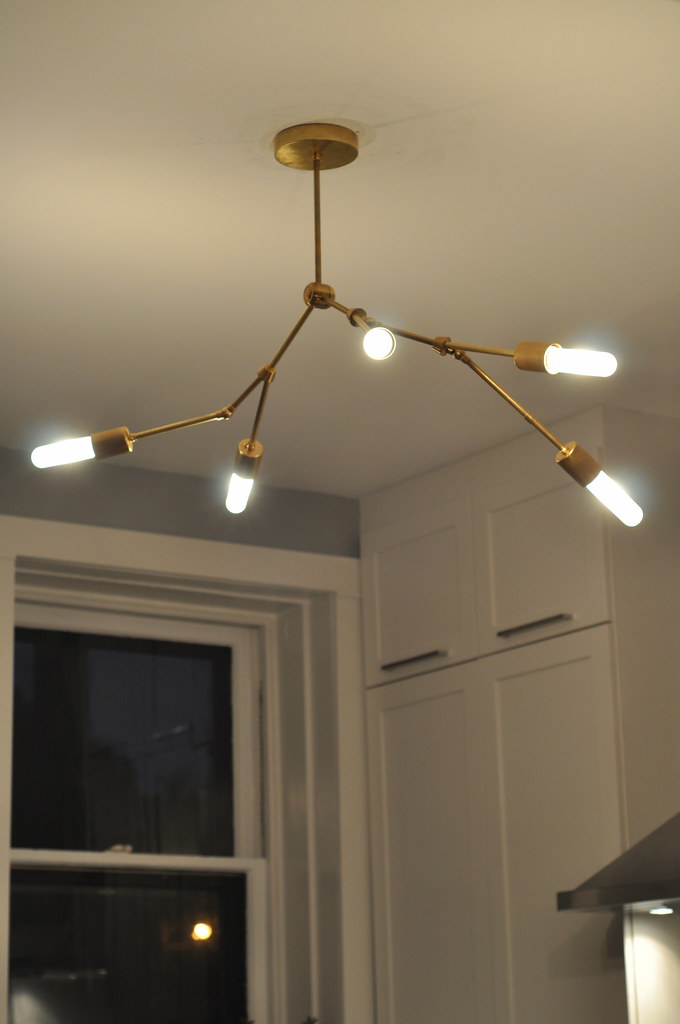
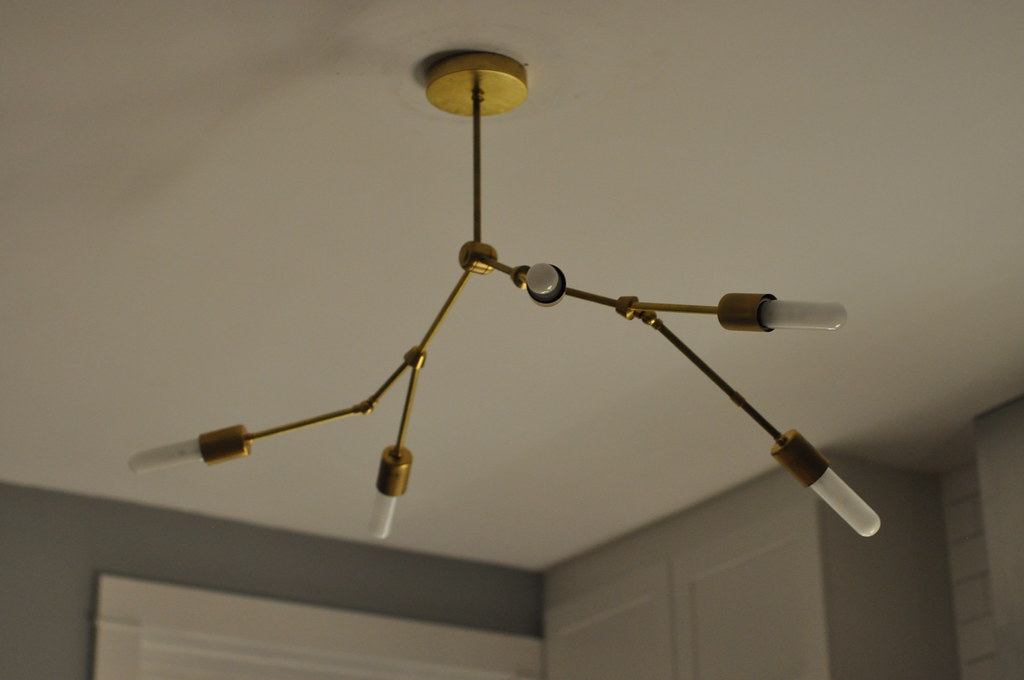
we ended up buying tubular frosted 60 watt bulbs instead, and this works a lot better in our kitchen. the light level is really nice, which is important in a kitchen!
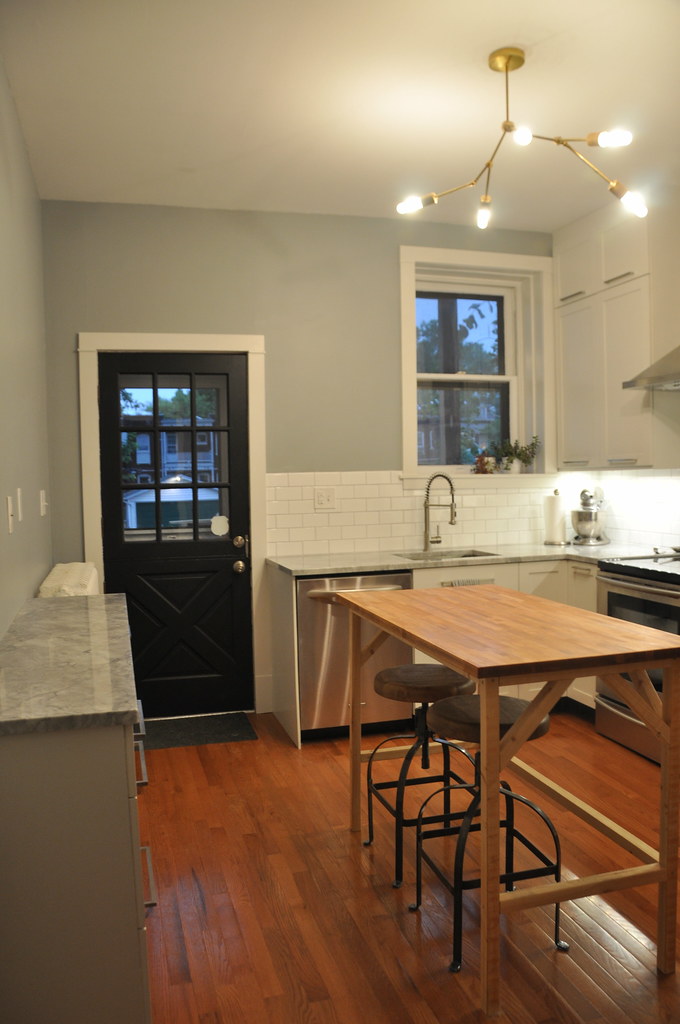
it even looks cool when it's not on. and yes, i did switch out the ceiling canopy for something more simple. i ordered the wrong canopy the first time, so when we ordered the new bulbs i got the more simple canopy (which is actually a lamp base part, which is why i didn't see it the first time).
what do you think? i love how it adds something a little unexpected to our kitchen.
if you have any other questions about the fixture, let me know!