Archive for February 2012

the writing on the wall

one thing that i love about the previous owners is that they were not afraid to leave their mark on this house. every time we've had to open a wall, or move something around, i've found some kind of token from them. sometime it's something that they left on purpose (like notes left inside of walls), and other times it's random pieces of paper stuck behind drawers or between cracks in the counter. when we did some work in the upstairs bathroom i found the box top from laundry soap for a wringer washer. i've found newspapers from 30 years ago. just last week i found i recipe for a jello mold, complete with bits of celery and crushed pinapple.

when we started removing the drywall in the kitchen, right away we noticed that there were some thing written on the wall. the more drywall that we removed, the more words we found.

DSC_0311

here it said "howdy" across the bottom, and the word "sunshine" in a box at the top.

DSC_0314

off to the right we found this clue as to who wrote these things. this is a stick figure with the name eric. someone added the note "witty" at the bottom. are people even described as being "witty" anymore?? one of the sons of the family that lived in the house before was named eric. i sent this picture to our neighbor who still sees the family, she promised to share the picture with eric next time she saw him.

DSC_0315

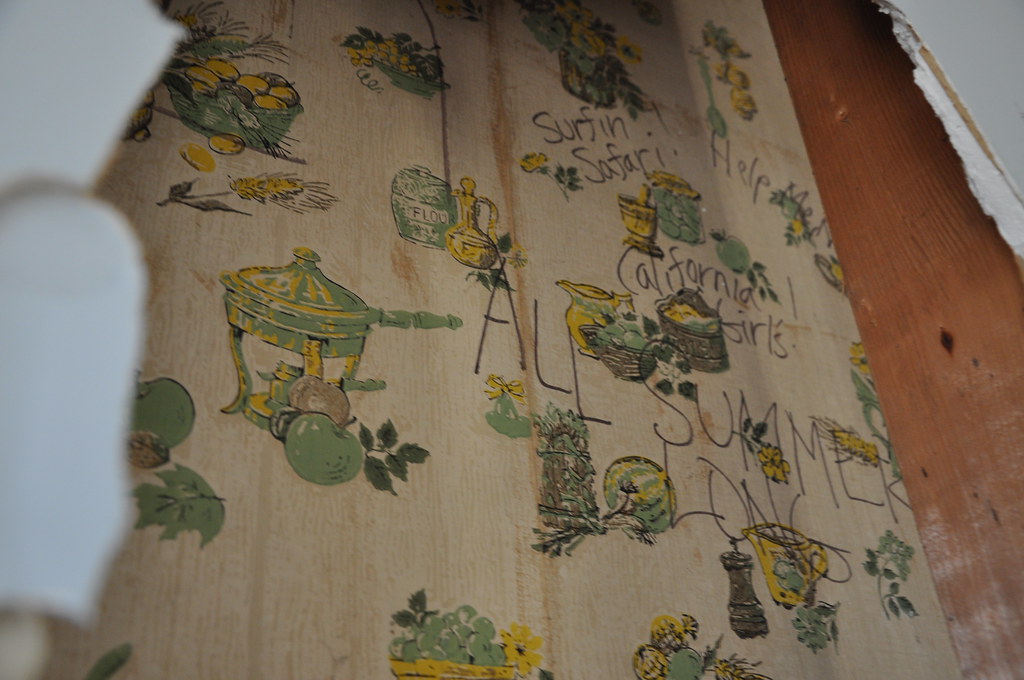
on the other side of the wall we discovered song titles. here we have "help me rhonda", "surfin safari", and "california girls".

DSC_0316

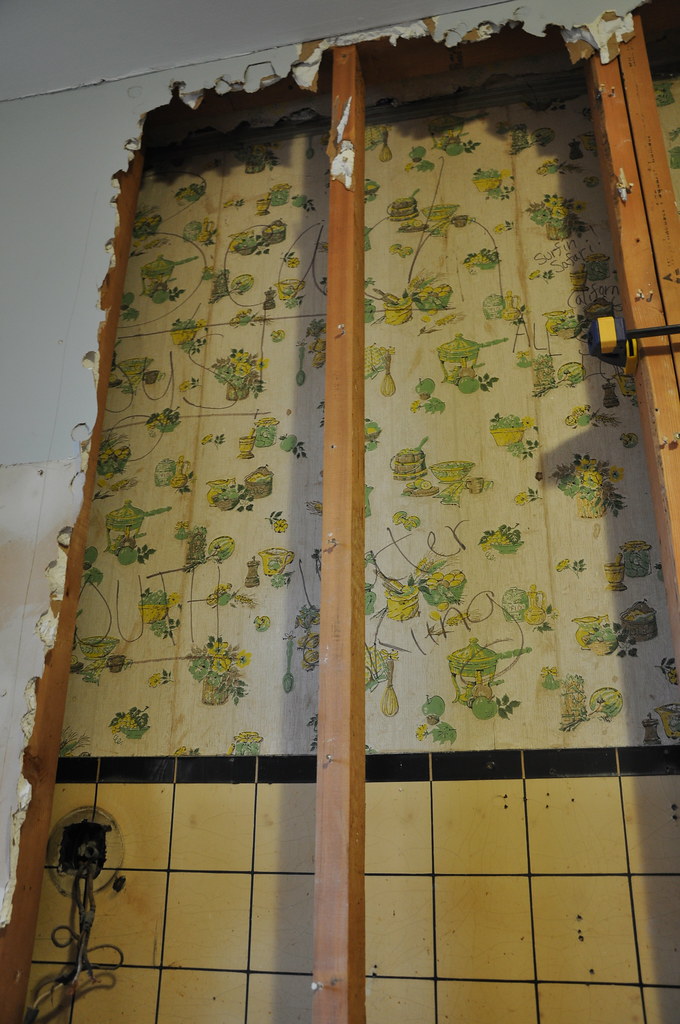
and if there was any uncertainty on who sang these songs, we uncovered have this giant "beach boys" next to it. it also says water skiing below that. pay no attention to that electrical mess at the bottom of the picture, we took care of that too....

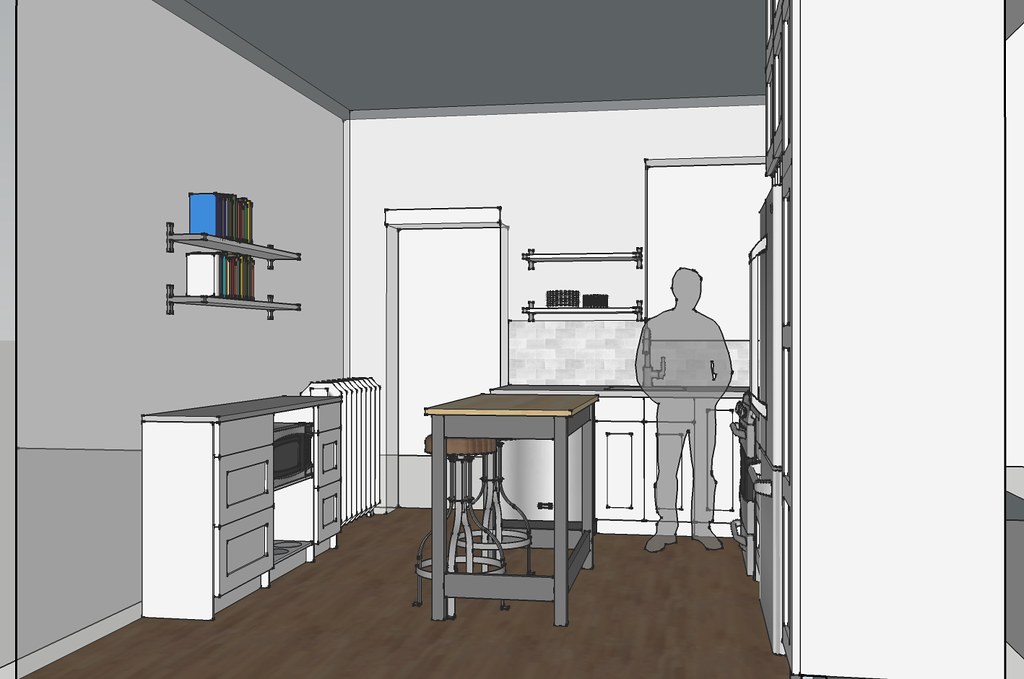
it's fun to find these things when we work on the house. i can just imagine the previous family working on their kitchen some summer (1965?), with the beach boys playing on the radio, or maybe while listening to a record. mike and i talked about doing something similar on the new wall before installed the cabinets, but we just couldn't image any of the music that we listen to now still being recongnizable in 50 years :-)

1 Comment

not a good hiding place

we've been assembling the ikea cabinets a few at a time in our living room. this has been working out well because we haven't gotten overwhelmed with the assembly process, and we've been able to have the cabinets all ready to go when we're ready to install each specific one. the downside of ikea cabinet assembly is that you will end up with giant piles of cardboard and plastic.

DSC_0328

the other night we were putting together a particularly complicated cabinet (tall pantry cabinet, it came in 9 various boxes), so our pile of trash just kept growing. once the pile grew to be too tall for me to step over, i decided to just step on the box pile. i was just about to put my foot down when i noticed a fuzzy tail sticking out from beneath the box pile.

DSC_0329

not a good hiding place trevi...

1 Comment

here we go....

2.5.12: started removing items from kitchen.
DSC_0306

2.11.12: demo of cabinets begins, discover that we need to remove drywall.
DSC_0310

DSC_0317

2.12.12: start to work on framing and electrical.
DSC_0318

DSC_0321

2.18.12: new drywall
DSC_0322

2.19.12: install track for cabinets and start installing upper cabinets.
DSC_0327

we need less work days and more weekends...

6 Comments

ikea, the wall, and dogs

so we did it! a few weekends ago we rented a uhaul trailer, got up at 5am, and drove to chicago to pick up our cabinets.

we had our 4!! carts of boxes ready to be picked up by mid-afternoon. it took us some time to load up the trailer, but we were back home by 9pm. it was a long day, but i was glad we were able to get it all done in one day.

next, we removed the existing upper cabinets. and discovered that the existing wall had a lot of deflection in it. great... we were not planning on removing the drywall on this wall, but i did not feel comfortable hanging our new (much heavier) cabinets on a wall that had so much movement. all of our upper cabinets will be supported off of this wall. plus we needed to do some electrical work to re-arrange outlets, and get ready for the under cabinet lights and range hood. we decided it was best to remove the drywall, re-work the framing, and do the electrical work on the open wall.
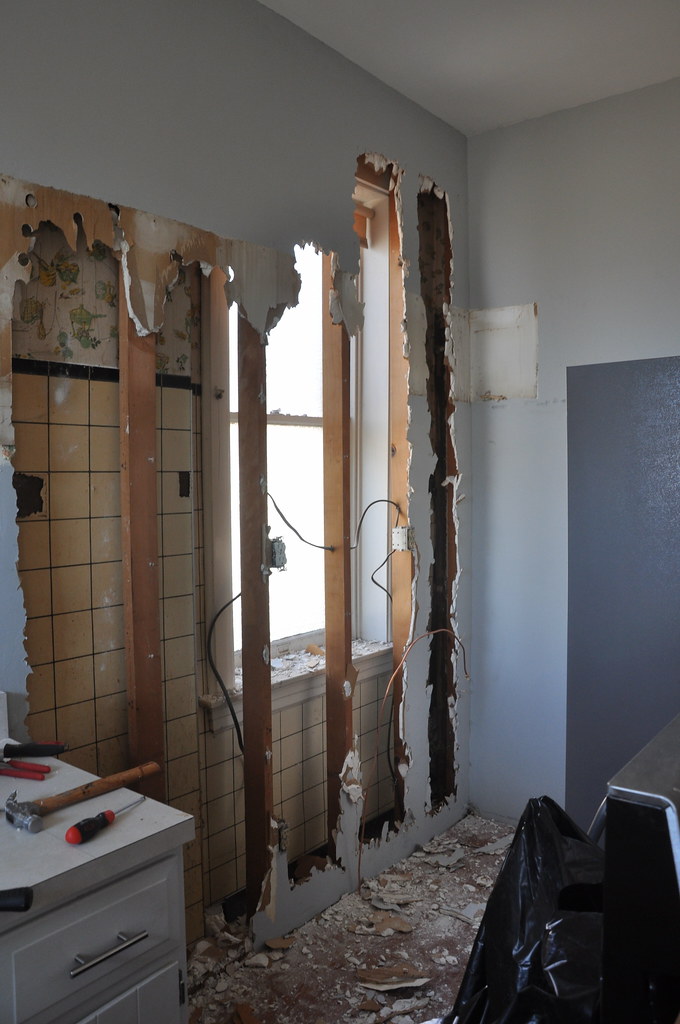
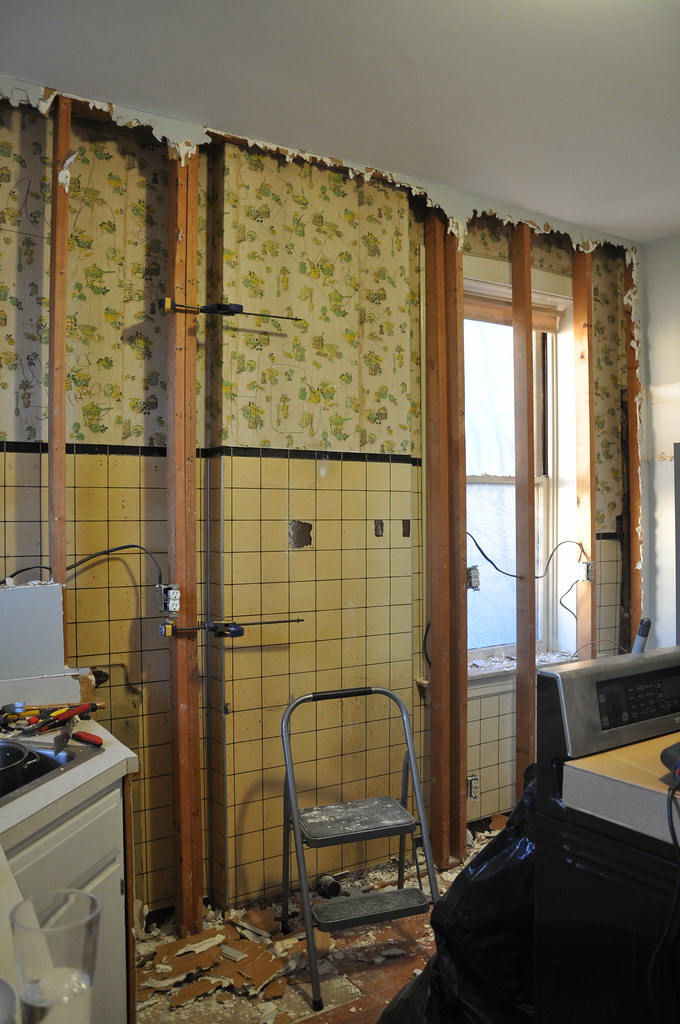
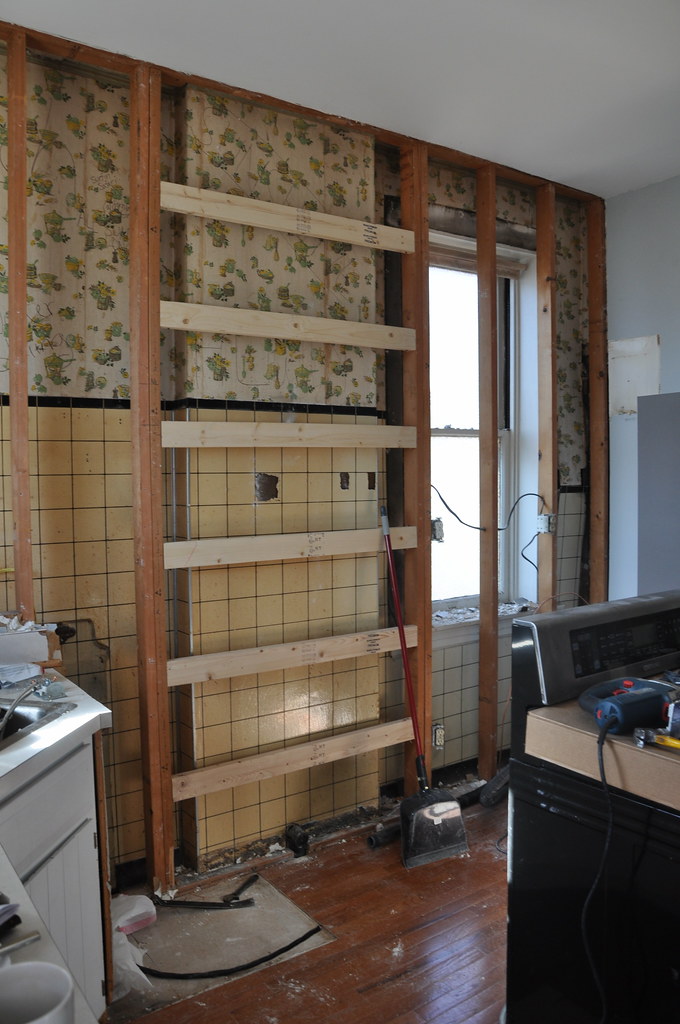
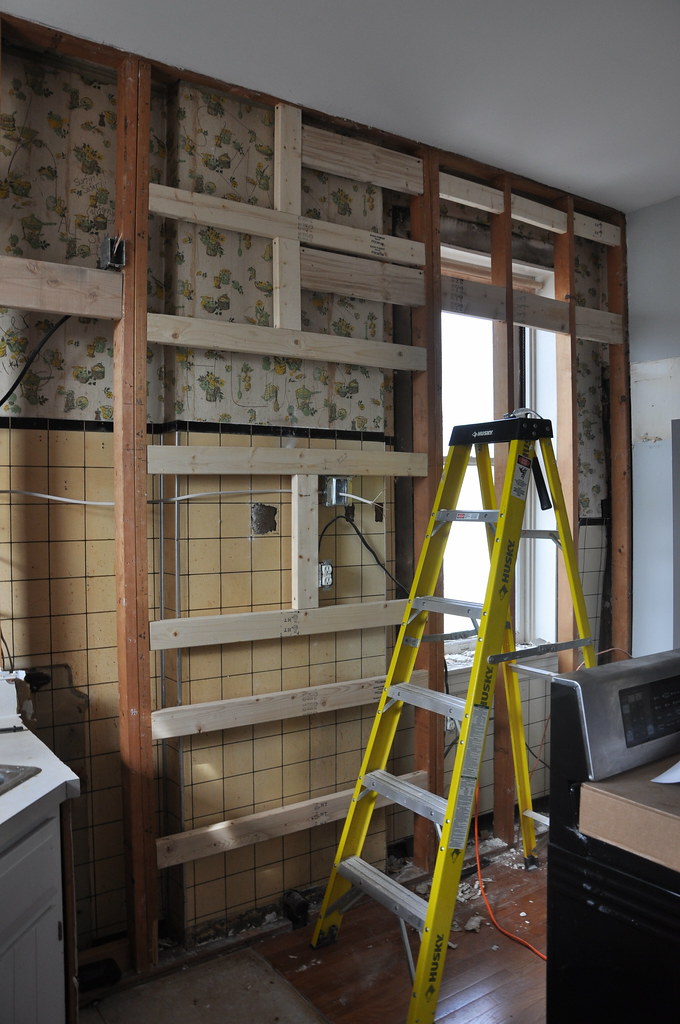
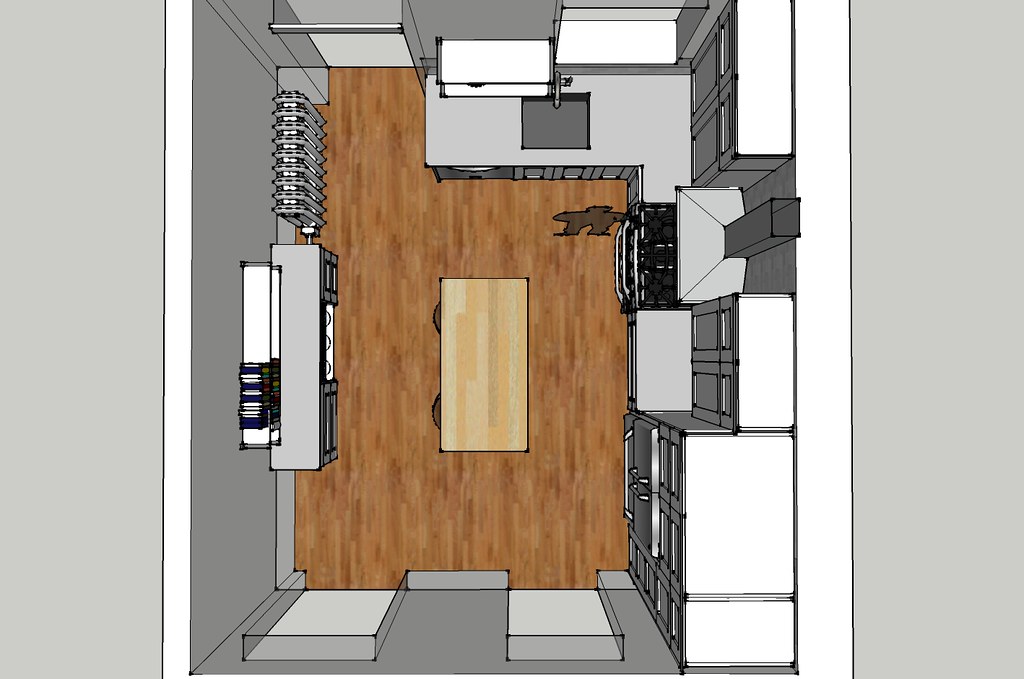
i was worried that i would have a hard time covering that window back up after seeing it uncovered. it does bring more natural light in to the kitchen. and it does make the space seem a little bigger. but, the plaster around the wall is in bad shape and would require a lot of work if we wanted to keep the window. i also confirmed that the placement would be difficult to work around with the kitchen layout. i'm not happy about it, but i think i'll be ok to cover it back up. in the end, i think it is going to be more important to have a fully functioning kitchen (window or fridge??), and we do have another window and the back door has a window. plus, the door and window are on the south side so they at let in light all day. we did pull the original trim from the existing window just in case we need it somewhere else in the house.

we were able to access everything we needed for the electrical work, and i re-built the framing in a few areas to strengthen the wall.
i think i'm going to go ahead and add some blocking for the upper cabinets, but we're almost ready to put up new drywall and move on to the cabinets! we left our sink cabinet in place and have been working around it so far, we're hoping we can get the new uppers installed before removing our sink.

meanwhile, our dining room looks like this:
i strangely enjoy putting together ikea cabinets...

cooper has been surprisingly around during this whole process. he normally is afraid of anything different or loud, which means he spends the day upstairs hiding in the bathroom. or outside. but he's been brave and keeps coming down to check on us.
as for murphy, he's a curious little guy, so we have to attach his leash to something in the living room or else he'll be right in the middle of it all. i caught him trying to lick the drill the other day! he keeps sneaking up on to the couch when we're not paying attention. he's technically not supposed to be on the couch, but he looks so cute, we usually forgive him.
that's the update for now. we did find some interesting things written inside the wall once we removed the drywall, but i need to upload the pictures from my camera. let's just say that even though we didn't find a date, we think the kitchen was last remodeled in 1965...

1 Comment

kitchen design - the plan

now that i've shared the process, i'm back with the final plan. i hesitate to use the word "final" since i'm sure that something will change once we actually start putting things together... but hopefully this is more or less what we'll end up with!

new_perspective3

the biggest change that i've made is moving the cabinet space for the microwave. i had previously shown it between the hallway door and the bathroom door. i didn't love it in that location, but the island we had planned on purchasing from ikea was just wide enough that i thought that this was the only location it would fit. in effort to save money, we decided to build our own island using the butcher block top we already own. this means we can modify the size if needed when we rebuild the temporary island that we've been using.

new_elevation3

this allowed us to move the microwave shelf to the opposite wall. as you can see, the cabinets here will only be 12" deep. borrowing an idea from chezerbey, i think that we're going to try to build a undercounter microwave shelf with dog food station underneath. right now the dog bowls just get kicked around the kitchen, and we have a giant 5 gallon water jug that takes up space. we're also hoping to build a custom trash pullout (not shown in this image) in one of the cabinets next to the microwave. by doing this configuration, we also gain additional counter space and will most likely keep the open shelves above that we have now to hold cookbooks and other accessories.

we did have to find 2 additional door/drawer fronts for this configuration (you may remember that i bought discontinued fronts from ikea months ago). good news is that i was able to locate what i needed on ebay. bad news is that they were being sold at a much higher price.

new_plan

what i like about this is that we still have a clear view down the hallway and out the back door (in the plan above bottom left doorway is the hallway, top left is the back door), and there is direct access to the bathroom, which is admittedly awkwardly placed off of the kitchen (doorway on the bottom right).

new_elevation1

the only downside to this layout is that we are really pushing the limits with the dimensions in every direction. it fits... on paper... just barely. now we're struggling to find the exact range hood and microwave that will fit into these tight spaces. and i'm still worried that we won't have enough width across the wall of built in cabinets... we're making progress though, and i'm hopeful that it will all work out.

4 Comments

counters take 2

i'm back for an update on the counter.

i really did not think that picking counters would take this long. when we started we weren't even trying to select a specific slab, i just wanted to know what material we'd be getting so i could pick cabinet paint colors and other finishes... picking a "white" color for the cabinets is hard!


we wanted the marble to work - we performed some tests on the samples that we had of the carrara and the danby marble. the etching wasn't horrible, but we were worried about maintenance issues for future resale. we liked soapstone but were also worried about durability in a kitchen. the local soapstone also had a green tint that we did not care for. we decided to explore other options. mike was open to granite, but i had not found a granite that i liked. we moved on to man made products like quartz. we couldn't agree on color - i liked the more uniform gray quartz, mike liked the ones with more of a pattern.

so then i went to the most expensive counter top place in town. just to see... maybe extra money could buy us the perfect thing? and i saw the green slab of something that i actually really liked. except it was green. it was with the granite, but didn't look like granite. the salesperson informed me it was quartzite. quartzite tends to be much more subtle than most granites. it looked softer to me. and it wasn't all sparkly. i had asked a few places about quartzites at the beginning of our search but no one seemed to have them or have much experience with them. this salesperson didn't have any gray quartzites, but sent me the image below of a slab that she could get from nebraska:
the color is called "super white" - and i loved it. except it was in nebraska. and expensive. so i started over, going back to the biggest granite/marble distributer in town. turns out they had a few super white slabs in stock. i went to go see them a few weeks ago:
the color is perfect in person, it's a really nice earthy gray. but the slabs they had in stock were not as subtle as i would have liked. since we weren't in a hurry to get our countertop, i nicely asked the guy when they were getting another shipment. turns out they were scheduled for another shipment the following week, and he was able to show me this image from the new shipment:
we loved it! we put our name first on the list to get one of the new slabs, and when they came in last week we quickly made an appointment to see the new shipment.
and here it is, our new countertop...
we both love it, and i'm so excited to see it in our kitchen. we went ahead and put a deposit down so that they will hold that specific slab for us. i was also about to bring my paint samples and pick out a "white" for the cabinets, so it was a succesful trip!

4 Comments

search

Swedish Greys - a WordPress theme from Nordic Themepark. Converted by LiteThemes.com.