Archive for May 2012

subway tile

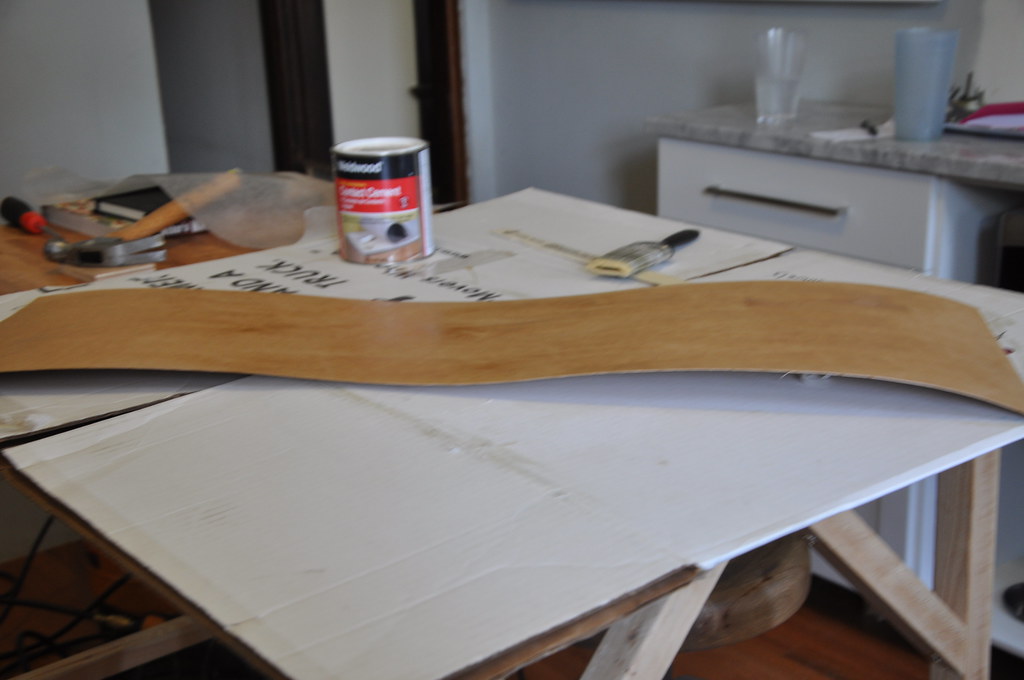
fun fact about me, i actually really like tiling. well, i like most construction projects, but next to painting, i think that tiling is something that can very quickly make a huge difference in a space.

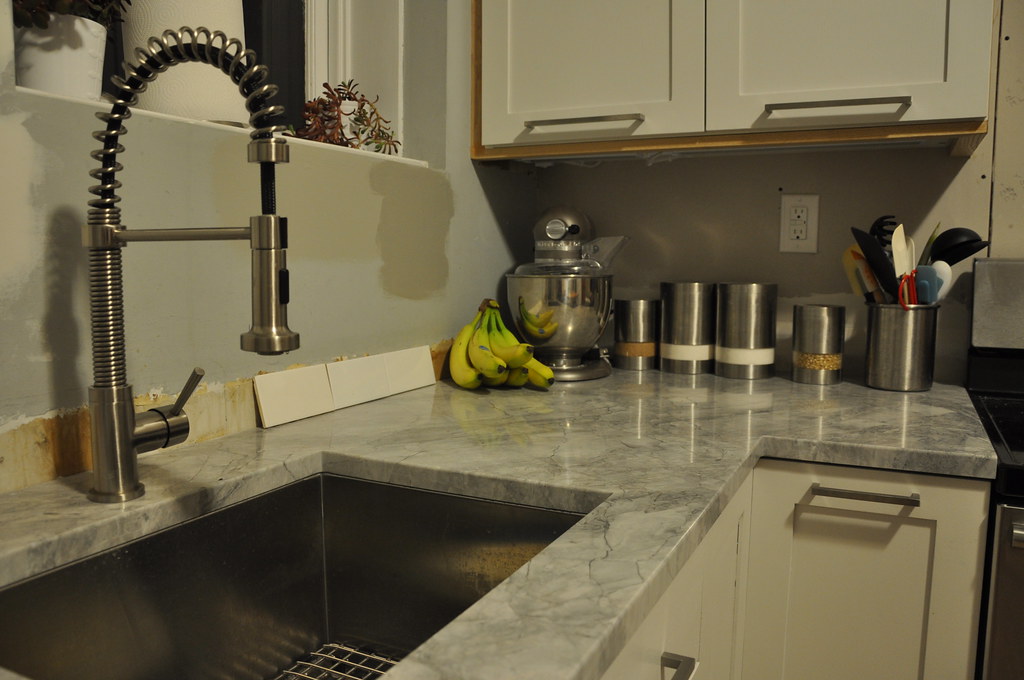
we've always planned to use white subway tile for the backsplash. we bought tile samples from several stores and found that the tile from the tile shop was the truest white and looked the best with our counters and cabinets.

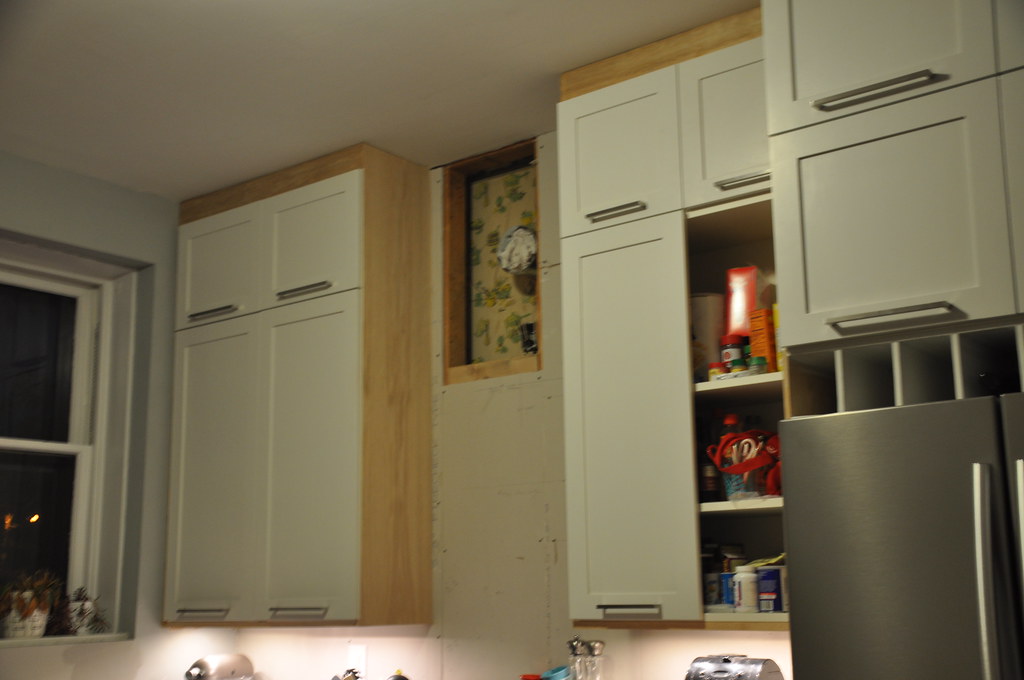
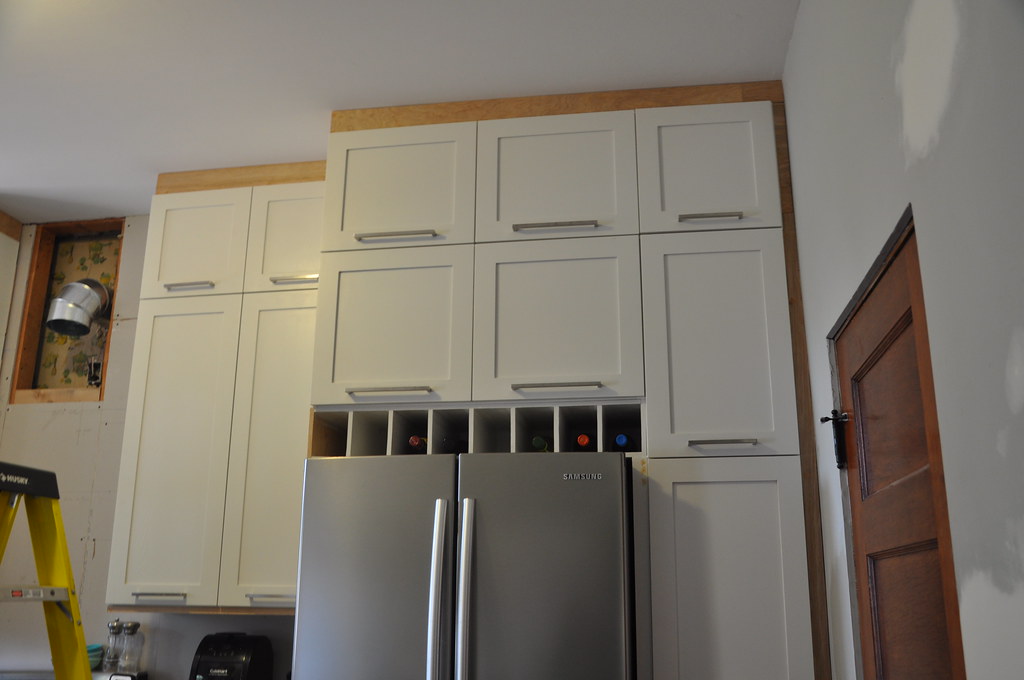
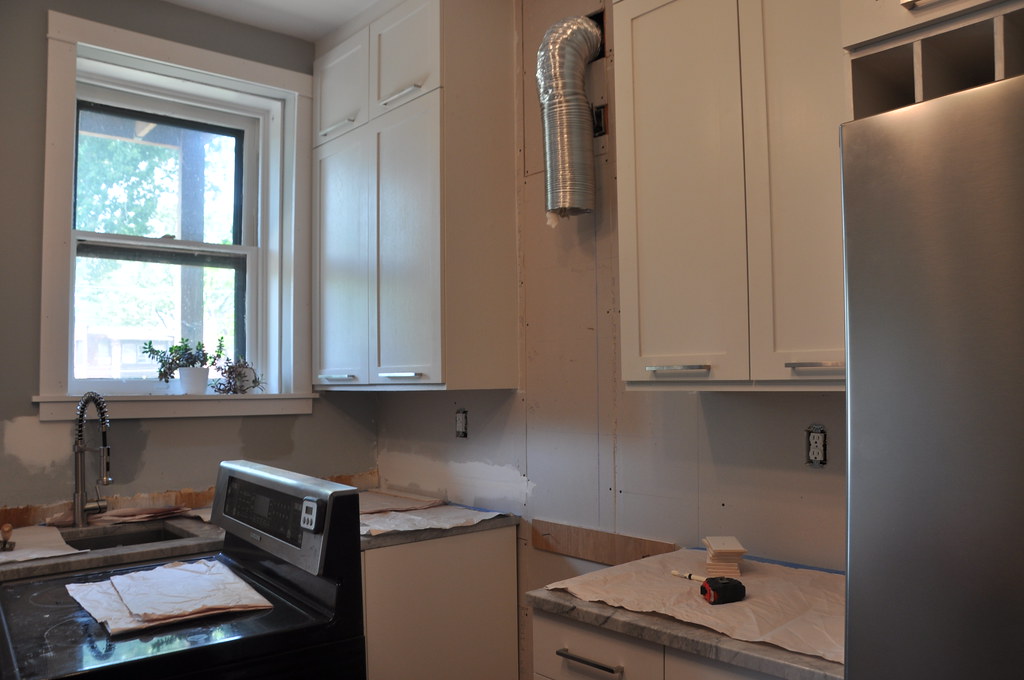
we started our tiling project by making sure that the wall was clean and smooth. we installed a scrap piece of wood along the wall behind the range so that we would have something level to rest the tiles on. we also protected our counters with heavy paper.  next we planned the layout of the tiles - this is important to do before you mix up the mortar!  i knew that i wanted the tiles to be centered in the range hood area, so we drew a center line down the middle of the space to establish our working point.


DSC_0426


once we had our plan, we mixed up the thinset and got to work. we ended up using a "non-sag" mortar since we were tiling a wall. this was good because we didn't have to worry as much about the tiles slipping, and we found that after the tile had been set for a few minutes we could even remove the spacers.  note to self - next time buy more spacers, one package is not enough for this amount of tile.


DSC_0428


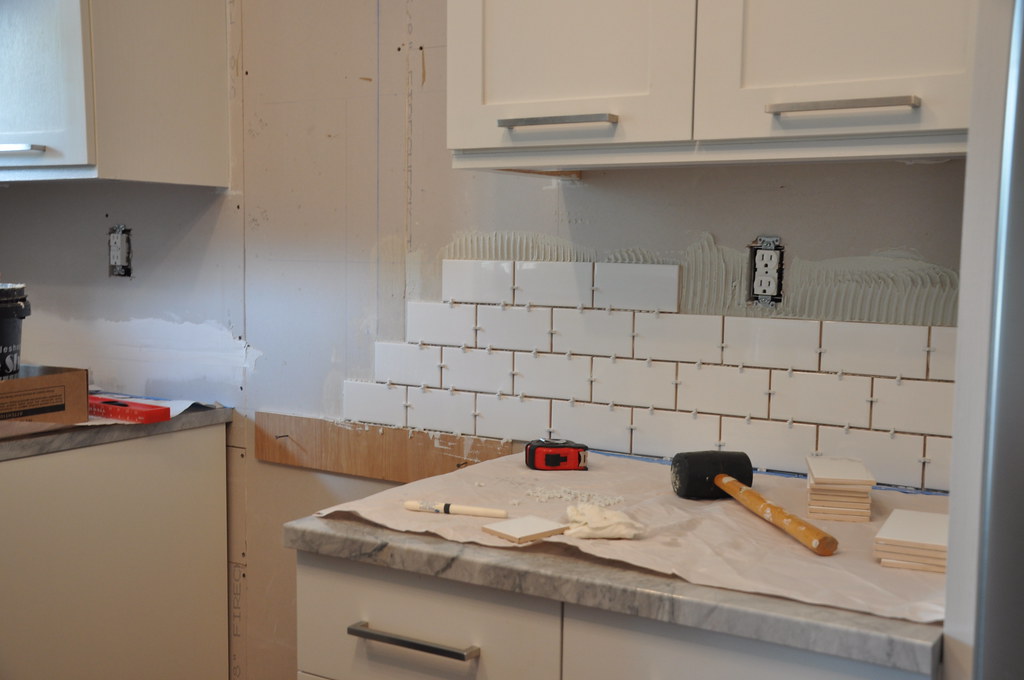
a few hours later, we had most of the first wall complete.


DSC_0429


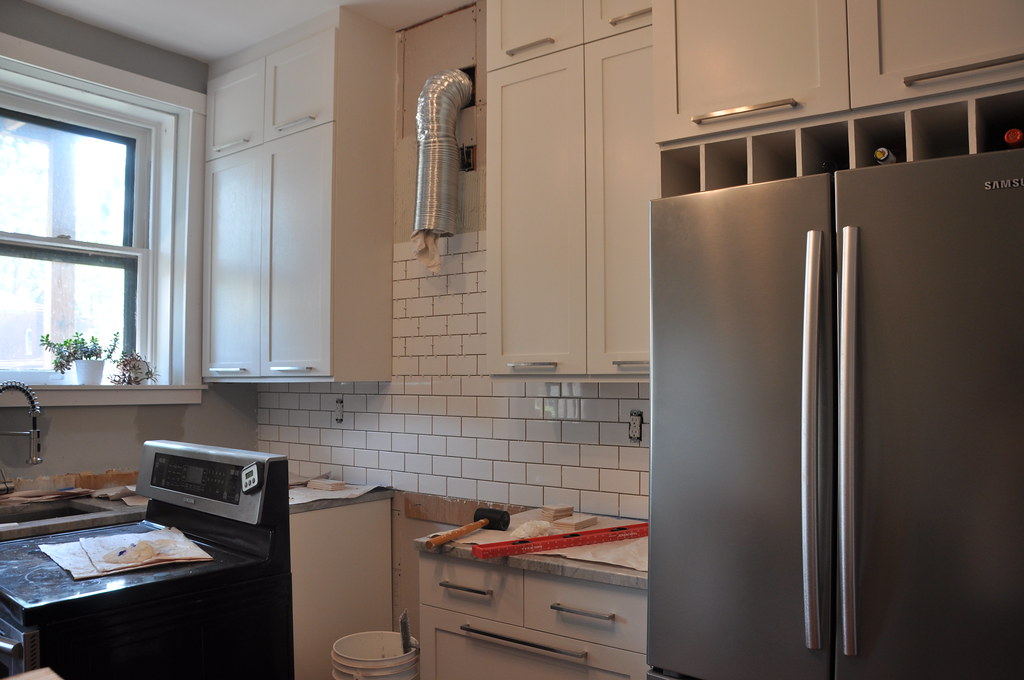
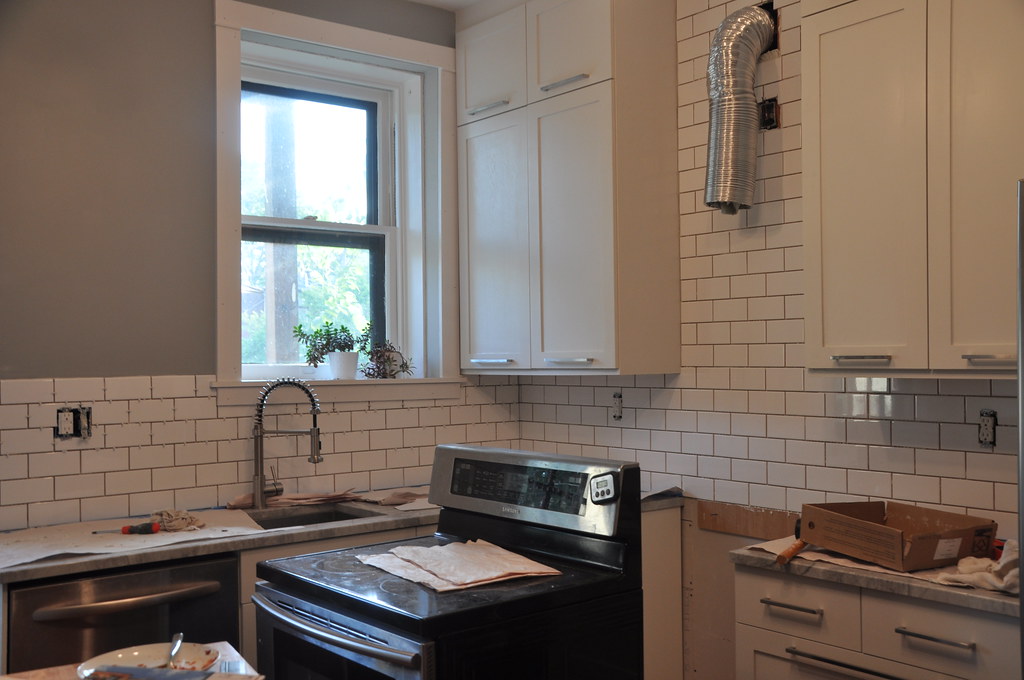
the second wall went even quicker because there weren't as many cut tiles. 


DSC_0431


the thinset dried quickly and we were able to grout the next day. i used a light gray grout and think that it is a great compliment to the subway tiles and the counter. unfortunately i didn't take any other photos, so i guess you'll have to wait to see the color!

6 Comments

5 years

mike and i celebrated our 5 year anniversary on saturday.  it's hard to believe it's already been 5 years since we got married!  we originally thought that we'd try to go on a long weekend trip somewhere, but instead, we spent our anniversary tiling the backsplash.  and i love that about us.


we did take a break from tiling to enjoy a nice dinner on a roof top patio at a resturant in the city.  while the food was good, the staff at the restuarant really made the evening special.  mike had mentioned it was our anniversary when he made the reservation, and they treated us to a delicious dessert, and even had an anniversary card for us that was signed by most of the staff. 


after dinner, mike surprised me with the best anniversary gift ever!  he actually looked up the traditional 5 year gift (wood) and then decided to get me a (knock-off) walnut eames hang-it-all.  i so wanted the limited addition walnut hang-it-all when it came out a few years ago.  i even took mike to dwr to admire it.  we did not admire it's price.  i was so excited on saturday when i opened up the box and found this inside!  this hang-it-all is made by kirch, and it looks great!  i immediately had to hang it on the wall, so please ignore the old screw holes that i still need to patch.

DSC_0433


and here it is in the entry way...  ugh, that door!  and the table... and the clutter...  obviously this is not a staged photo...  still lovin my light fixture though!  i think it looks great with the hang-it-all.


DSC_0435


(i am determine to replace that horrible door with the original.  you may remember that i have the original front door, both sidelights, and 1 of the 3 transoms.  they need some repair work, but are in pretty good shape considering that they were stored in the garage for years.  the bad part is that i do not have any of the frame pieces.  i've gotten a few quotes and the cost for someone to make the frame pieces and the remaining transom pieces is so so so expensive.  i'm working on finding an affordable solution though.  someday house, i promise...) 

3 Comments

kitchen update

we have been busy the last couple of weekends working on the kitchen. and as of today, we are about 95% done! the only major thing left is cutting, painting, and installing the base along the bottom edge of the cabinets. other than that, we have some touch up painting to do, but that's about it for construction! we decided to wait on rebuilding the island for now (both because we haven't really finalized a design, and so we can recover financially), but hopefully it won't be too long before we are able to complete that project too. we also haven't decided if we're going to install the open shelves above the shallow depth counter like we had planned, although i might wait to see how the island turns out before deciding on the shelves.

i've gotten behind with my photos and updates, so i'm going to start by posting a few from last weekend.

DSC_0410

first we had to find the perfect shade of gray paint. after several samples and much debate, we ended up using valspar's "vintage gray" color, mixed by sherwin williams at 60%.   "vintage gray" is the sample on the left, we just had it mixed to be lighter.  the entire kitchen took 2 coats of paint, and i've very happy with the color.

DSC_0411

did i mentioned that i wanted to make a light fixture for the kitchen? i had seen several lindsey adelman fixtures and loved them, so when i found out she had a "you make it" tutorial online for the chandelier, i knew that it was the fixture that i wanted in our kitchen. a big added bonus of this fixture is that we were able to customize it slightly to accommodate the off center overhead light location. we are waiting on a few more replacement pieces so i'm going to wait to post the final pictures until it is complete, and i'll also post more information on making the fixture. i love how it turned out though!

DSC_0416

at some point, some previous owner had decided to cover up/remove all of the window, door, and baseboard molding in the kitchen, probably when they decided to build out 2 of the walls.  with our project, we decided to install all new trim in the kitchen.  since we could not replicate the profile of the trim throughout the rest of the house, i came up with this modified/simple design.  i'll have to find a photo of the other trim for comparison.

DSC_0418

we also had to build out the window sill, you can see how uneven the window wall is based on how i had to cut the sill piece.  now that it's all together, it's not perfect, but i think it looks good considering what we had to work with.

DSC_0419

i have a lot to catch up on the blog, so i'm hoping to find some free time this week.

3 Comments

and then we built a fence

the weather in st louis has been fantastic this spring.  which is unforutnate when you are spending every weekend working on a kitchen renovation.

several weeks ago we were able to take a kitchen break and spend some time outside.  we decided to do a little work on the yard.  we bought some flowers for the pots that i have on the deck.  we also planted a small plum tree at the end of our yard, near our garage.  a few days later, i went outside and noticed that something had eaten the marigolds out of the pots.  we tracked it back to this guy:

DSC_0405

in his defense, the marigolds did look kind of like tennis balls, which are his favorite outside toy. we watched him when he was outside playing for the next couple of days and worked on "leave it" and thought we were good to go with new plantings.

so imagine my surprise a few days later when i looked outside in the morning and noticed some tree branches in our backyard.  branches with dark purple leaves...  from the new plum tree.  murphy had pulled all of the bottom branches off of the tree!  while the tree didn't look very good, we thought that it would survive.  again we worked with murphy on "leave it" and tried not to leave him outside for very long.  this has been difficult, because with our kitchen work we tend to leave the dogs in the yard for long periods of time so they are out of the way and safe.  we keep an eye on them, but we aren't constantly watching them.

early last week we left him outside for maybe 5 mins while making dinner.  and sure enough, when i let the dogs back in the house, i looked outside and only saw a short trunk sticking out of the ground where our tree had been planted.  the weird part is that he just ate right through the trunk.  he's part dog, part beaver?  we dug up the remaining piece of trunk, and left the hole in the ground while we decided what to do next.

meanwhile, we discover that murphy's been eating all sorts of things in the backyard.  he's been eating the rose bushes (ouch!), the vines that grow along the fence, and some weeds.  although maybe helping with the weeds isn't such a bad thing...  he's very sneaky about his plant eating.  i don't trust him outside anymore, but we've been working on the plant issue and he's gotten a little better about leaving the plants alone.

except then he discovered the hole.  when we removed the eaten tree, we were left with a 2' diameter hole.  murph thought it was great fun to put the entire front half of his body into the hole.  we decided to try to plant another tree.

we were unable to find another plum tree.  we also started wondering if a fruit tree that has fruit with pits would be something that we should plant in a yard with dogs.  so instead we thought we'd try a small crabapple tree.  we were also limited on space between the fence and the garage, and thought that the miniture size (max size of 10'-15') might actually fit better when grown.

DSC_0400

we planted the new tree and added a small fence.  i hope this works.  i was laughing in the fencing area at lowes, everyone else there was complaining about deer or rabbits, and we were trying to figure out what size fence we needed to keep our giant puppy off of our tree. our neighbors probably think we're crazy. DSC_0401 oh murphy**, it's a good thing you're so cute...

**murphy has been a great puppy, this is really the first time we've had any kind of issue with him. he's normally very well behaved, i really cannot complain too much. when cooper and reese were this age they ate through a wall. twice.

2 Comments

some details

since we bought a discontinued door style from ikea, we weren't able to buy their matching filler panels, end panels, or kick plates. i also knew that we'd have some unique conditions because our kitchen is so tight. so we decided to make all of our own trim pieces. this will also help us get a custom look to our ikea kitchen.  since we also painted our door/drawer fronts, we will just paint the trim to match.
DSC_0387

before we installed the cabinet boxes, we nailed a few pieces of scrap wood (offset 1/2" from the front edge) to the top and sides of the boxes where we knew we'd be installing trim. this allowed us to have something to nail the trim to from the front.  most of the trim is just 1/2" oak plywood, riped down to whatever width and length we needed. 

DSC_0390

as for the end panels, we didn't have the width across the kitchen to install the typical 1/2" thick end panels. if any of you have installed an ikea kitchen, you know that the sides of the ikea cabinets are white laminate - not meant to be exposed.  plus the white laminate didn't match the white of the doors. we needed something on the sides of the cabinets by the range hood, and the fridge. we decided to try a sheet of oak veneer.

DSC_0391

we cut the veneer to size, and then applied the contact cement according to the directions on the can. i had used contact cement before, but was still not prepared for how quickly this stuff adheres. they are not kidding when they said it becomes permanently attached on contact!  we were nervous applying it to the sides of cabinet boxes since we had to get it lined up and right the first time, but it worked out ok. this should allow us to paint the sides the same white as the doors.  since the doors are painted oak, i'm hoping that some of the oak grain will still show through the painted finish.  hopefully it will all look consistent when it's done.

DSC_0392

the trim along the bottom edge of the cabinets is to hide the under cabinet lights.  we were able to finding lighting that was only 1/2" thick, so after installing the trim, you can't see the fixtures.  now we just need to prime, caulk, and paint all of the trim. i'm hoping that once painted, everything will have a built-in appearance and the inconsistencies by the ceiling and walls won't be as noticeable. yay old houses with uneven walls and ceilings! 

DSC_0389

next on our to-do list is picking out and installing the door and window trim, and baseboards (kick plates for cabinets and base for the walls). then it's on to painting the walls, tiling the backsplash, installing the range hood. and making our light fixture and building a new island... someday we'll be finished with this kitchen!

2 Comments

part 4...?

and the counters are finally installed!!

it was a long process, but the counters were installed on friday. nothing broke, and after some back and forth, they finally gave me the square corner i wanted.
  DSC_0397

and i love them!

7 Comments

the island (again)

our replacement counter is currently being fabricated and is scheduled to be installed on friday!  it will be nice to be able to make some progress on the kitchen over the weekend.  technically we could have been working on some of the cabinet trim for the past few weeks, but i think we took advantage of the counter excuse and took a little bit of time off from kitchen work. hopefully we will be back at it soon!  when we first started this project at the beginning of february, i was hoping we'd be done in 3-4 months.  we've almost reached 3 months, and while i realize that i'll need to add some time to the schedule due to the counter issue, i'd still like to have this wrapped up within the next 2 months.


meanwhile... we've been having the island debate, yet again.  i took the photo below with my phone and have been looking at it about once a day for the last several weeks.  and i just cannot decide.  it looks crowded.  i know it looks crowded...  but it's not so bad when you're in the kitchen.  2 people can move around and cook, and the island provides extra counter space.  my mom came to visit a few weeks ago and she was able to sit in the kitchen with us while we prepared dinner, and that was nice.  we are also planning on cutting a few inches off of the butcher block when/if we decide to keep the island and re-make it (we made this temporary one out of cheap 2x2s, i would re-make the base if we keep it).


after living with the island for a few weeks, we removed it from the kitchen last weekend to see what it is like without.  it's nice a spacious, and you can appreciate all of the new finishes more because you can see them better.  but, the counters are quickly getting crowded.  we lived for years with less counter space though and made it work.  we do have a little more counter space now than we did before, but it's still not much.  should i try to force us to adapt again to the limited counter space?  or should i just embrace the island, and deal with the fact that it's just a little tight?

i cannot decide...  and i need to make a decision soon because i ended up buying stools from world market and i'm running out of time with their return policy...


5 Comments

search

Swedish Greys - a WordPress theme from Nordic Themepark. Converted by LiteThemes.com.