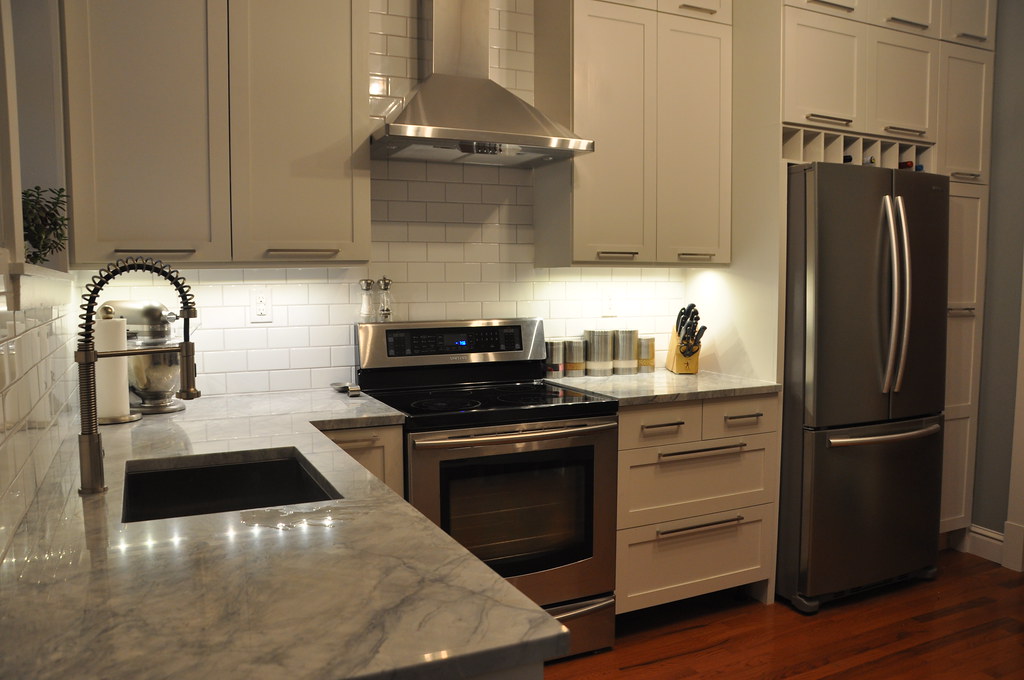
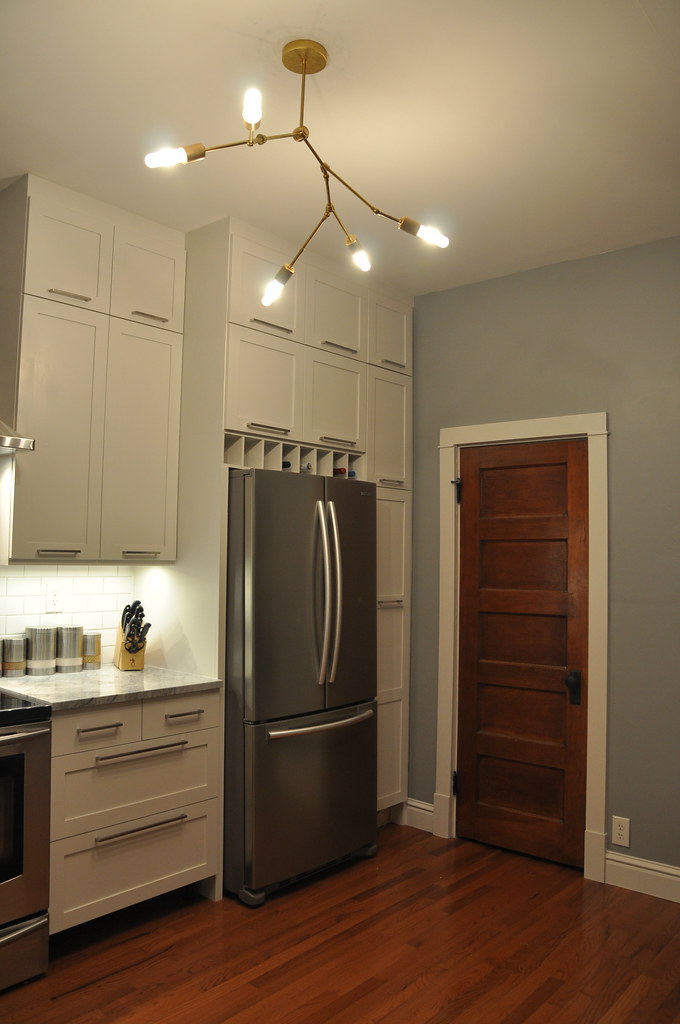
still here!

sorry for the silence on the blog lately...  no real reason other than we are taking a break from home projects after spending all of our money on the kitchen.  although, i was thinking of doing a source list for the kitchen, let me know if that is something that you'd be interested in.  or if there are any other details that you would like more information on.  in my excitement to post the "after" photos, i know that i missed a few steps.  we've also added the kickplates and a shelf to the kitchen, i should probably take new photos...

 
other than that, we've been playing catch up on everything else in life that got put on hold while working on the kitchen. rugby season started back up for mike, and i just took my 6th architectural registration exam (structures, still waiting on results). the weather in stl is finally starting to cool off, it's been nice to be able to do things outside the last couple of weekends. 
 
anyway, hope to be back to the projects (and blogging) soon, just wanted to stop by and say "hi"

2 Comments

the boys

sometimes it's hard to be a dog. it's super hot outside which means that the walks have been very limited lately.  so... they (mostly murphy) have had lots of energy and always want to play.   or cuddle on the couch (see note above about it being hot). 


last week, murphy fell down the stairs and was limping so we had to talk him to the vet.  luckily it was nothing major, he just banged up his leg a little.  a few meds and a few days rest and he's back to normal.

cooper must have been feeling neglected with all of the extra attention murphy was getting, so i came home from work on monday and saw that the left side of coopers face was all swollen.  i'm not sure if he got stung by a bee or wasp, or if murphy beat him up, or what.  but he also got ice and medicine, and is back to normal.

the high tomorrow is only a chilly 93*, maybe we'll finally be able to get out for a walk... we're ready for fall.

1 Comment

lindsey adelman chandelier

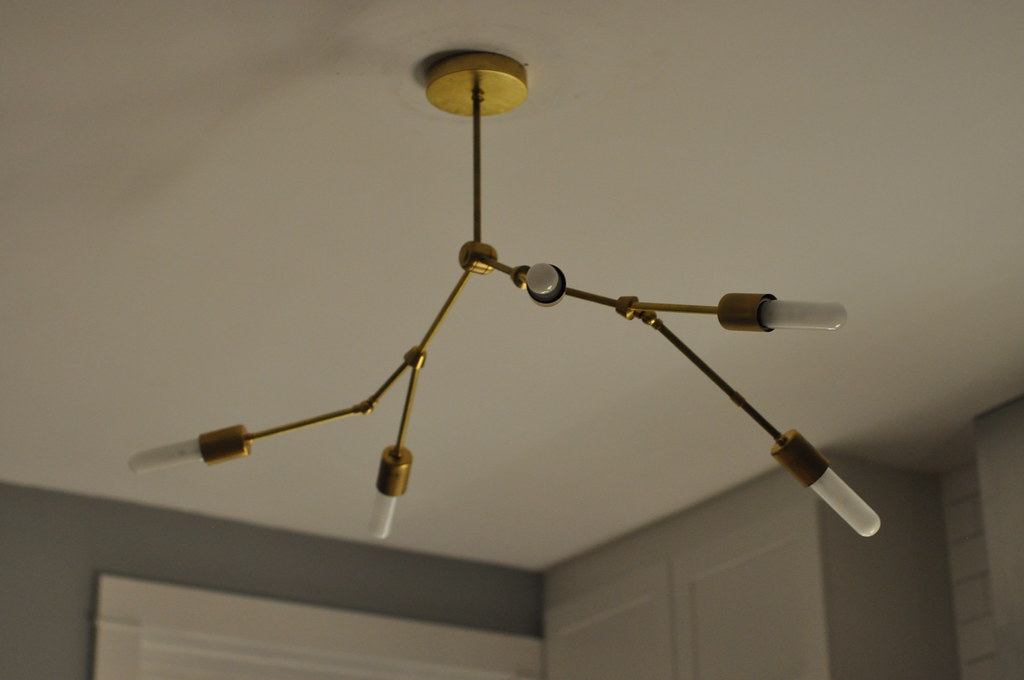
as promised, i'm back with a quick tutorial on how to make the lindsey adelman chandelier.

i thought that her instructions were easy to follow and mostly clear, so start there if you want step-by-step instructions.  we had a few issues, which i will explain below.  i feel like i should note that prior to this project, mike and i had done some electrical work in our house (both installing new fixtures and running all new wiring), so we were already comfortable with basic wiring skills.  we had also made a light fixture for our dining room, which made me a little more confident going in to this project.

DSC_0474

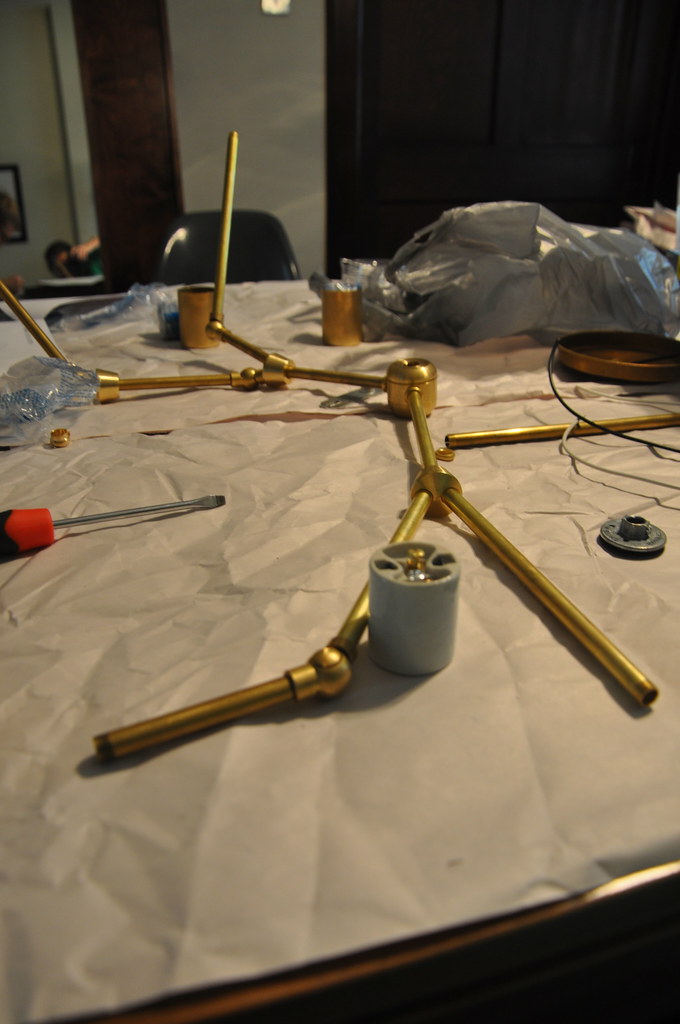
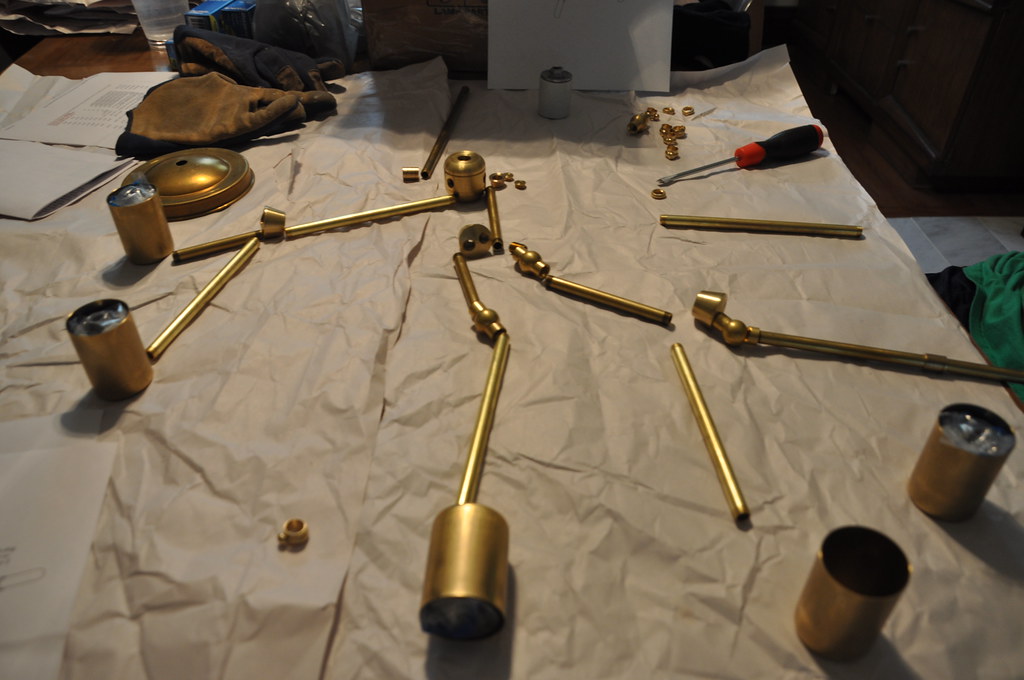
the first thing i did was review the instructions, including the materials list.  we wanted to hardwire the fixture (her instructions are for a plug-in fixture), so we needed to order a few different parts.  i also wanted to use 5 bulbs instead of 6.  we ordered everything from grandbrass, except for the wires which we bought from lowes.  unpacking the box and seeing all of these pieces was a little concerning...  hard to believe that this was going to make a light!


next we did a quick layout of the pieces.  her instructions include a nice diagram, but didn't specify lengths for each individual brass tube, so we came up with something that we thought would work for us.
DSC_0412

DSC_0411

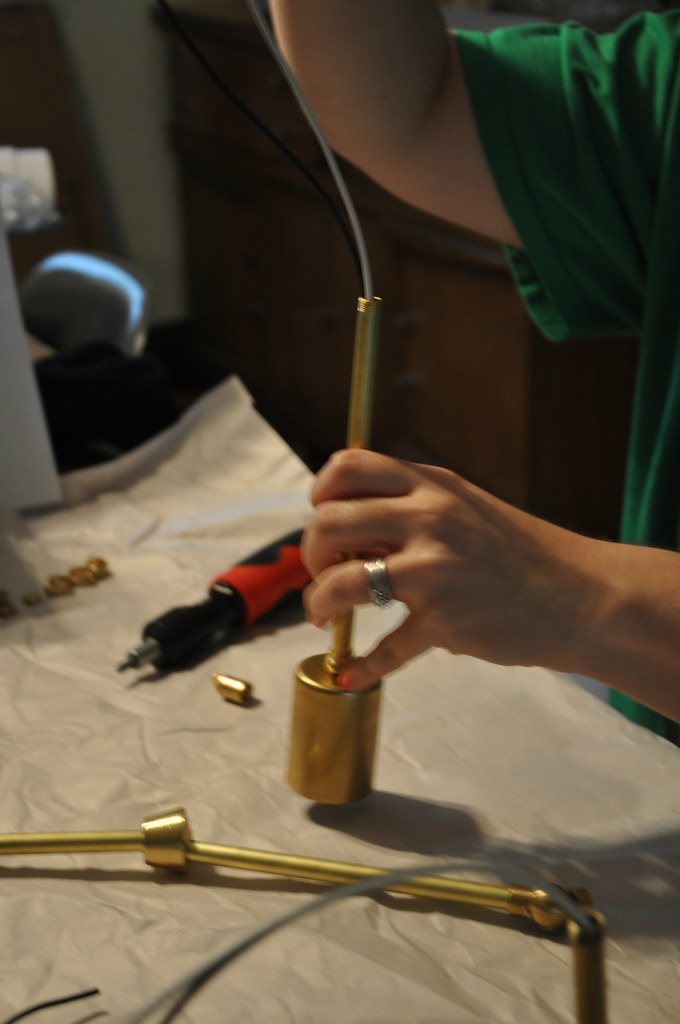
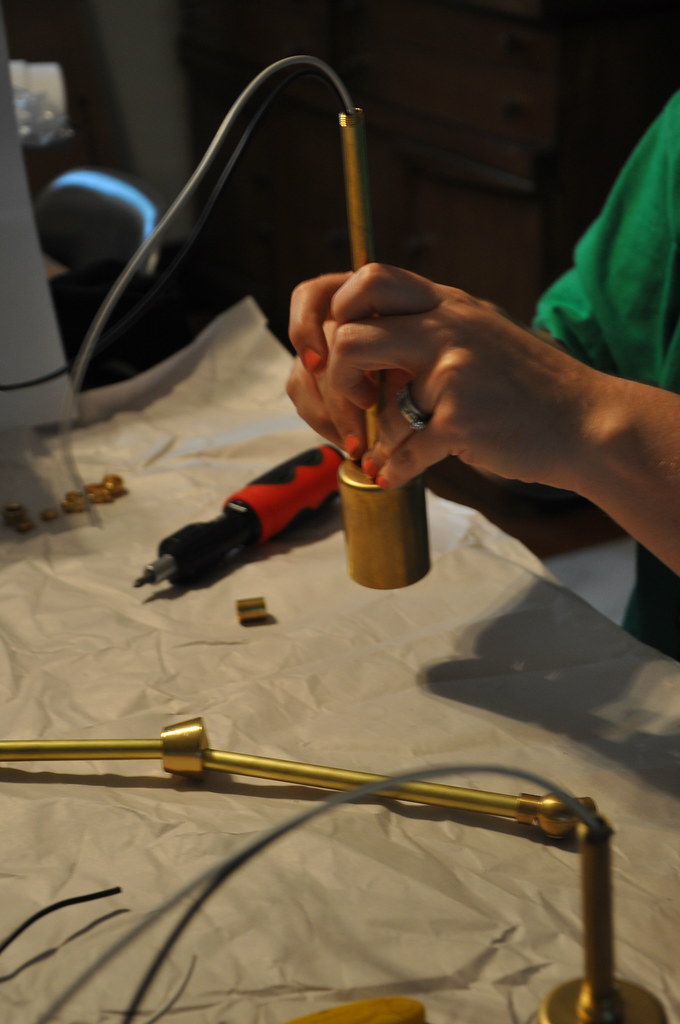
then, we started wiring!  we found that it was easiest to start at the socket and work our way in towards the center of the fixture.  each arm has its own set of wires.  we cut a good length of wire to make sure we had enough.


DSC_0413

once you got the process down, it was actually kind of fun to build. 


DSC_0414

at some point, we realized that the gauge of wire that we bought was too thick, it wouldn't fit through the tubes and fittings once we had several wires that needed to run together. so we had to take it all apart and start over with new wires.

DSC_0415

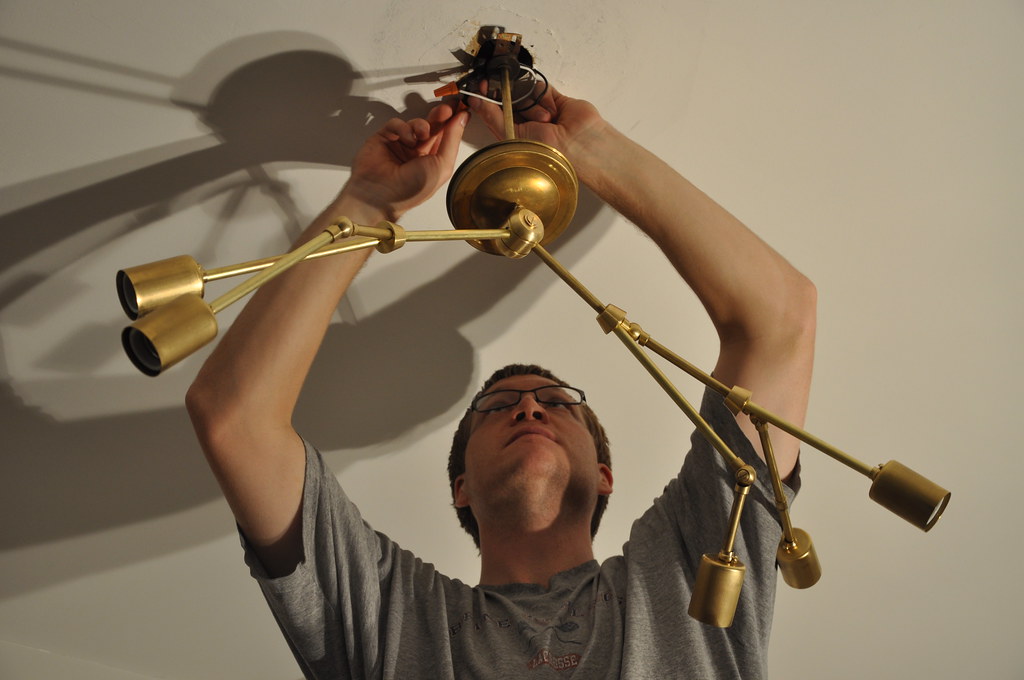
once it was all together, we tried to install it in the kitchen.  we already had a mounting plate in the ceiling which conveniently had a hole in it that we could thread the top tube in to.  this made things a lot easier.  otherwise we would have had to install a new mounting plate first.  you connect all of the wires from each "arm" in that center piece, so you are only connecting one set of wires up at the ceiling.

the first time we did this we had a short when we flipped the power back on and tried to turn on the switch.  we had to take it down, and after much investigation (including borrowing a special meter from the electrical engineer i work with), we figured out that one of the wires had gotten twisted in the assembly process, so the coating had come off and the copper was touch the brass arm.  once we fixed this problem, the fixture worked!

DSC_0421

then we decided that the clear tubular 40 watt bulbs that we bought were not bright enough. and that the clear bulb had a lot of glare, so we tried out a few standard 60 watt to see if that was better.


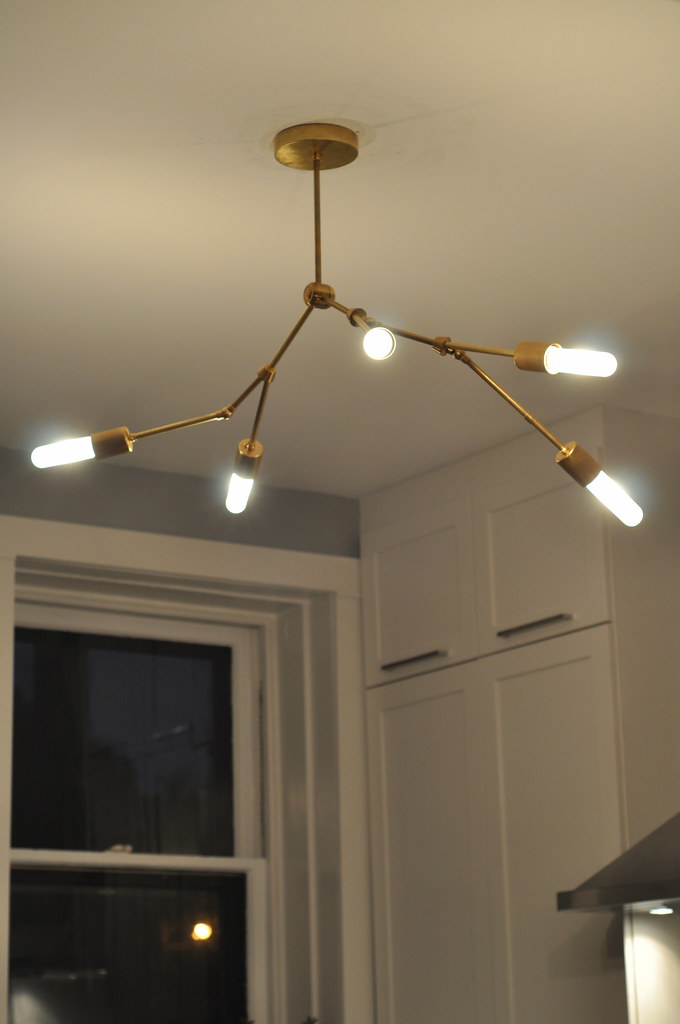
we ended up buying tubular frosted 60 watt bulbs instead, and this works a lot better in our kitchen. the light level is really nice, which is important in a kitchen!

DSC_0683


it even looks cool when it's not on.  and yes, i did switch out the ceiling canopy for something more simple.  i ordered the wrong canopy the first time, so when we ordered the new bulbs i got the more simple canopy (which is actually a lamp base part, which is why i didn't see it the first time).
DSC_0680


what do you think? i love how it adds something a little unexpected to our kitchen.


DSC_0465


if you have any other questions about the fixture, let me know!

24 Comments

lake michigan

lets not talk about how it's going to be 106* today... again... or how the kitchen is still not done, or how i turned 30 a few weeks ago and am in denial about it, or how far behind i am with blog posts....

instead, here are a few fun pictures from our vacation.

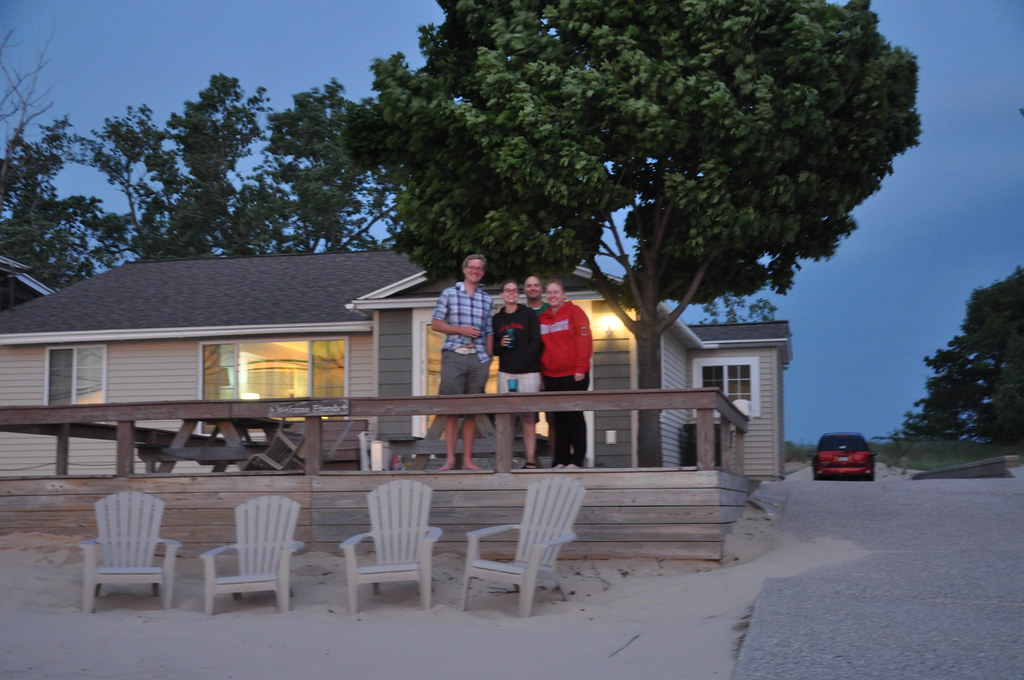
we rented a beach house on lake michigan with some of our bestest friends and spent a week doing, well, basically nothing. and it was glorious. i read several books, sat on the beach, attempted to play golf, ate lots of good food, and just enjoyed spending time with people that i don't get to see enough. we all turned 30 this year and wanted to do something fun to celebrate.

DSC_0545

we rented a cottage right on the lake, the beach was our front yard.

DSC_0539

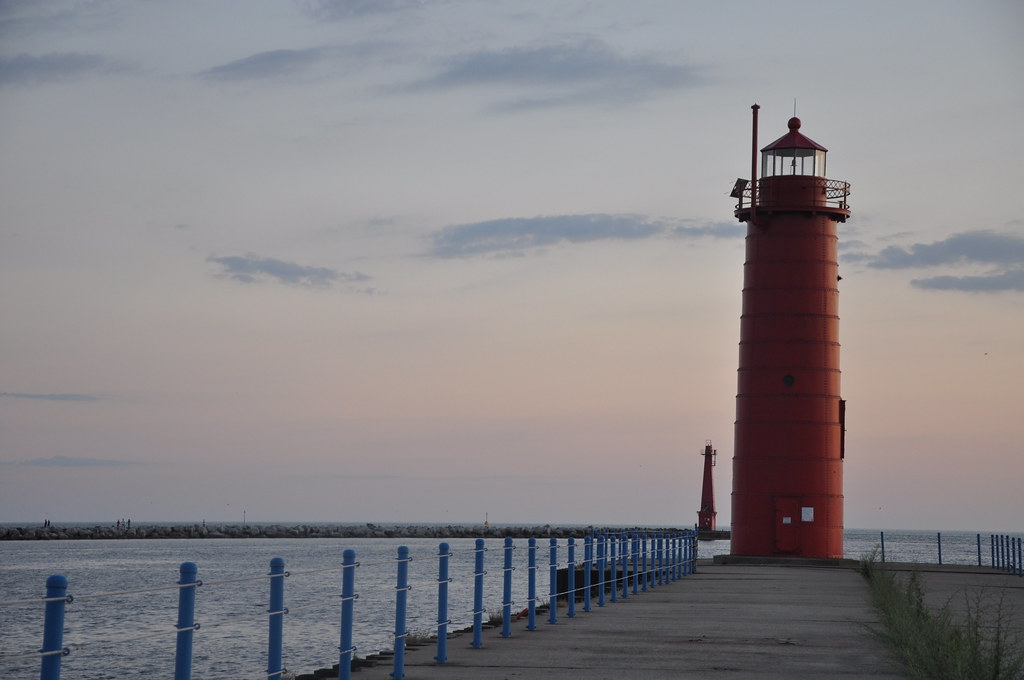
the sunsets each night were amazing, i took about 500 photos of just sunsets.

DSC_0677

DSC_0636

DSC_0664

have you ever seen kite surfing? it was really cool to watch, i was impressed with how high some of these guys would jump!

DSC_0498

kite1


and since we were in michigan... O-H-I-O!

ohio

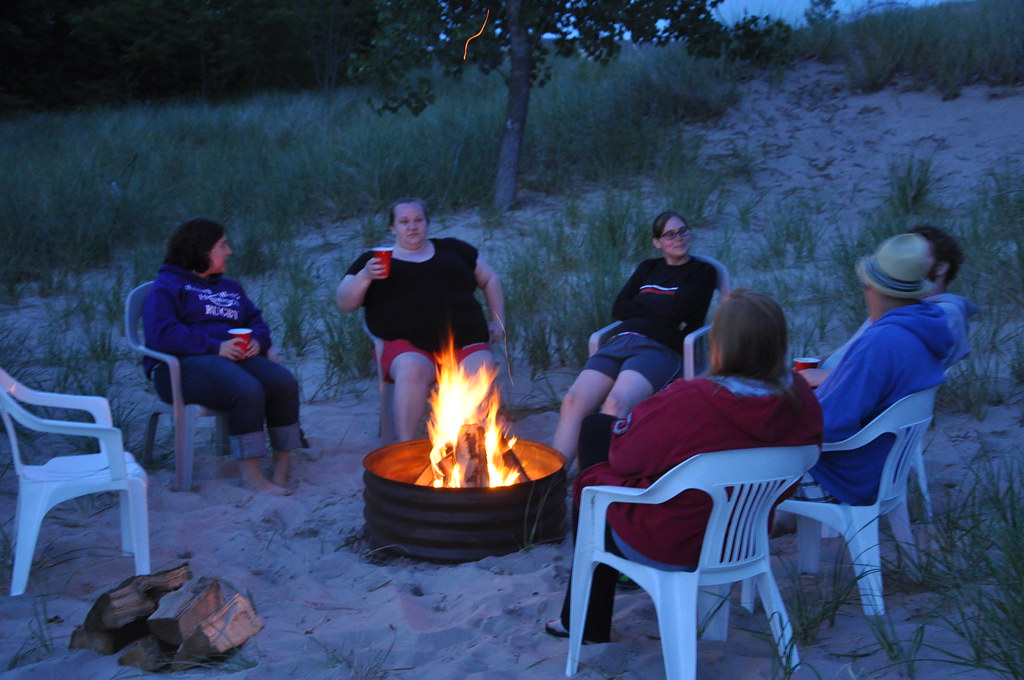
campfire on the beach with s'mores? don't mind if i do. every night.

DSC_0488

lake mi2

we had a really nice vacation, mike and i are already trying to figure out how we can get our own lake michigan beach house...  maybe someday.

lake mi

Leave a comment

kitchen reveal

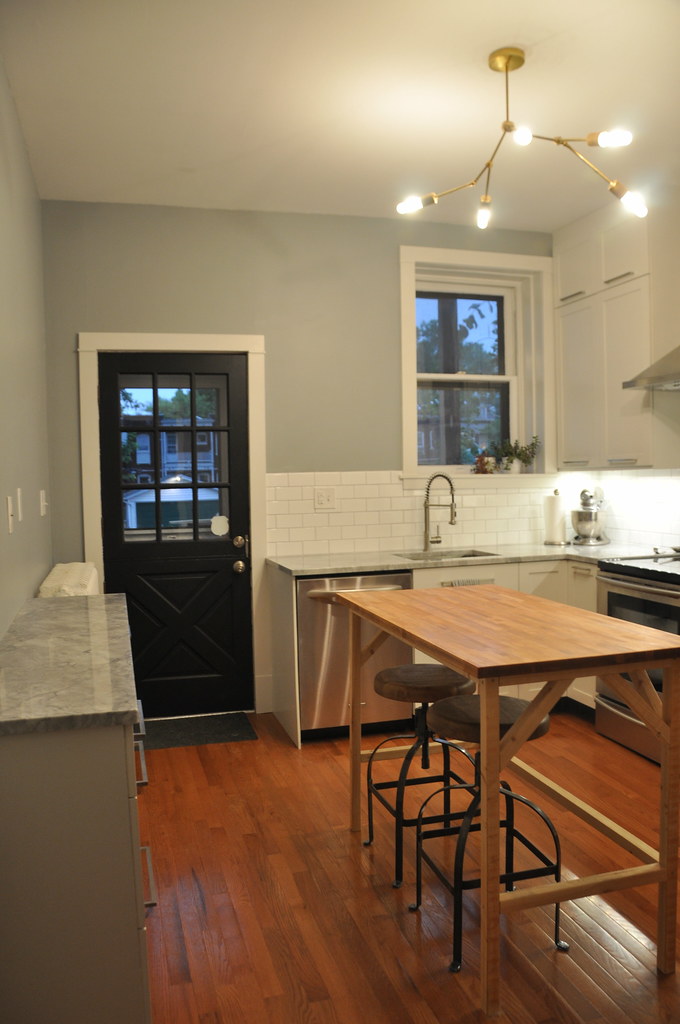
technically we are not done with the kitchen, but i am too excited to not share the 95% complete photos with you. i was hoping to have more time to post some of the details along the way, but i think now i'll just do those posts later. so if you have any specific questions, make sure to ask and i'll try to answer them!


as i've mentioned, the only big things we have left are finishing the base along the bottom of the cabinets, and eventually replacing or rebuilding the island. i'm still messing around with some of the accessories and details, and we'll probably end up installing some open shelving.  but we've come a long way from where we started...


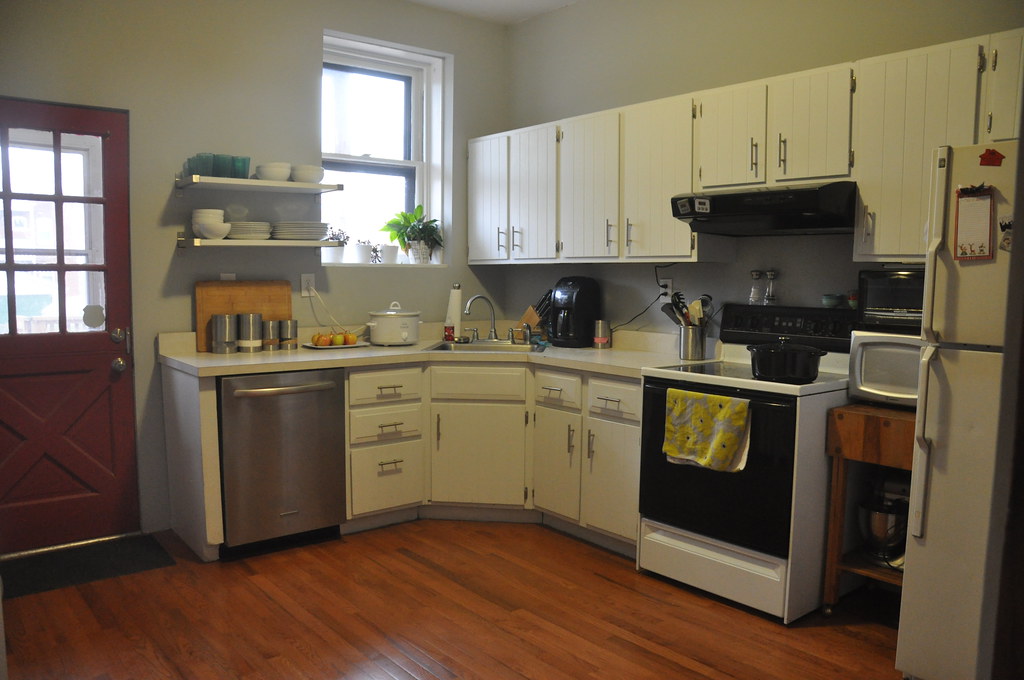
just for fun, here's the kitchen when we moved in:


dark, dirty cabinets, a fruit light fixture, wallpaper on the walls and ceiling, and green carpet.


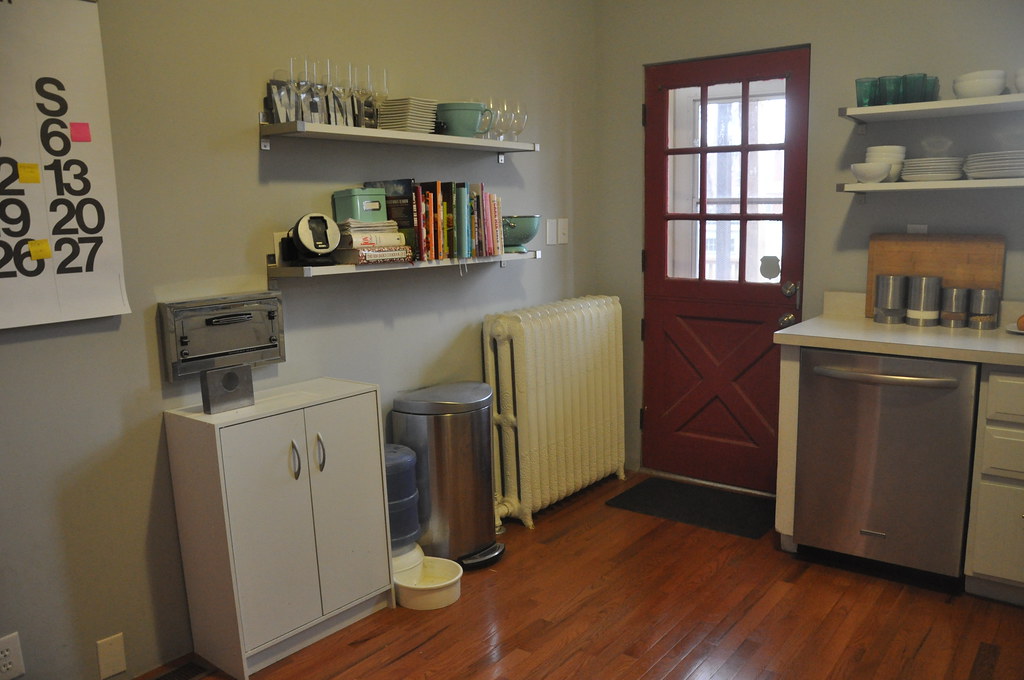
in the first few months, we removed the counter table, removed the wallpaper and carpet, removed the trash compactor, painted the cabinets white, added new hardware and installed a temporary plywood floor. 


when we installed the new hardwood flooring on the first floor a year and a half ago, we also updated the kitchen floor.
DSC_0938

DSC_0939


DSC_0940

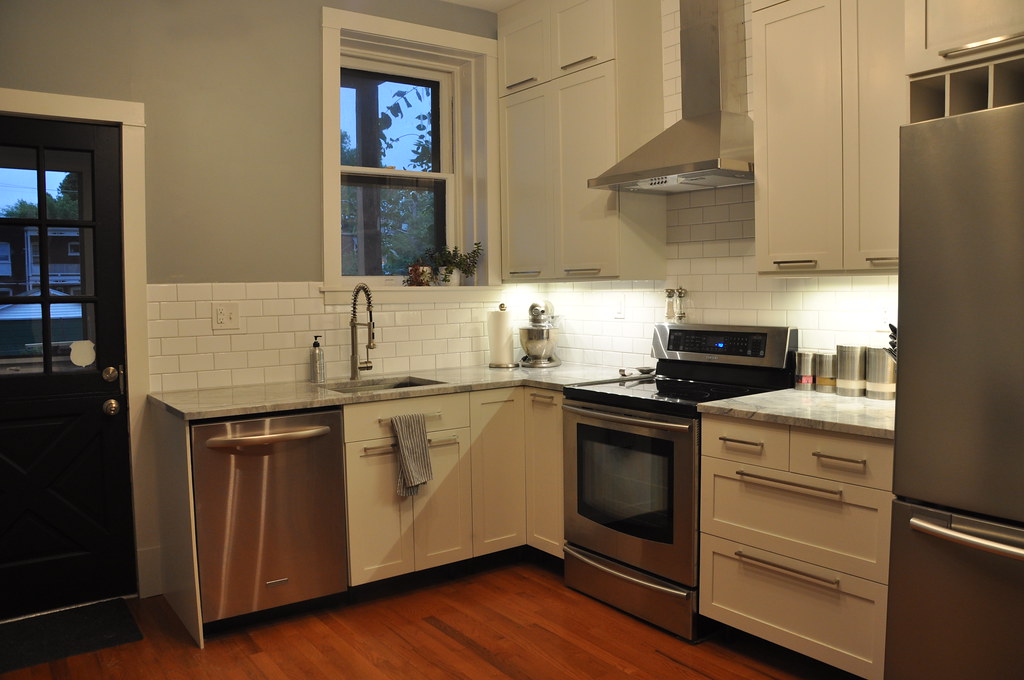
i think that living with the old kitchen for so long really helped us figure out what we needed in the new kitchen.  we needed more storage and more counter space.  as we've renovated the rest of the house, i've been mixing vintage ideas with simple modern elements, and i knew that i wanted something similar in the kitchen renovation.  i also have a thing for unique light fixtures.


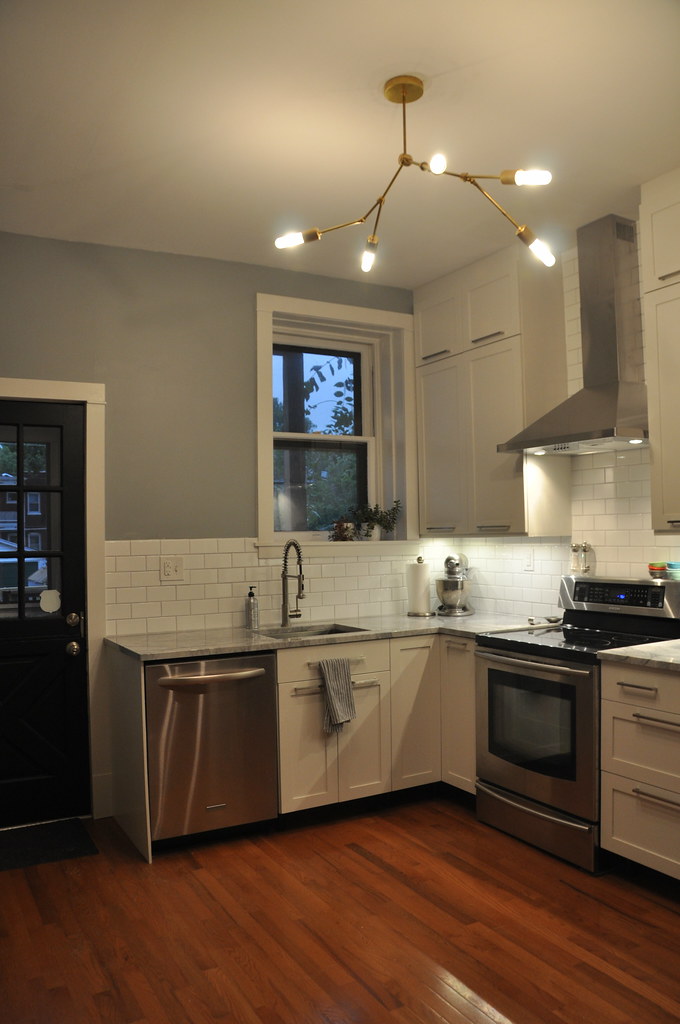
anyway, here is how the kitchen looks today (i removed the island in a few photos since the space is difficult to photograph):


DSC_0465

 
when we make the new island, we would like to keep the base design simple, similiar to this test island.  now that i've seen it in the space, ideally i'd like to also replace the butcher block top with a darker butcher block (walnut?), but we'll see. 

 
DSC_0474


DSC_0451

DSC_0462


DSC_0458

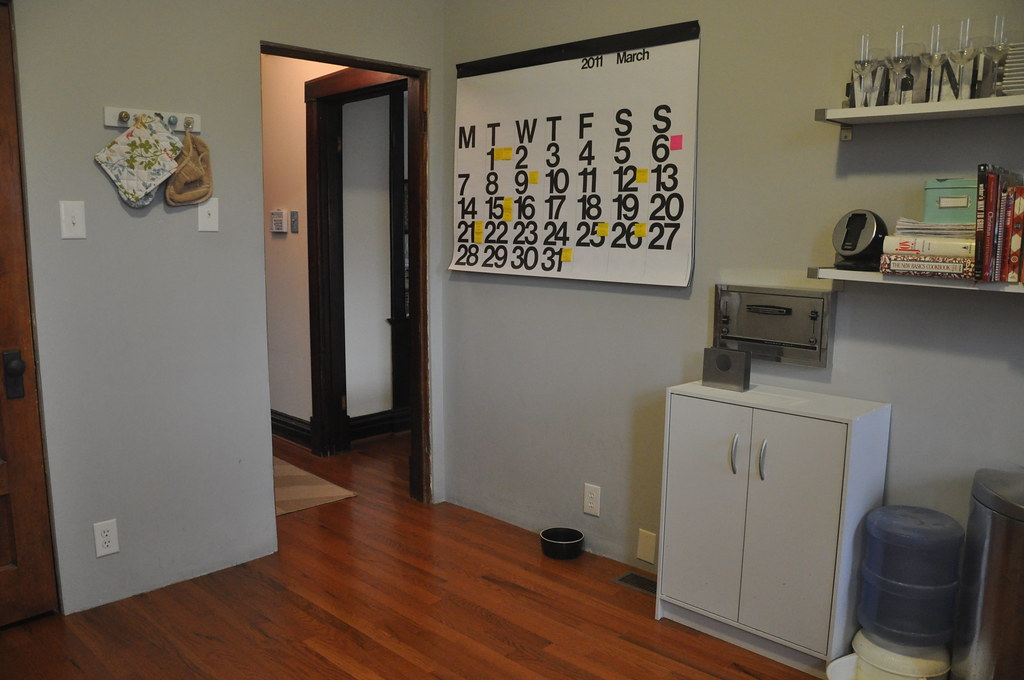
i will probably add some of the open shelving that we had in the previous kitchen above the microwave area, the kitchen seems out of balance and i think that will help.  or maybe just hang my giant stendig calendar.

DSC_0455

DSC_0453

we really love it.  it's hard to believe it's the same kitchen, the space feels so much bigger and brighter now!
11 Comments

search

Swedish Greys - a WordPress theme from Nordic Themepark. Converted by LiteThemes.com.