

we have been busy the last couple of weekends working on the kitchen. and as of today, we are about 95% done! the only major thing left is cutting, painting, and installing the base along the bottom edge of the cabinets. other than that, we have some touch up painting to do, but that's about it for construction! we decided to wait on rebuilding the island for now (both because we haven't really finalized a design, and so we can recover financially), but hopefully it won't be too long before we are able to complete that project too. we also haven't decided if we're going to install the open shelves above the shallow depth counter like we had planned, although i might wait to see how the island turns out before deciding on the shelves.
i've gotten behind with my photos and updates, so i'm going to start by posting a few from last weekend.
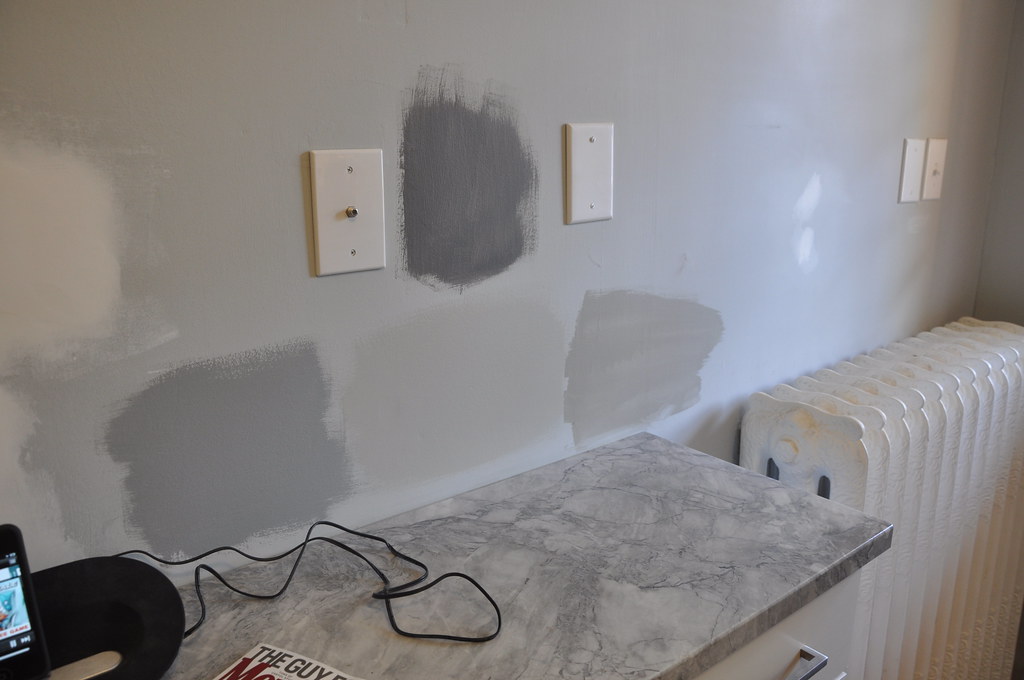
first we had to find the perfect shade of gray paint. after several samples and much debate, we ended up using valspar's "vintage gray" color, mixed by sherwin williams at 60%. "vintage gray" is the sample on the left, we just had it mixed to be lighter. the entire kitchen took 2 coats of paint, and i've very happy with the color.
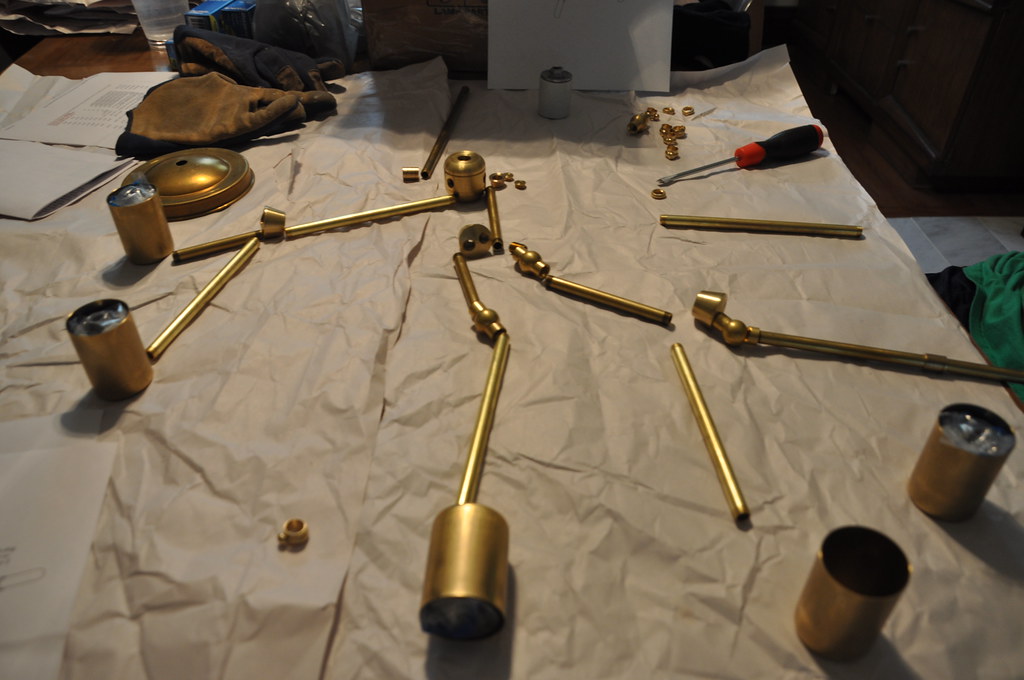
did i mentioned that i wanted to make a light fixture for the kitchen? i had seen several lindsey adelman fixtures and loved them, so when i found out she had a "you make it" tutorial online for the chandelier, i knew that it was the fixture that i wanted in our kitchen. a big added bonus of this fixture is that we were able to customize it slightly to accommodate the off center overhead light location. we are waiting on a few more replacement pieces so i'm going to wait to post the final pictures until it is complete, and i'll also post more information on making the fixture. i love how it turned out though!
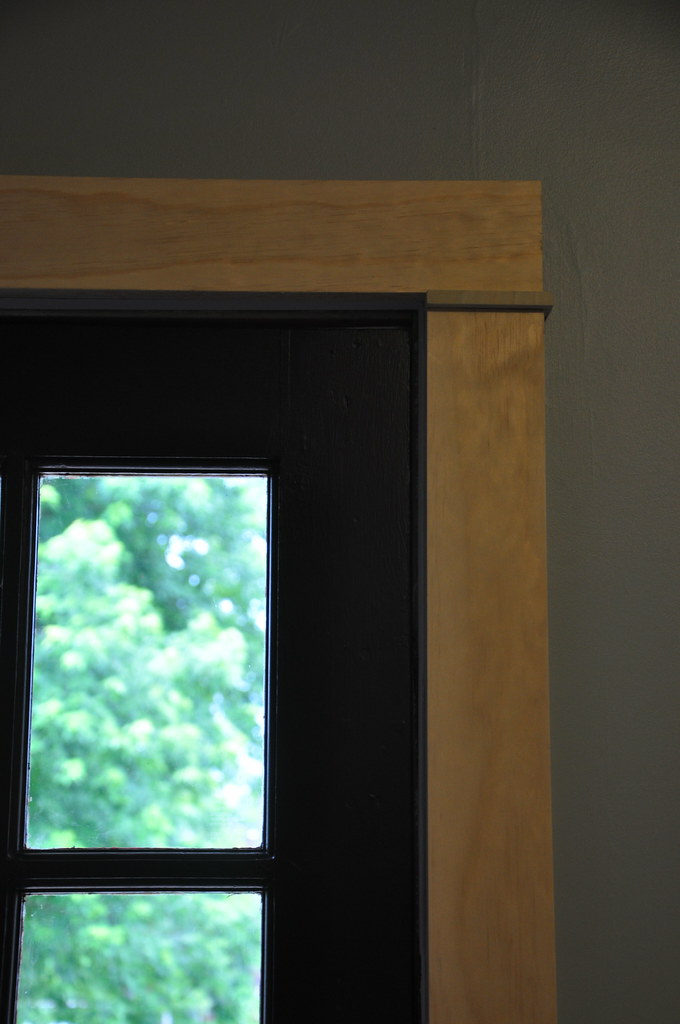
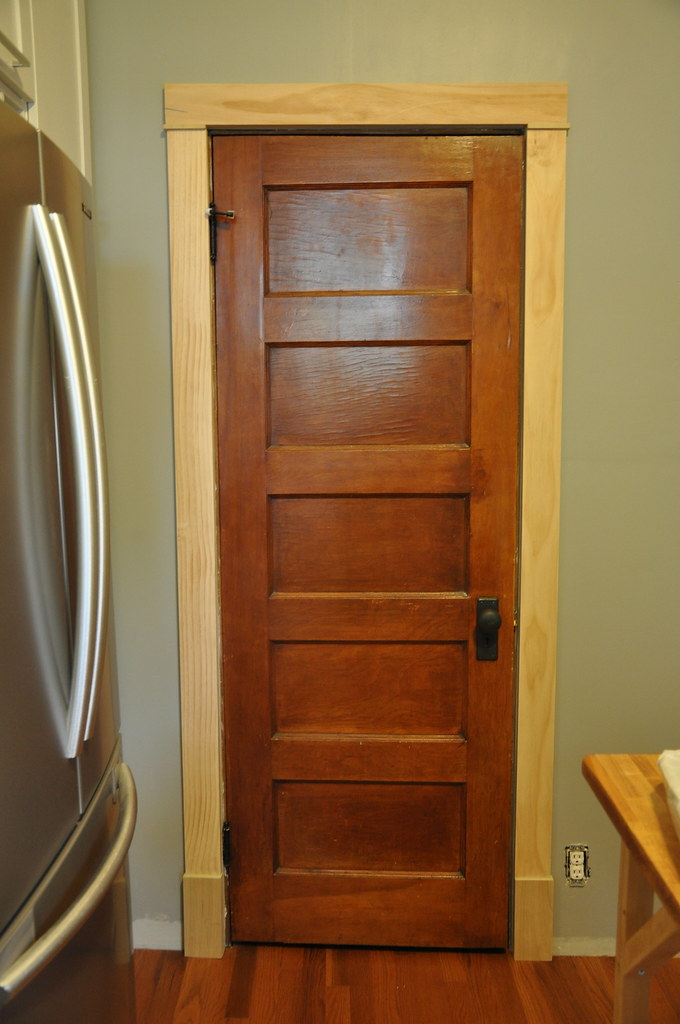
at some point, some previous owner had decided to cover up/remove all of the window, door, and baseboard molding in the kitchen, probably when they decided to build out 2 of the walls. with our project, we decided to install all new trim in the kitchen. since we could not replicate the profile of the trim throughout the rest of the house, i came up with this modified/simple design. i'll have to find a photo of the other trim for comparison.
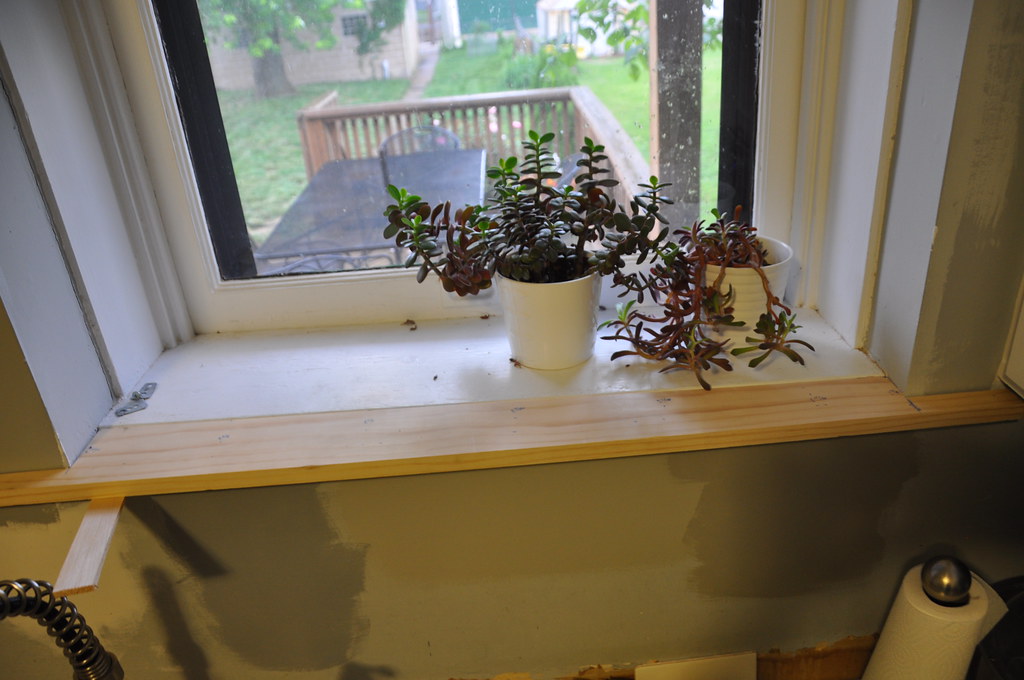
we also had to build out the window sill, you can see how uneven the window wall is based on how i had to cut the sill piece. now that it's all together, it's not perfect, but i think it looks good considering what we had to work with.
i have a lot to catch up on the blog, so i'm hoping to find some free time this week.
blogs i follow
-
1 day ago
-
1 day ago
-
2 days ago
-
2 days ago
-
1 week ago
-
7 months ago
-
7 months ago
-
1 year ago
-
2 years ago
-
2 years ago
-
3 years ago
-
3 years ago
-
4 years ago
-
4 years ago
-
5 years ago
-
6 years ago
-
6 years ago
-
6 years ago
-
6 years ago
-
7 years ago
-
7 years ago
-
7 years ago
-
7 years ago
-
8 years ago
-
8 years ago
-
8 years ago
-
9 years ago
-
9 years ago
-
9 years ago
-
9 years ago
-
10 years ago
-
10 years ago
-
10 years ago
-
10 years ago
-
10 years ago
-
11 years ago
-
11 years ago
-
11 years ago
-
11 years ago
-
11 years ago
-
11 years ago
-
11 years ago
-
12 years ago
-
13 years ago
-
-
-
-
3 Responses to kitchen update
Looking good! Making great progress lady!
wow great idea for the DIY light fixture, can't wait to see how it turns out!
Ah, nothing like uneven walls and ceilings. That windowsill looks great with your fix. I'm very interested in seeing your new light fixture!
Post a Comment