

we have quickly moved pass the planning stage of the bathroom project and have offically just started. we realized we were running out of time and still had many things that we wanted to get done pre-baby. so... nothing like just starting a project to force you to make some decisions!
i cannot believe i am sharing this photo with you all, but i tend to keep things real around here, so this is what our shower really looked like before (minus the hole in the ceiling, we did that a few weeks ago to see what was going on with the vent):

gross, right? do not zoom in, it just gets worse. for the record, that mold/mildew/whatever it is has been there since we bought the house. we have tried everything to remove it and it is permanently stained. this is the number one reason why we wanted to renovate the bathroom before the baby. well, that and the fact that we had a blue tiled shower. moving on, we decided to start this project by demo-ing the tile. we quickly realized that part of the tile issue was that the tile was installed with liquid construction adhesive and caulk - no mortar or grout. the good news is that once we removed the tile and the drywall, we did not find any additional mold or water damage.
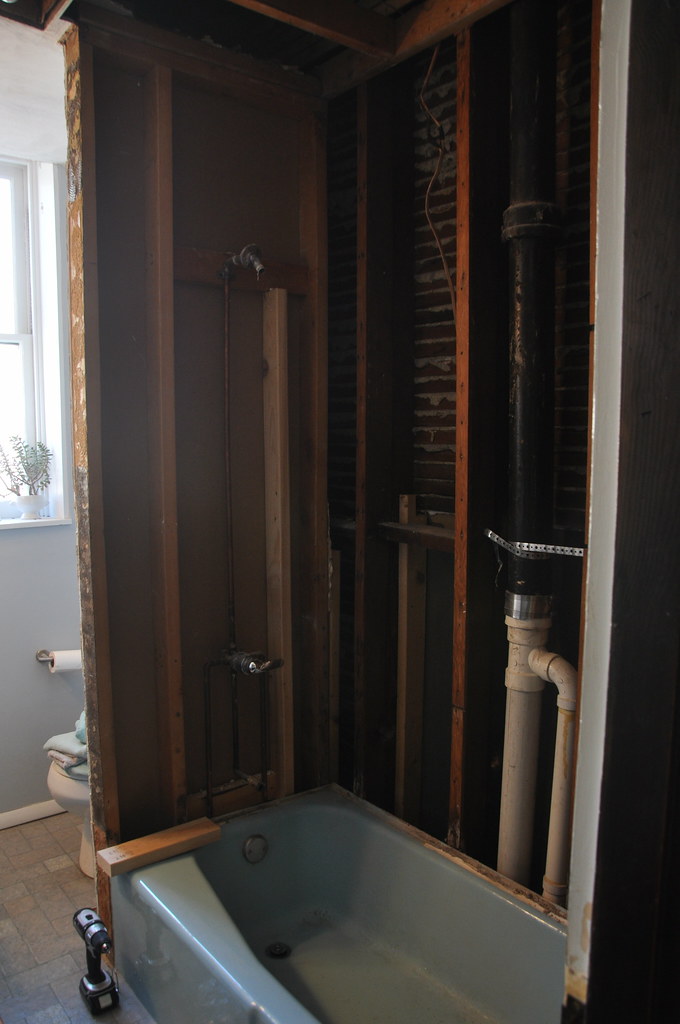
next up, we spent a day doing plumbing work. we installed the new fixtures, and we also wanted to raise the shower head to be at a better height for mike, who is 6'-4" tall.
if you haven't figured it out by now, we also decided to just keep the tub. we will reglaze it at the end of this project so that it is white. we debated replacing (thank you for your comments by the way, they were very helpful), but in the end decided to go with reglazing. i realized that the deeper tub i wanted might be difficult to use every day for showering (the step in/out would have been really high), and our blue tub really isn't in bad shape. we had a hard time justifying the cost and time of replacing the cast iron tub. our friends have had good success with reglazing, so i am hopeful that we will too.
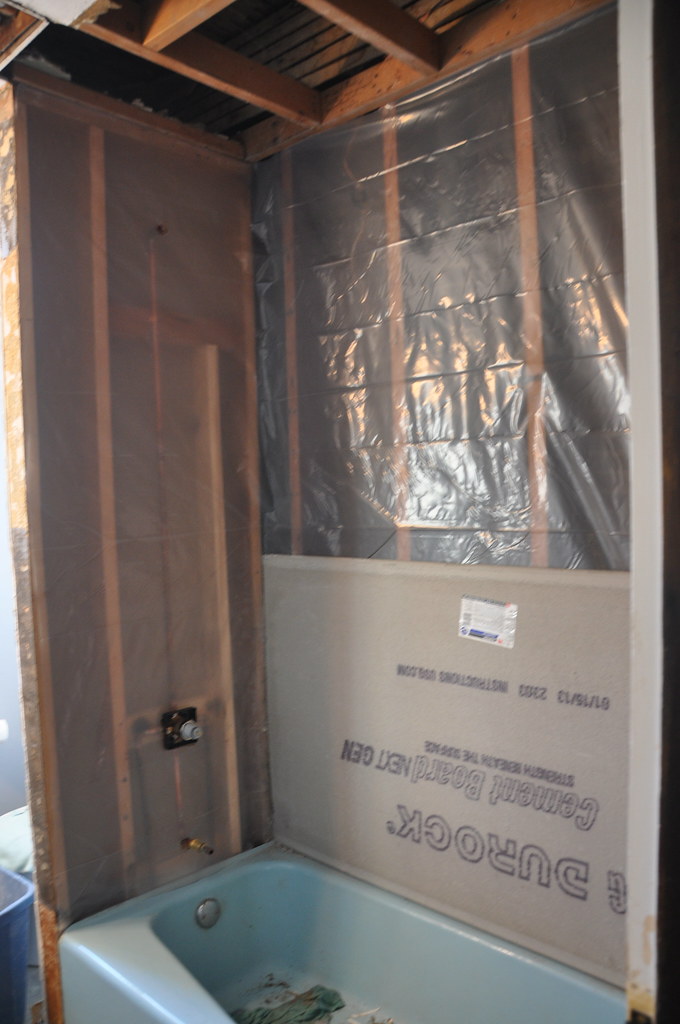
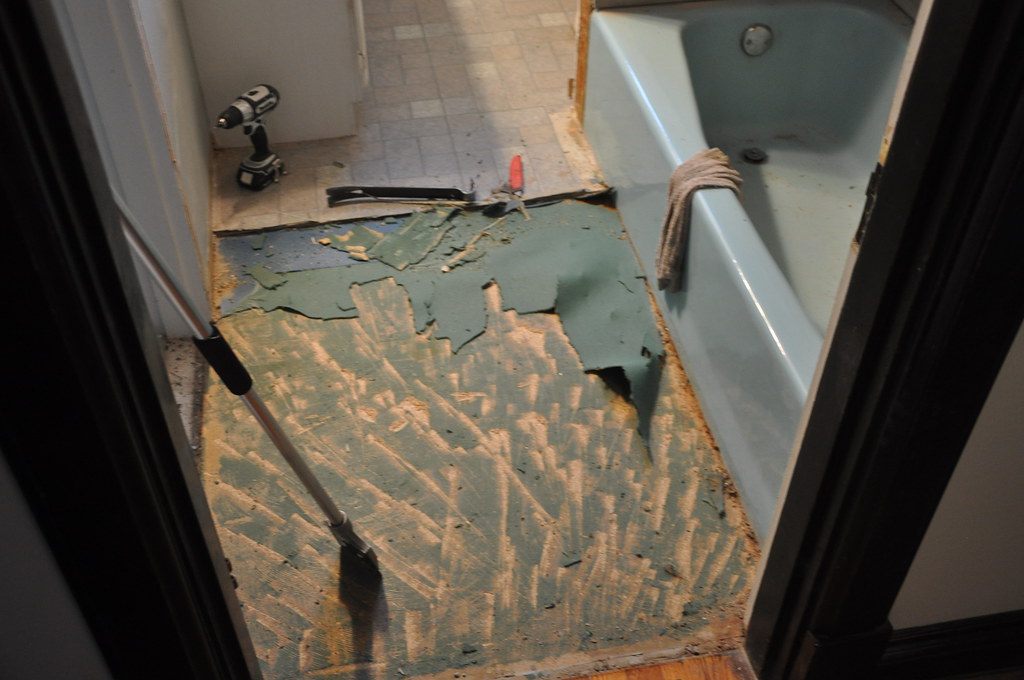
after installing the new durrock for the tile around the shower, we moved on to the floor. we wanted to see what was going on under the vinyl tile so that we could determine our starting point for the new tile. we also wanted to try to keep the bathroom floor as level as possible with the hallway. we removed the first layer of vinyl along with the 1/4" plywood that was under it... only to discover another layer of vinyl. we originally thought we could just install our tile backer over the second layer of vinyl, but after closer inspection we realized that the vinyl had a substantial cushion backing, and we really needed to remove it too before installing tile. luckily mike was able to scrap it off without too much trouble.
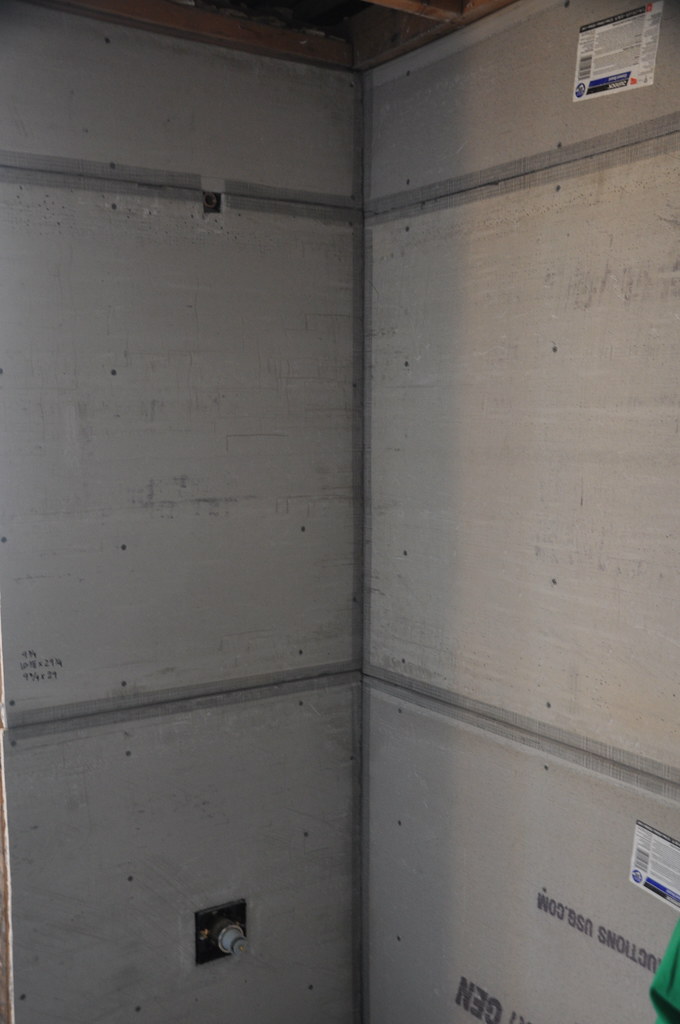
we installed the tile backer over the particle board, and this is where we are today:
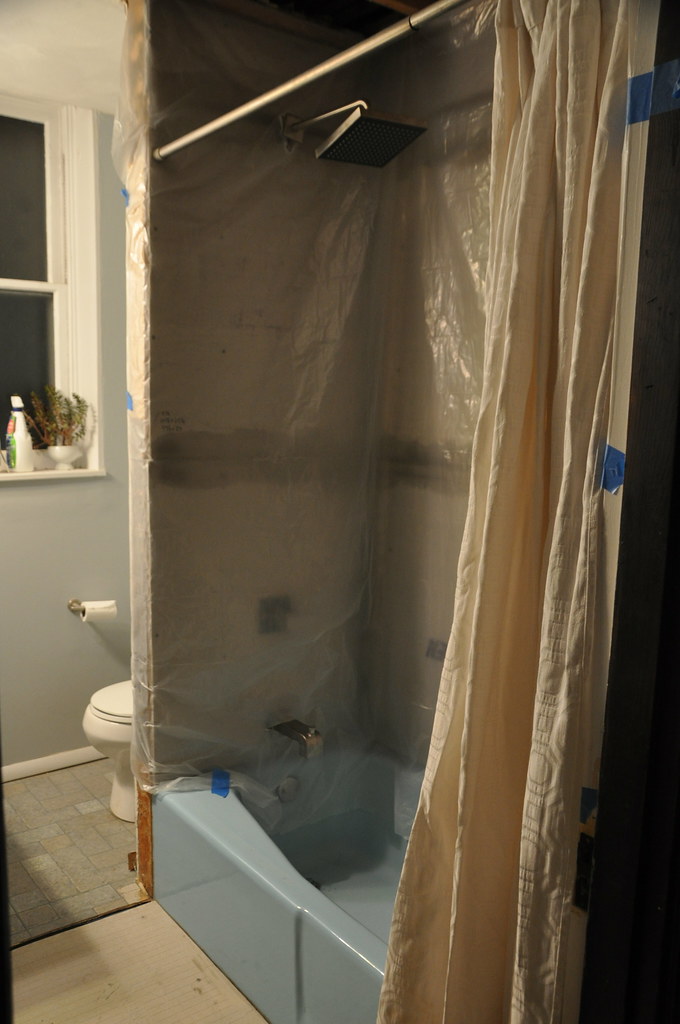
we've been able to shower this week thanks to our lovely plastic shower surround. not ideal, but much better than not showering! our goal for the weekend is to remove the toilet and the sink so that we can remove the rest of the vinyl floor and prepare the floor for tile. we would like to actually get the floor tile installed this weekend, so wish us luck!
3 Responses to bathroom update
So excited to see the end result! You two do good work! Care to do some of that in NW Ohio? lol
Good idea putting up the plastic! Not sure I would've thought of that!
Looking great so far! Could you work the blue tub into the design? I actually think its kind of fun! With everything else updated, I honestly think it could look good.
Post a Comment