

one of the biggest challenges in our bathroom project was the sink. as you can see from this old photo (after we did our temporary update when we moved in), the bathroom is very narrow, and i actually always felt like the old sink was too deep. for reference, the top portion was about 19", and the bottom was 16.5". we had a tight budget for this remodel so moving plumbing or re-configuring the layout was not an option, the new sink would be installed in the same spot:

we looked everywhere for a sink/vanity/cabinet/something that was 16" or less in depth. ikea had one, but the style did not really match what we were looking for, plus the length was not really right. i found a few options online, but they were all super expensive... i even looked at pre-made console tables, or end tables, hoping i could find something that matched the dimensions we needed, and that we cound install a sink in. eventually, i gave up trying to find something that would work and decided instead to explore the option of making our own from scratch.
enter ana white. have you seen this website? it is fantastic - lots of tutorials on how to build various pieces of furniture. i found this tutorial for an end table, and decided to use that as a starting point for our sink base.


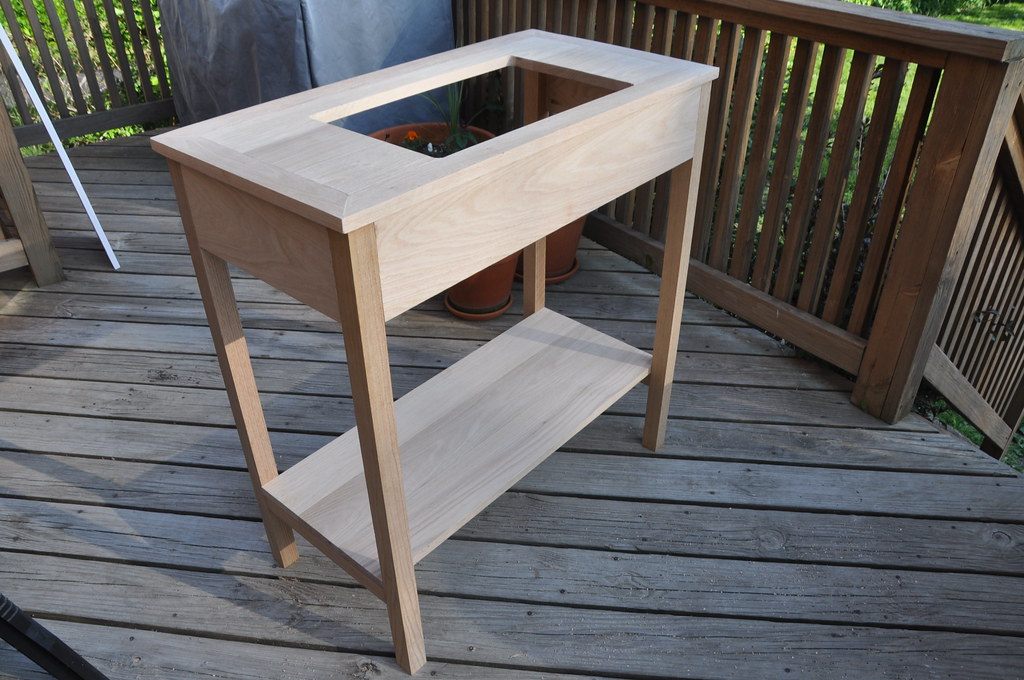
starting with ana's basic design, i lowered the shelf to try to cover up the plumbing mess that we have coming out of the floor. i also added an apron along the front and sides to cover the bottom of the sink. and then changed all dimensions to fit our space.
building the top took awhile because we had to biscuit join each board, cut to length, and then add the mitered frame to finish it off. and then cut the sink hole... i should mention that in the middle of this process, our (very old) table saw tried to kill us, so we also ended up buying a new table saw. 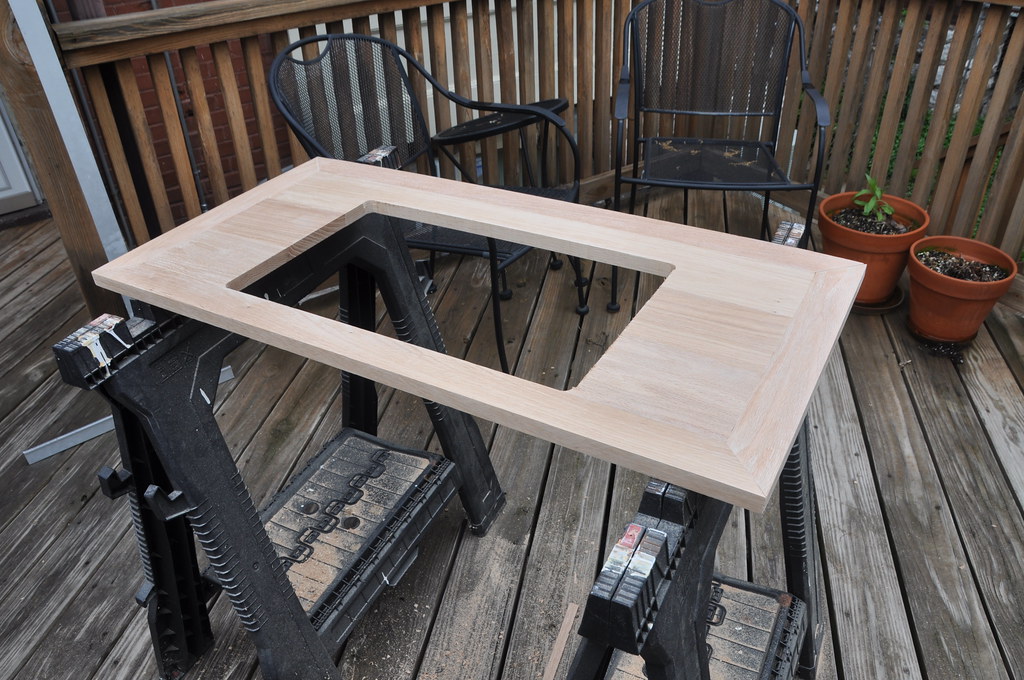
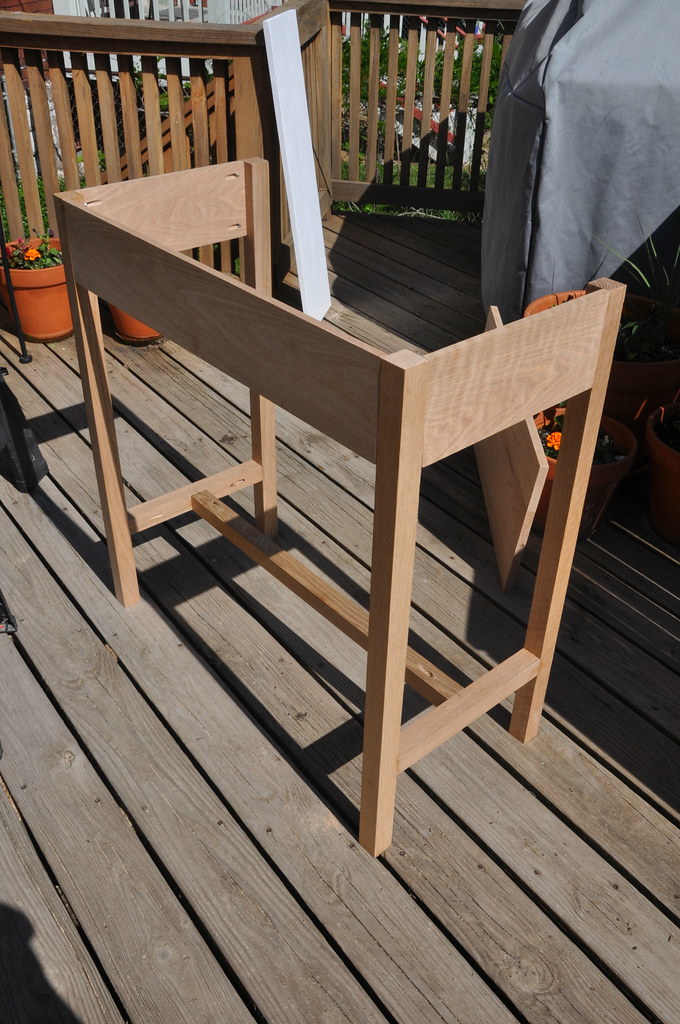
then we started working on the legs... murphy was obviously helping.

and the rest of the base...
and finally added the top and the bottom shelf.
murph kept helping.

once the sink base was assembled, we drilled the holes for the faucet, and then stained the entire base. we used a walnut stain to match the door. after the stain dried, we coated the entire thing with many coats of waterlox. this was a long process because you have to wait 24 hours between coats, and then almost a week before attaching the sink. and it still needs 30 days to cure! we are hopeful that the waterlox will create a waterproof finish though.
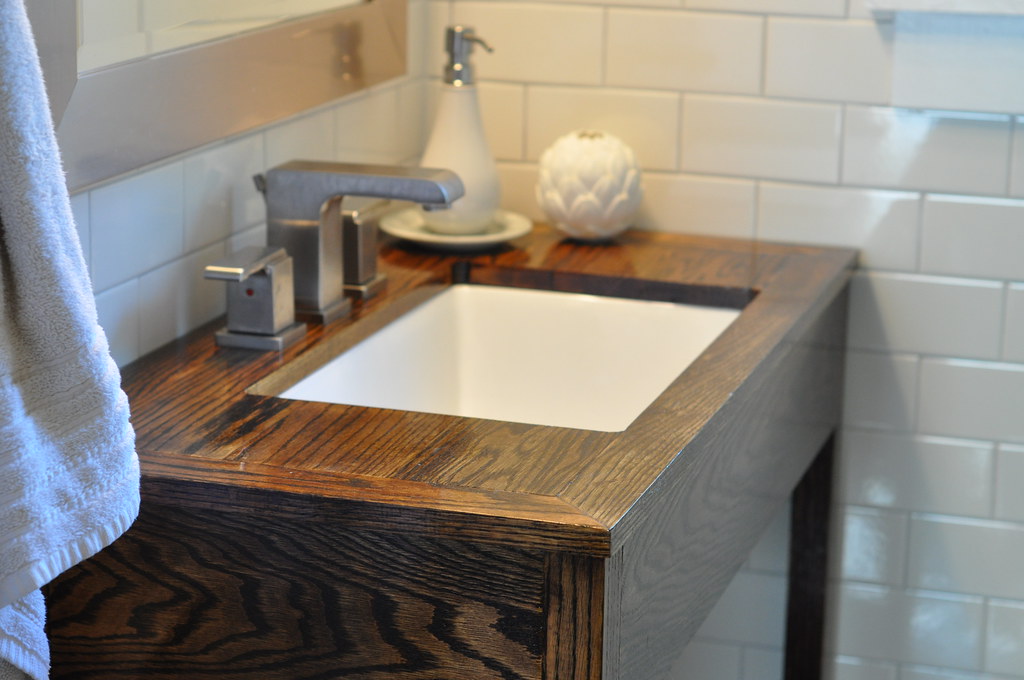
finally installed in the bathroom!
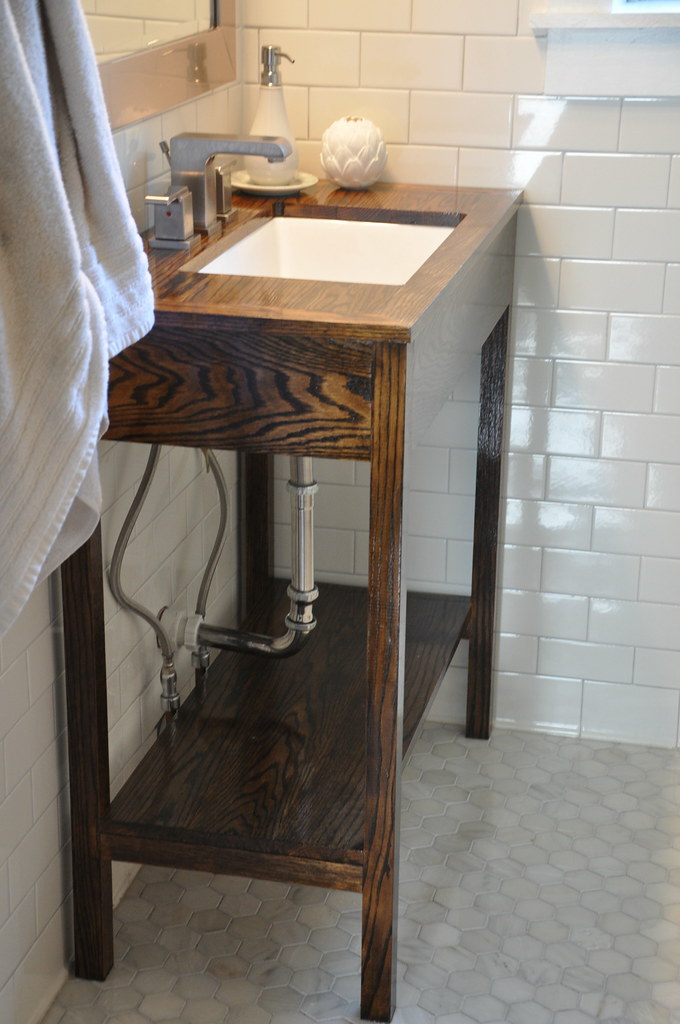
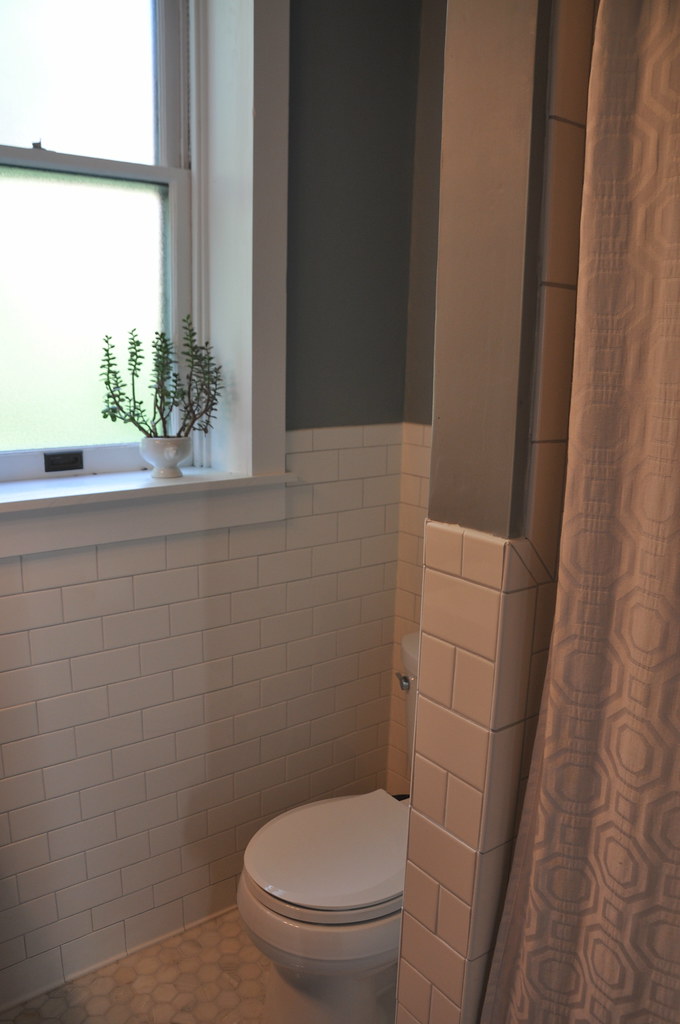
i'm very happy that we decided to tile the entire bathroom, i love how it turned out.

6 Responses to the bathroom sink
Looks awesome!!
Wow! Huge improvement! I especially like all of the tile.
Looks so great!!
I really like it!! Nice job, per usual :)
Looks amazing! I love it!
Wow! I really like the transformation. There is definitely a huge improvement. It certainly looks better than how it was before changing the bathroom sink. Good thing you got that idea. Sometimes, all a bathroom needs is a nice bathroom sink and it will really look different. It can really help spruce up a bathroom.
Terracqua.net
Post a Comment