wesley's room

we actually finished wesley's room back in may/june, but i never got a chance to post about it.  better late than never?  esp. since my last update was in april!  looking back over my recent posts i realized i am behind on several house updates...  i'll work on that.

anyway, wesley's room.  we didn't do a "theme", we just wanted to keep it simple, and make good use of the small space.
DSC_0268
 
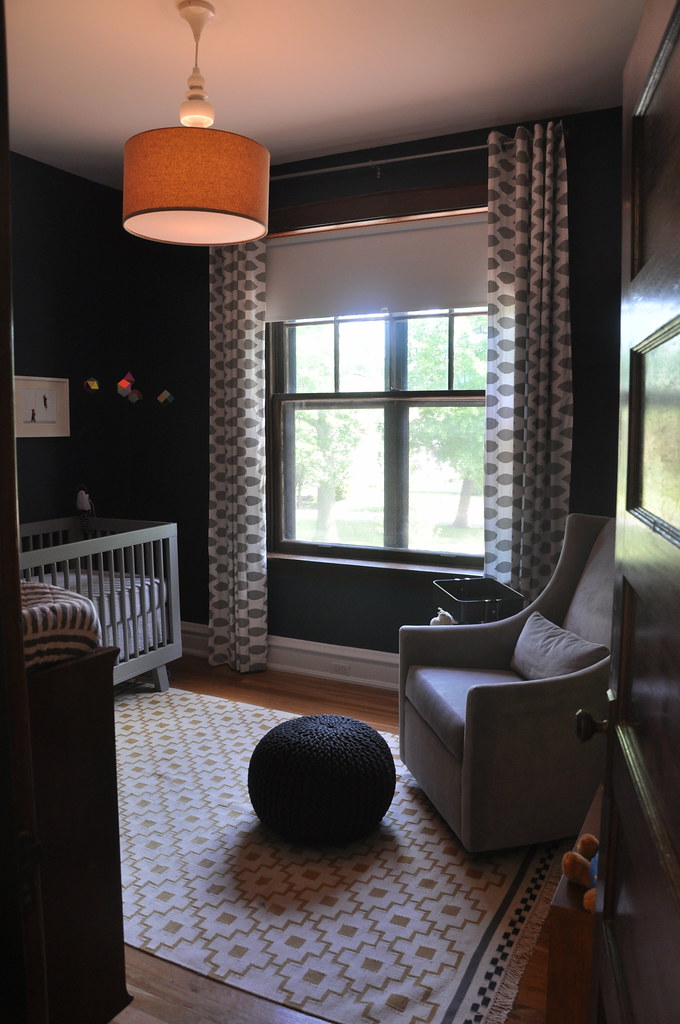
right inside the door we have his books, the chair, and a small bench for additional storage.  i ended up putting the ikea cart beside the chair, but might remove it once he starts being more active.  i am still looking for some kind of light to put in this area for middle of the night feeding so i don't have to turn on the overhead light.  maybe a lamp behind the chair?  i love all of the books, and i can't wait for wesley to be excited about reading them.
 
DSC_0271

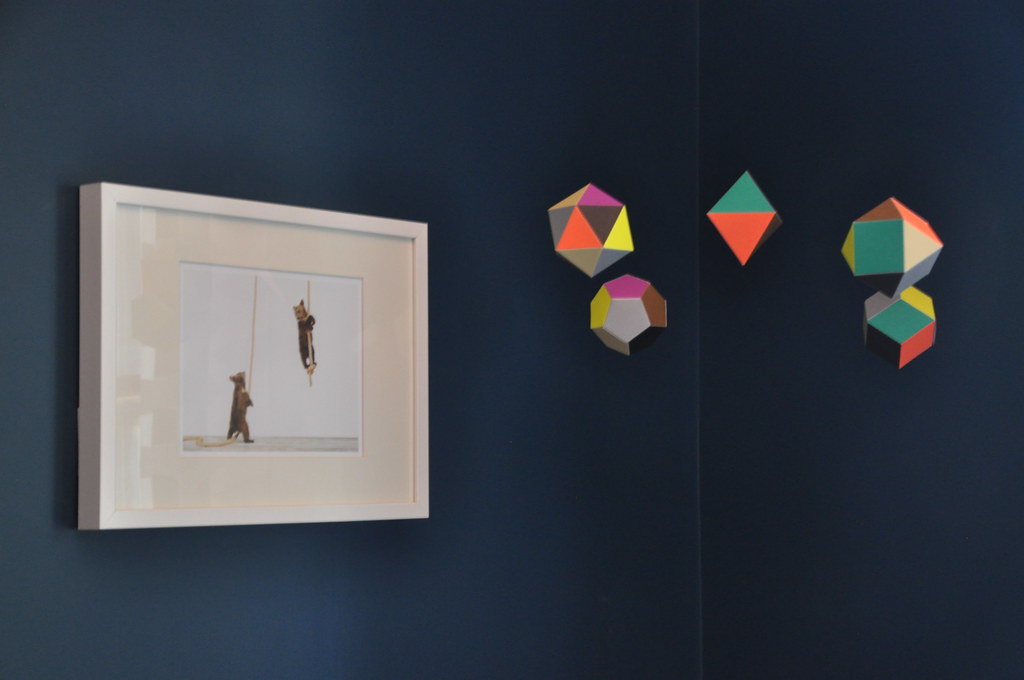
on the other side of the window, we have his crib, the animal prints, and a themis mobile. probably not a traditional choice for a baby mobile, but i liked the bright colors and shapes and hopefully wes will too.  
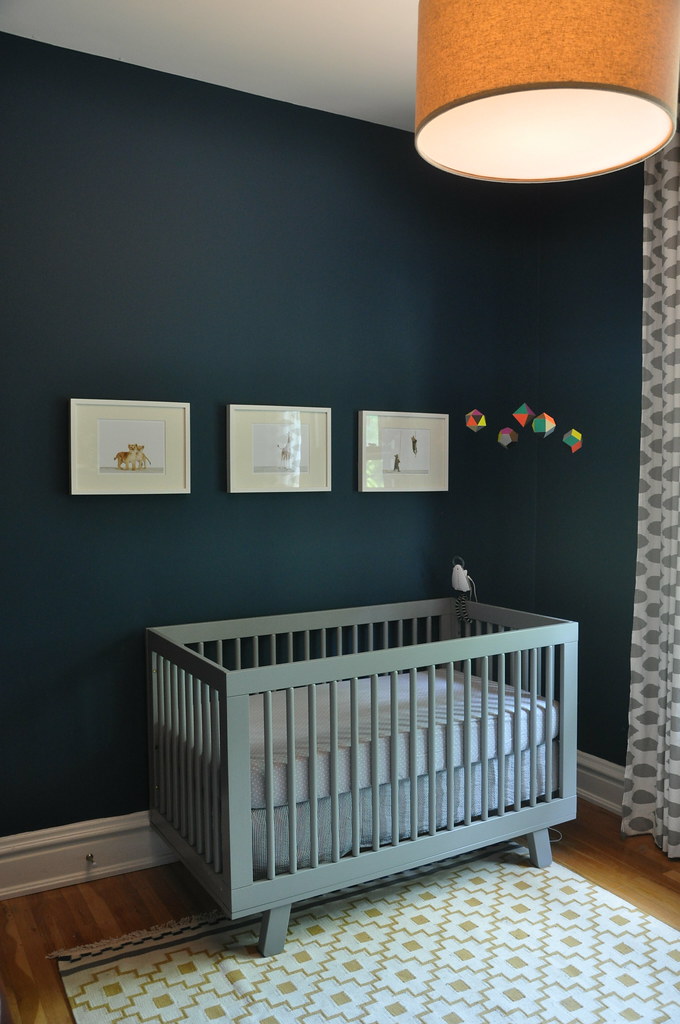
DSC_0269
 
DSC_0270

next is the closet.  i forgot to take a more recent photo, but it is full now!  thanks to the grandmas, wesley has lots of clothes.  the closet never fit adult sized hangers, but works perfectly for baby size hangers.  we added the shelves for extra storage, there is also a shelf above the clothes rod, it must not have been installed when i took this photo.  we added the bottom shelf to cover up the angled floor - the closet is over the stairs.  it is difficult to tell in the photo, but the closet is painted gray, we used a sample paint left over from another project.
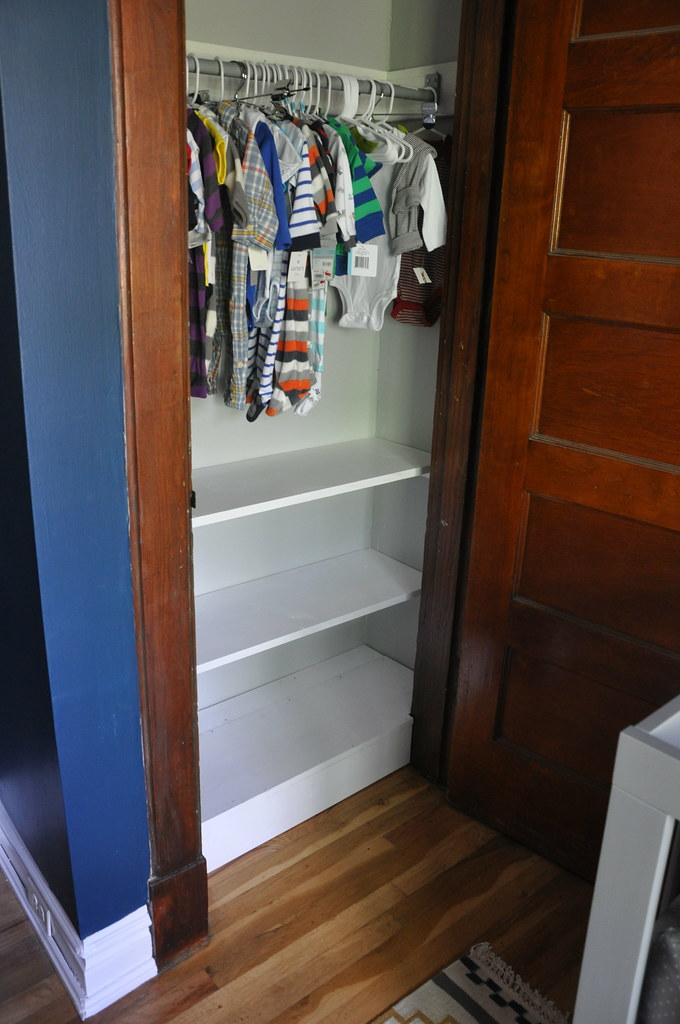
DSC_0240

between the closet and the door, we have wesley's dresser, which we are also using as a changing table. i was excited when i found this dresser on craigslist, it is the perfect size to fit in the small space. since we are cloth diapering, the hanging wet bag is for dirty diapers. 
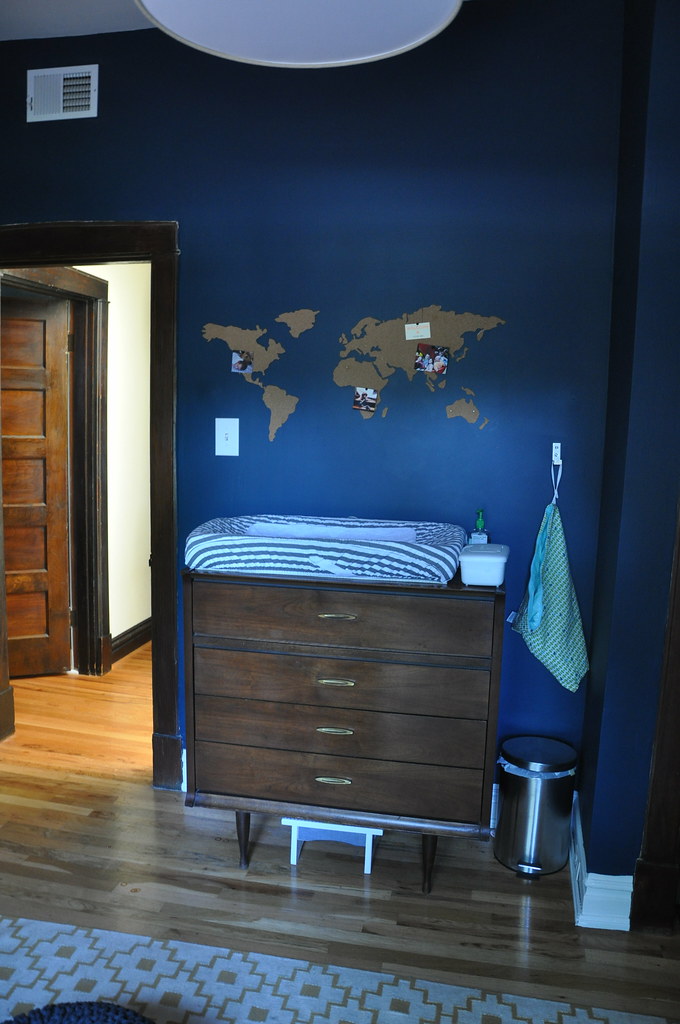
DSC_0469
 
the map above the dresser is actually made of cork, i thought it would be a fun way to add photos of friends and family.
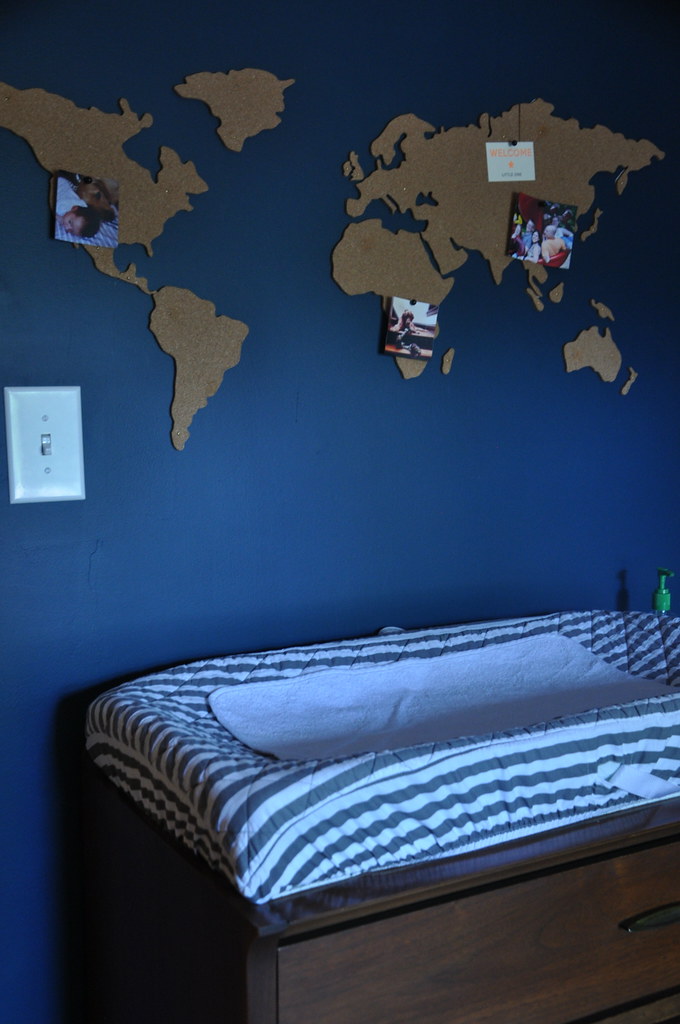
 
DSC_0470

and that's it - the room is only about 10'x11', but it has everything that we need for wesley.  i really love the wall color and am glad that we decided to keep it.  i think that i've previously posted about some of the items in the room, but if you have any questions, let me know.

8 Comments

wesley - 1 month

a little late, but i thought that i should a least try to do a monthly wesley update post.  if nothing else, it will be nice for us to have a record of these things, plus i'm assuming that at least the grandparents will read this :)

Untitled
 
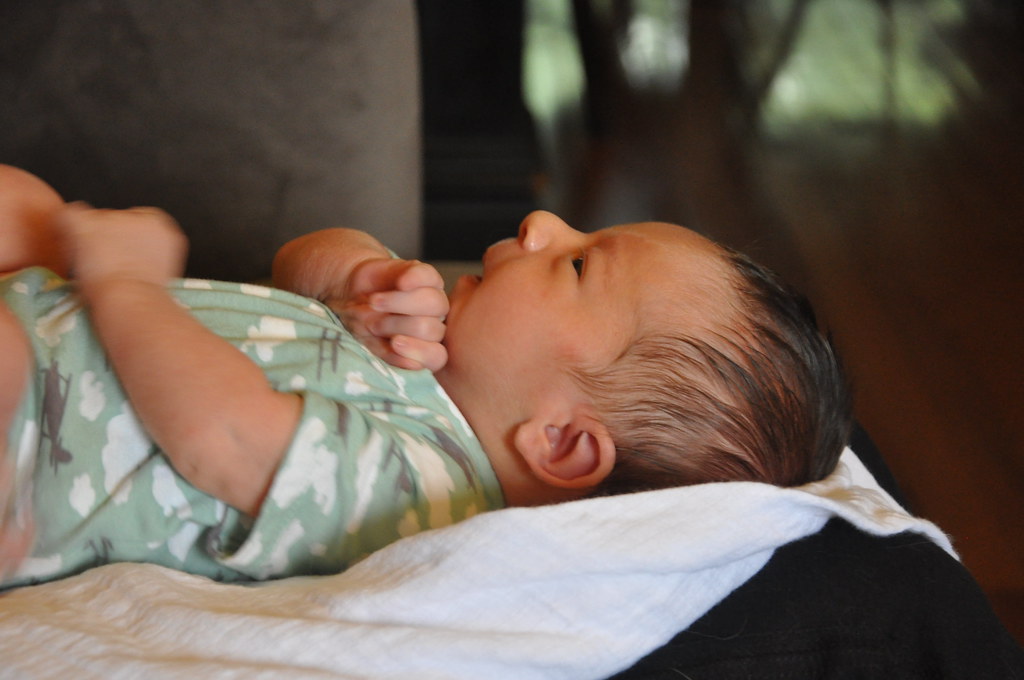
stats:  at his one month appointment, wesley weighed 10 lbs 2 oz, which put him right at 50% for weight.  he grew an inch in length and was 22", which is 75%.  his head size was also at 75%.  he never really fit in newborn sized clothing, and is currently wearing size 0-3.  he's actually already outgrown some of his clothes in this size.

iPhone backup 7.22.2013
 
eating/sleeping:  welsey is doing great with both eating and sleeping.  he seems to have put himself on a schedule, and has been on it since he was 2 weeks old.  he has some off days, but for the most part he gets up around 9, eats, and then is happy just hanging out and napping.  he'll eat again around 1, and then take a decent nap in the afternoon.  the afternoons are also when i try to run any errands or make appointments.  he eats again around 5, which has been really nice because he is usually ok with hanging out in his swing while we eat dinner.  he's awake most of the evening, and that's when we try to do tummy time, bath time, go for a walk, etc.  he'll take a bottle from dad around 9/9:30, and then he's been going to bed around 10 or 11.  he will usually sleep most of the night, getting up once around 3 or 4 to eat.  he's actually even slept through the night a few times.  no complaints from us!
 

iPhone backup 7.22.2013

milestones:  we started using our cloth diapers around week 3, and have been really liking them so far.  we've also gone out for a few walks, and have been able to go out to dinner a few times.  wesley is generally just really relaxed and happy, so we've been able to do more than i thought we would in the first month.  per our dr's recommendation, we introduced a bottle a few weeks ago to make sure we had time to work with him before taking him to daycare.  he took the bottle like it was no big deal though, so no issues there!  he's great at tummy time - he seems to have good head control and has even managed to flip himself over a few times.  we also had our first date out without wesley this past month, we went to our favorite wine bar for a drink when mike's parents were visiting.  wesley did great with his grandparents.

Untitled
 
misc.:  we've had 2 family visits over the last month.  my parents drove out when wesley was born, and then mike's parents and youngest brother visited a few weeks ago.  it was so nice to have extra people around.  the pets have been doing really well with wes.  murphy esp. loves wesley and loves to give him kisses.  both cooper and murphy will run to his room in the morning to check on him, and have to make sure he's ok if he starts to cry.  

iPhone backup 7.22.2013

the first month has gone by very quickly and i can't believe how much he's changed already!

4 Comments

wesley michael

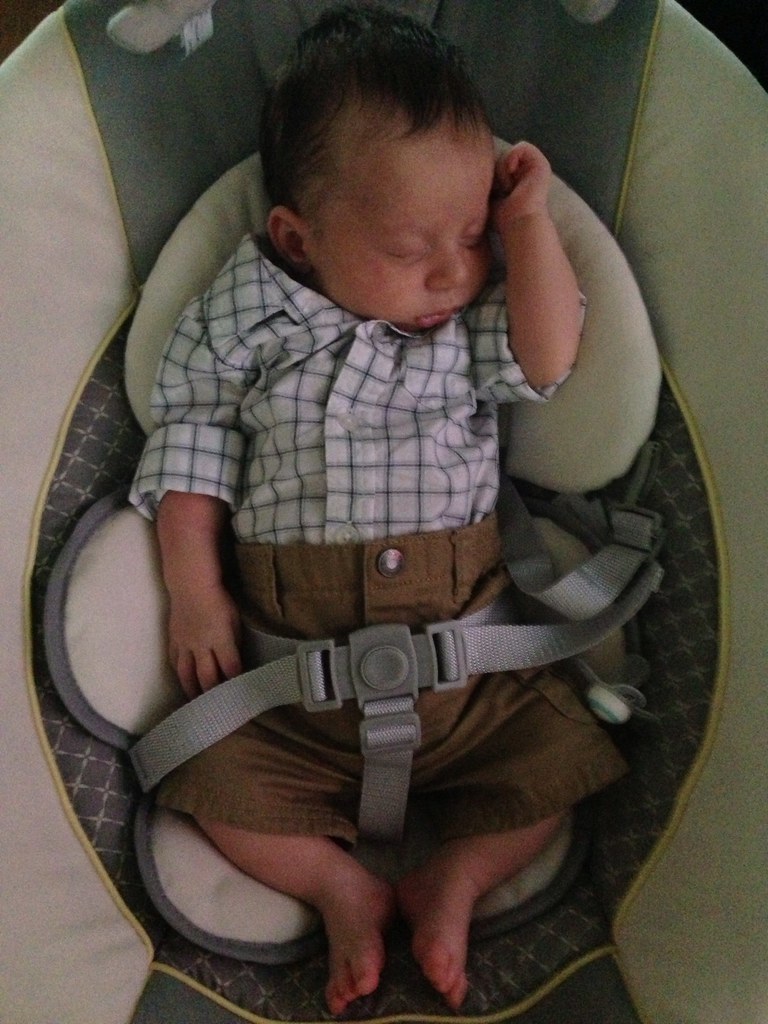
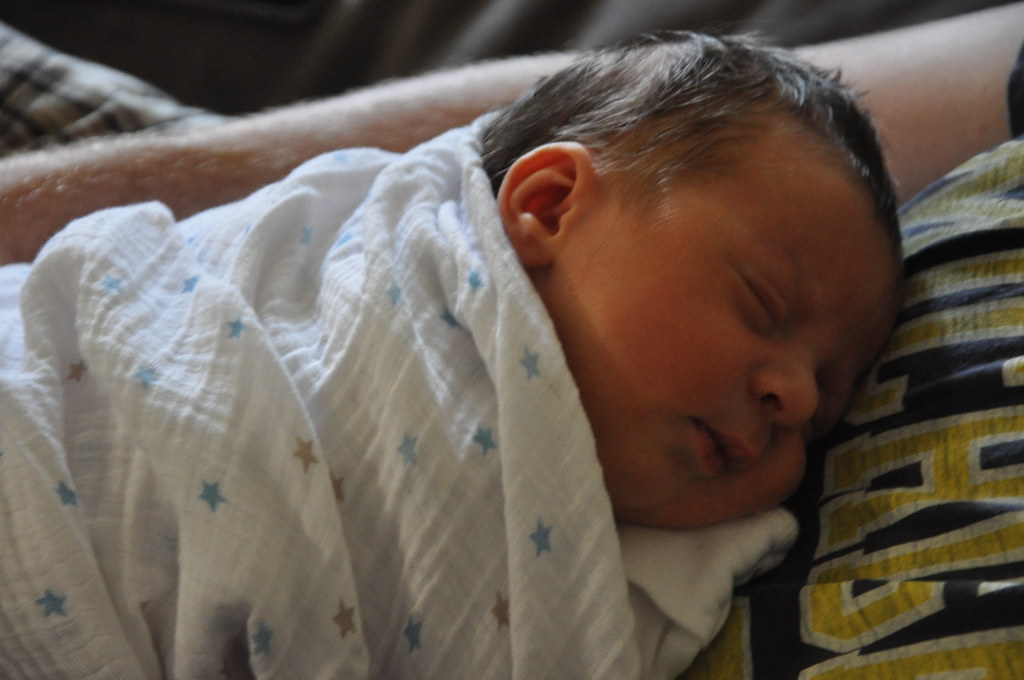
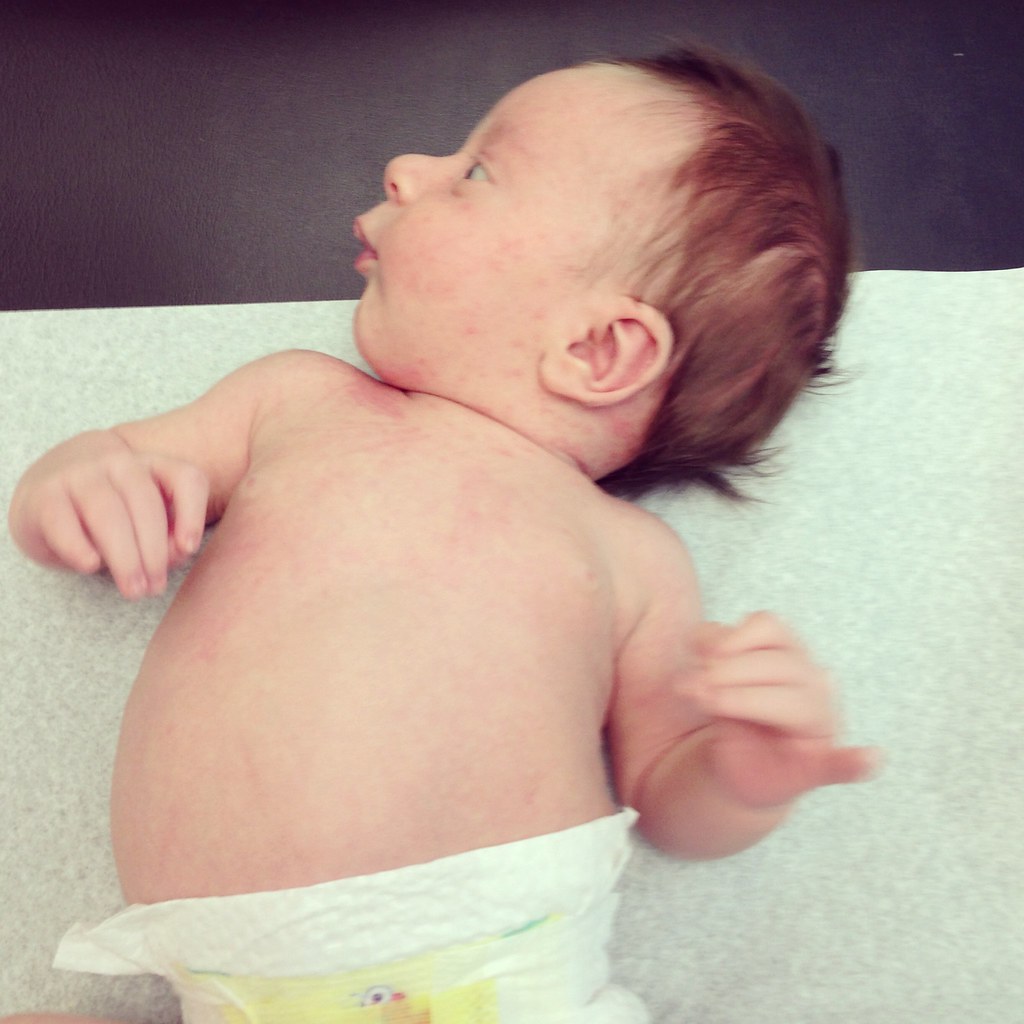
wesley was born a few weeks ago on the 21st, 4 days before my due date.  he was 8 lbs 3 oz, 21" long, and had a head full of dark hair.

55699-IMG_5756

we had a few scares during labor, but he is just perfect and i have had a good recovery so far.

DSC_0347

i'm hesitant to say this because i know it can quickly change, but we're doing really well.  he's a decent sleeper - we usually can get a 3-4 hour stretch each night.  he's doing great with eating, and is just generally a happy baby.

DSC_0384

we've mostly been hanging out at home, but have managed to get out for a few walks, and even went to a family dinner on the 4th.

DSC_0390

we are so in love.

5 Comments

the bathroom sink

one of the biggest challenges in our bathroom project was the sink.  as you can see from this old photo (after we did our temporary update when we moved in), the bathroom is very narrow, and i actually always felt like the old sink was too deep.  for reference, the top portion was about 19", and the bottom was 16.5".  we had a tight budget for this remodel so moving plumbing or re-configuring the layout was not an option, the new sink would be installed in the same spot:


we looked everywhere for a sink/vanity/cabinet/something that was 16" or less in depth.  ikea had one, but the style did not really match what we were looking for, plus the length was not really right.  i found a few options online, but they were all super expensive...  i even looked at pre-made console tables, or end tables, hoping i could find something that matched the dimensions we needed, and that we cound install a sink in.  eventually, i gave up trying to find something that would work and decided instead to explore the option of making our own from scratch.

enter ana white.  have you seen this website?  it is fantastic - lots of tutorials on how to build various pieces of furniture.  i found this tutorial for an end table, and decided to use that as a starting point for our sink base.

i found a white ceramic undermount sink on overstock, and came up with this:


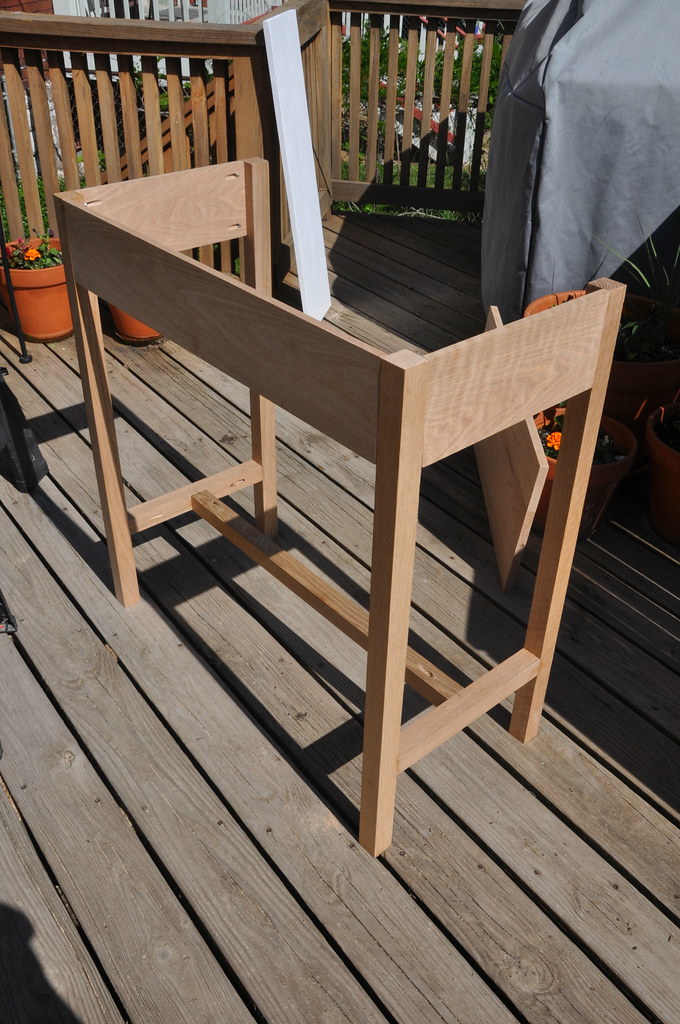
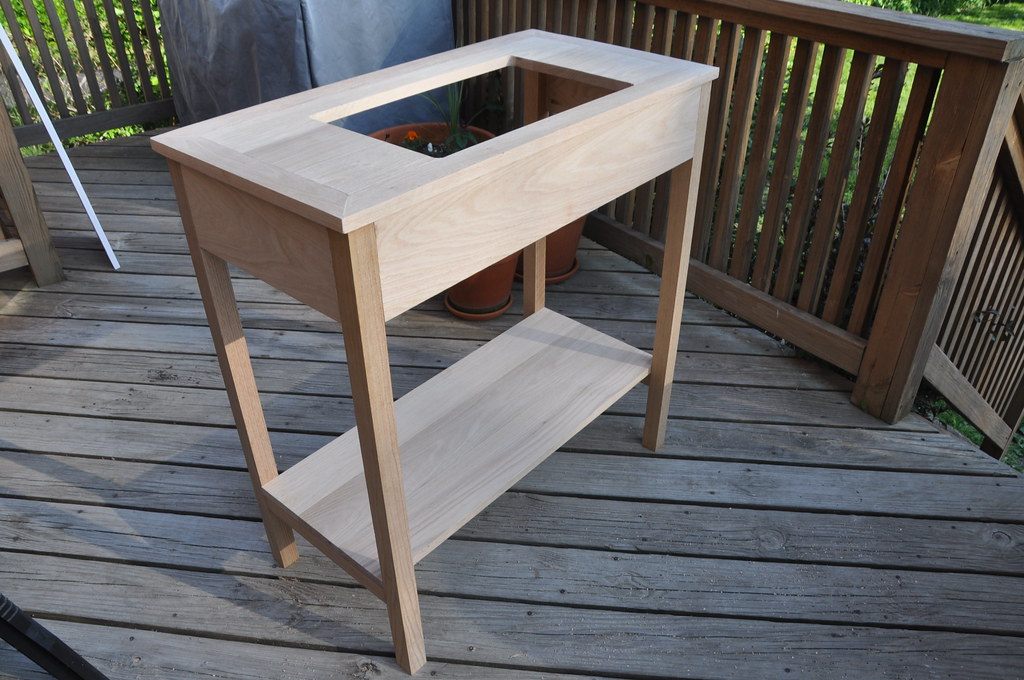
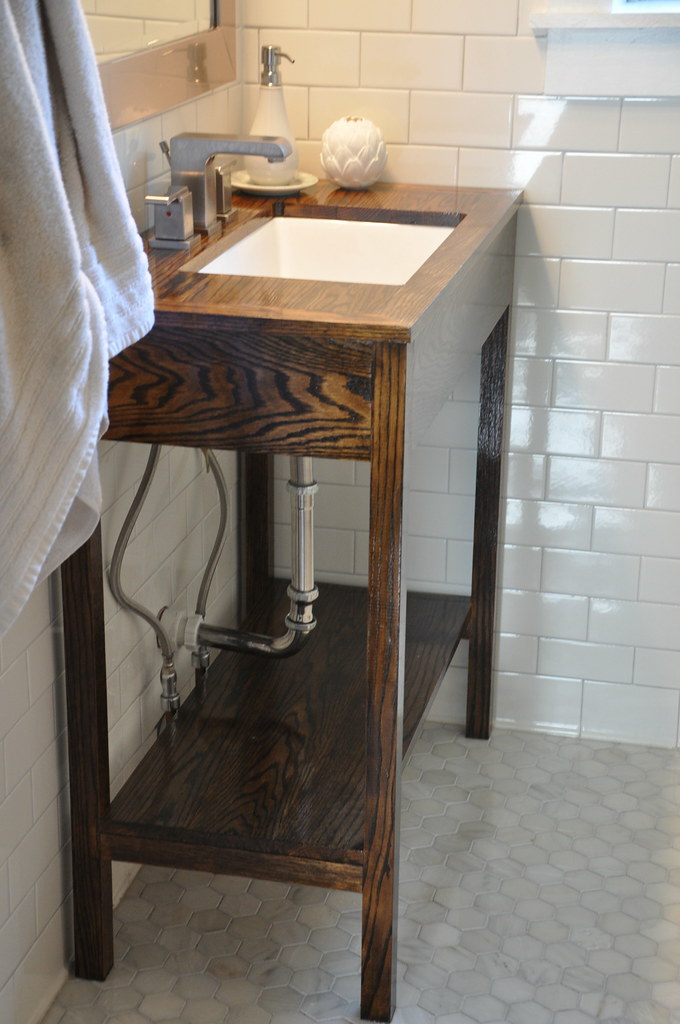
starting with ana's basic design, i lowered the shelf to try to cover up the plumbing mess that we have coming out of the floor.  i also added an apron along the front and sides to cover the bottom of the sink.  and then changed all dimensions to fit our space.  

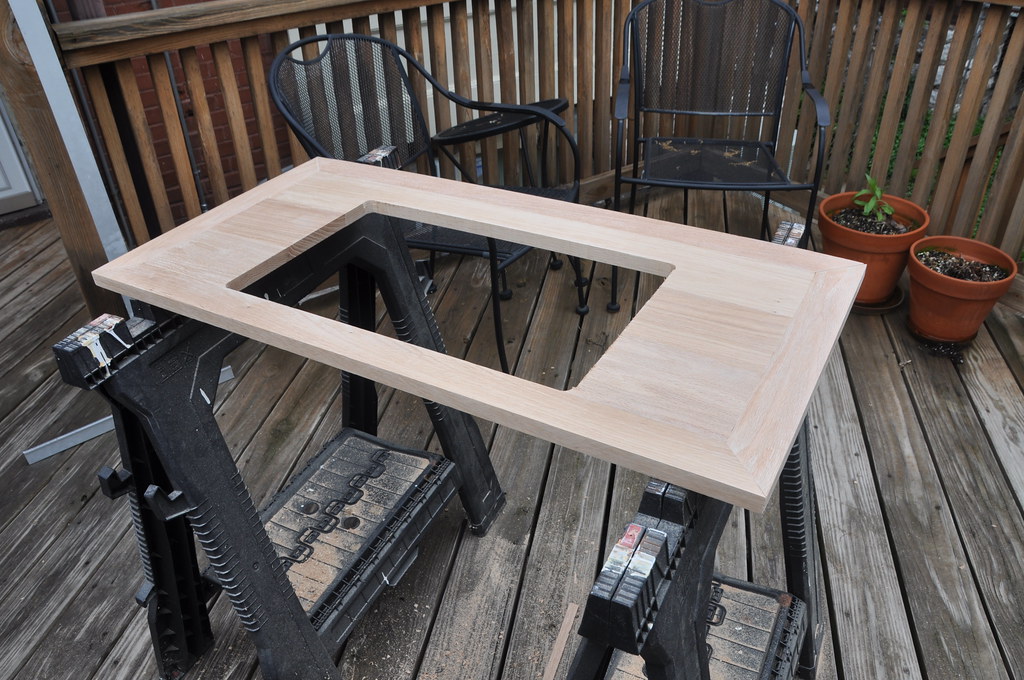
building the top took awhile because we had to biscuit join each board, cut to length, and then add the mitered frame to finish it off. and then cut the sink hole... i should mention that in the middle of this process, our (very old) table saw tried to kill us, so we also ended up buying a new table saw.

DSC_0226

then we started working on the legs... murphy was obviously helping.

DSC_0241

and the rest of the base...

DSC_0244

and finally added the top and the bottom shelf.

DSC_0247

murph kept helping.

DSC_0230

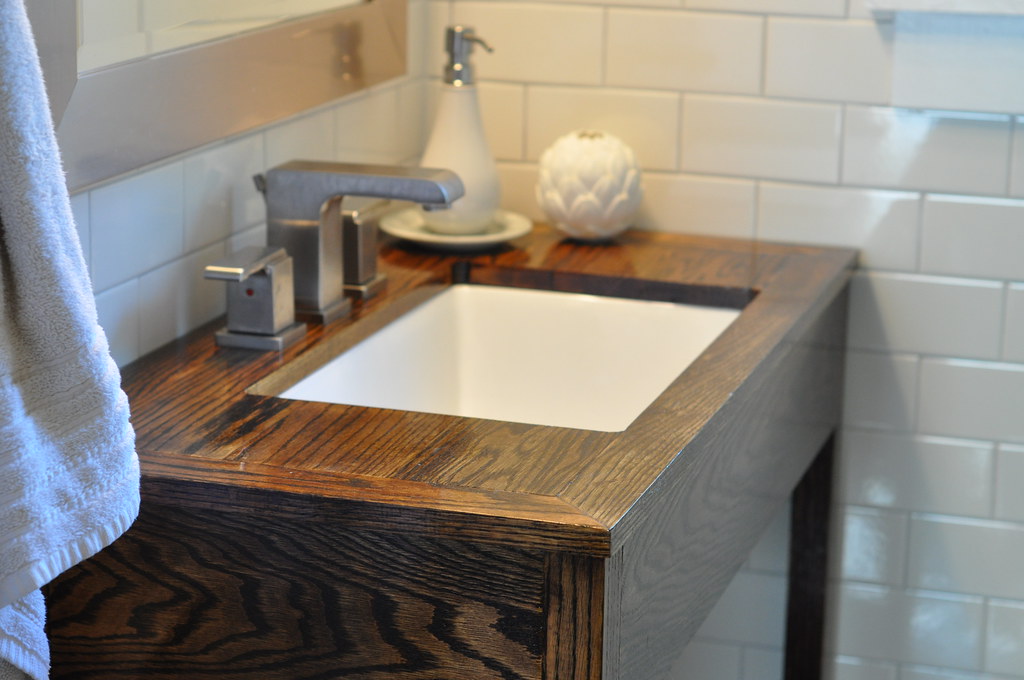
once the sink base was assembled, we drilled the holes for the faucet, and then stained the entire base.  we used a walnut stain to match the door.  after the stain dried, we coated the entire thing with many coats of waterlox.  this was a long process because you have to wait 24 hours between coats, and then almost a week before attaching the sink.  and it still needs 30 days to cure!  we are hopeful that the waterlox will create a waterproof finish though.

DSC_0261

finally installed in the bathroom!

DSC_0264

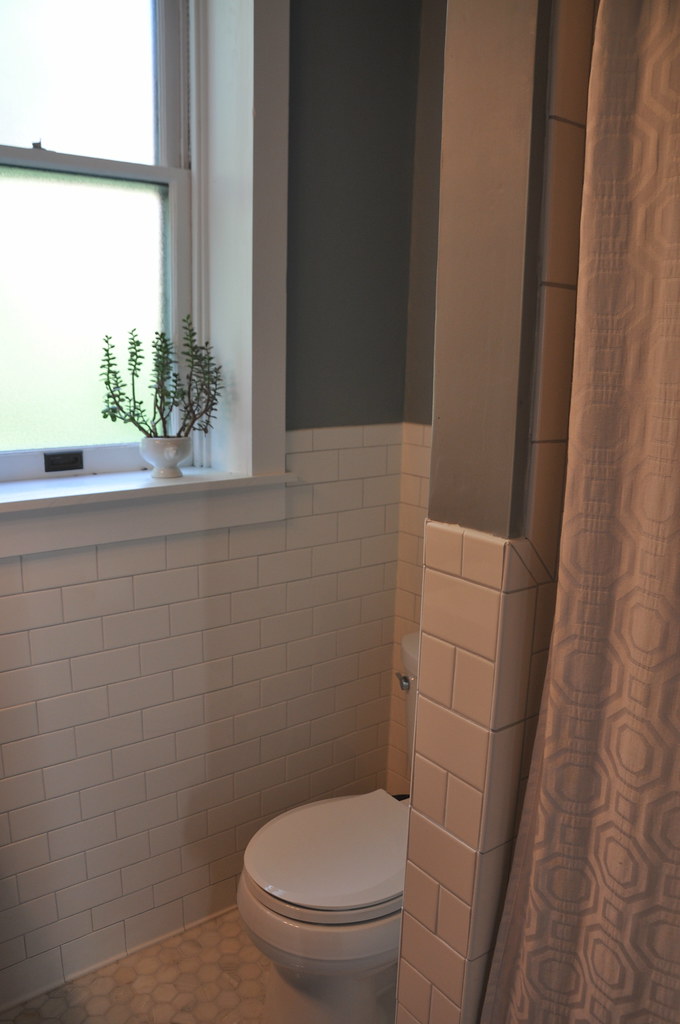
i really like the contrast of the dark wood with all of the other light/white finishes.  we still need to do the closet, but the rest of the bathroom is done.

DSC_0265

i'm very happy that we decided to tile the entire bathroom, i love how it turned out.

DSC_0266

6 Comments

bathroom update

i promise that it really hasn't taken us this entire time to work on the bathroom, i've just been horrible at posting updates.  we finished the tile and installed the toilet in march/april so we've had a mostly functioning bathroom for a few months now. the sink took more time (more on that later), but is installed. there are still a few little things that need to be completed, and we decided to wait on the closet project until after the baby.

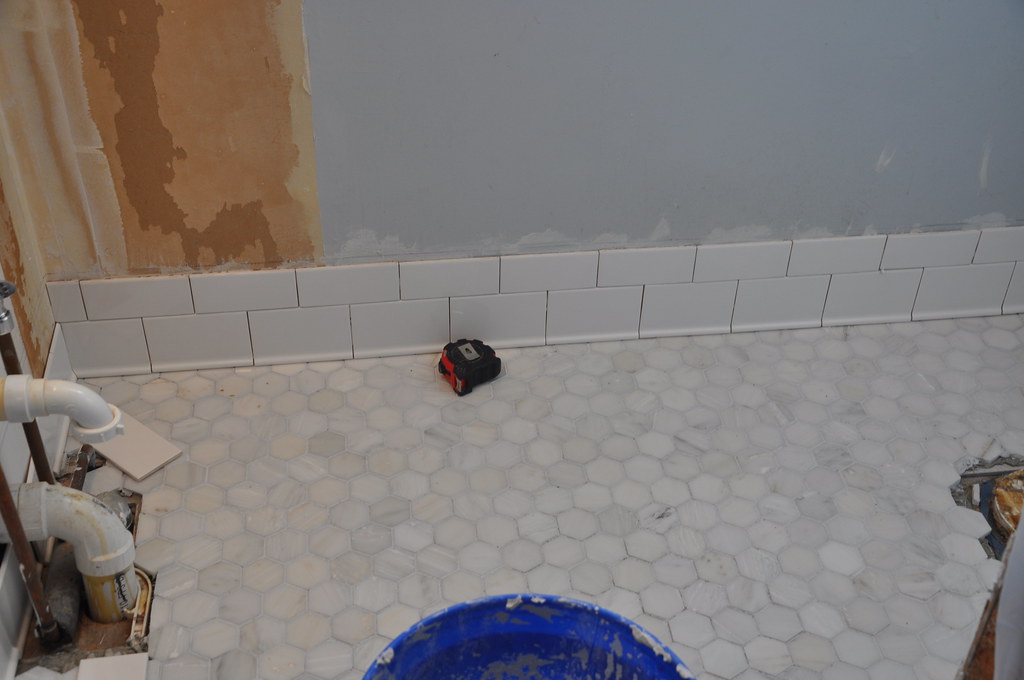
on to the photos - after installing the floor tile, we began working on the wall tile.  our old bathroom did not have any tile on the walls, but we loved the look of white subway tile, and felt that it was worth the extra effort to install it all the way around the room.  since the floor wasn't exactly level, figuring out our level line was a little difficult.

DSC_0217

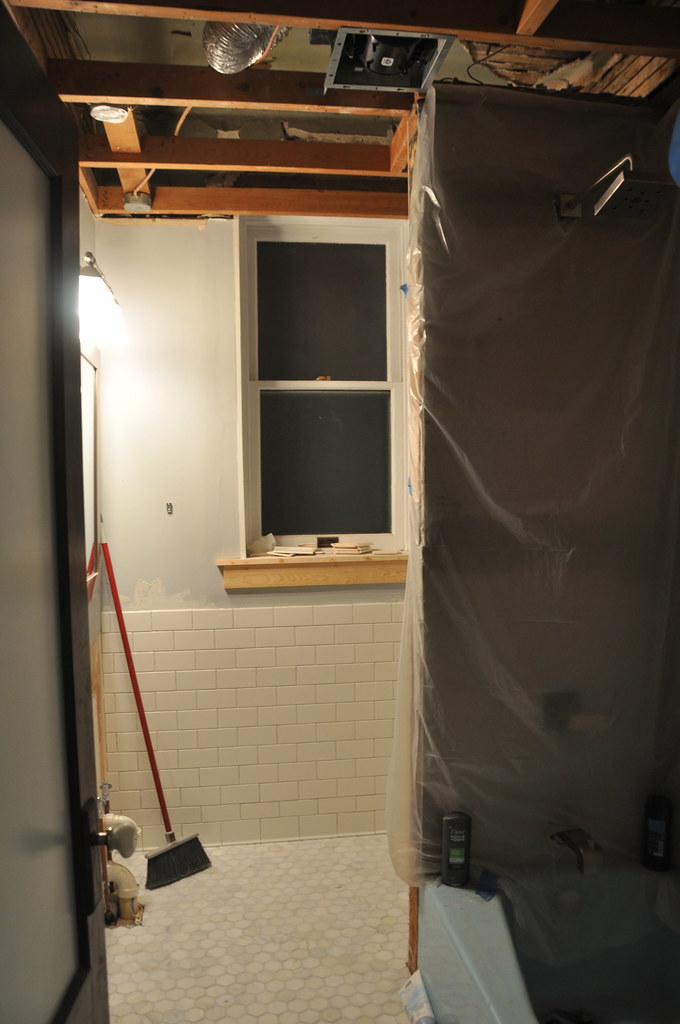
meanwhile, we also began working on the ceiling.  this bathroom had a lower ceiling and we were not sure why.  in theory it was because the fan was vented to the exterior and they needed to drop the ceiling to run ducts for the vent.  but, we could not see any vents on the exterior wall and i wasn't convinced that they had installed the fan correctly.  the ceiling was also below the window height, which really bugged me.  we talked about trying to raise the ceiling to at least clear the window, but after some investigation we discovered that half of the walls ended at the lower ceiling height and in the end, decided it wasn't worth the effort to gain a few more inches of space.  and it turned out that the fan was vented, just through the roof.  when we removed the tile above the shower (the ceiling of the shower was previously tiled), the gyp board came down with the tile.  since the rest of the bathroom had a textured drywall ceiling that we thought would be impossible to match with our new gyp, we decided that the best thing to do would be to re-drywall the entire ceiling.

DSC_0219

nice idea, but turns out that pregnant people can't really hold drywall above their heads for long periods of time...  poor mike ended up doing some crazy acrobatics trying to hold the drywall with his head while balancing on a ladder and screwing it in place.  luckily it all worked out.  we also kept working on the wall tile, and started installing new trim around the doors and window.  and yes, we were showering in that shower with the plastic walls.

fast forward a few weeks and the bathroom really started to come together. i apparently forgot to take photos, but this was the week that my parents were in town, so the extra people really helped with our progress.

DSC_0222

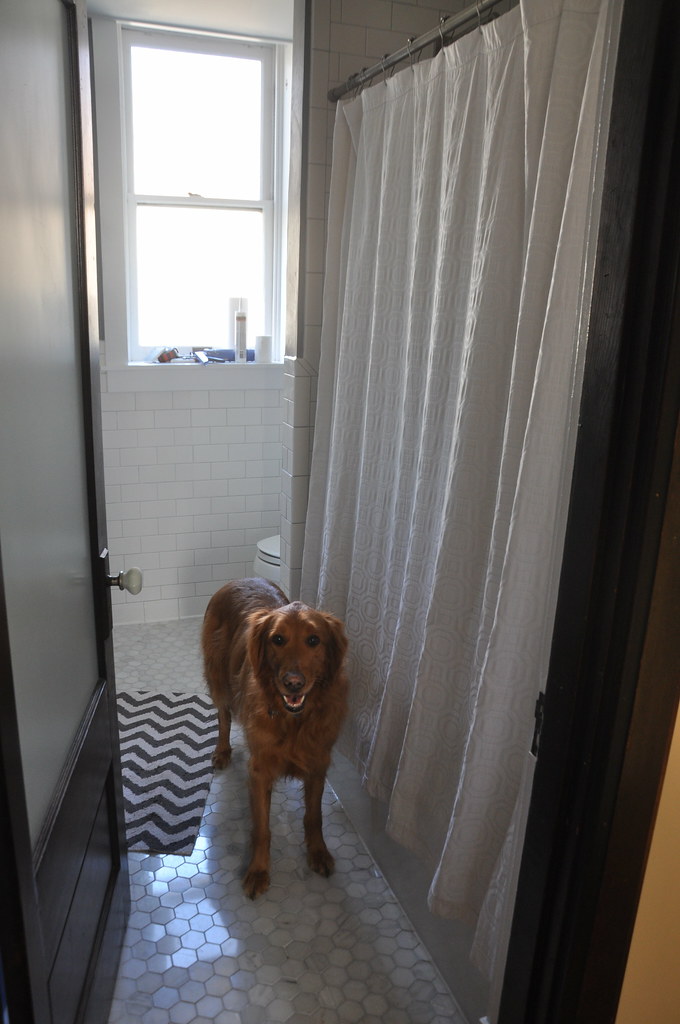
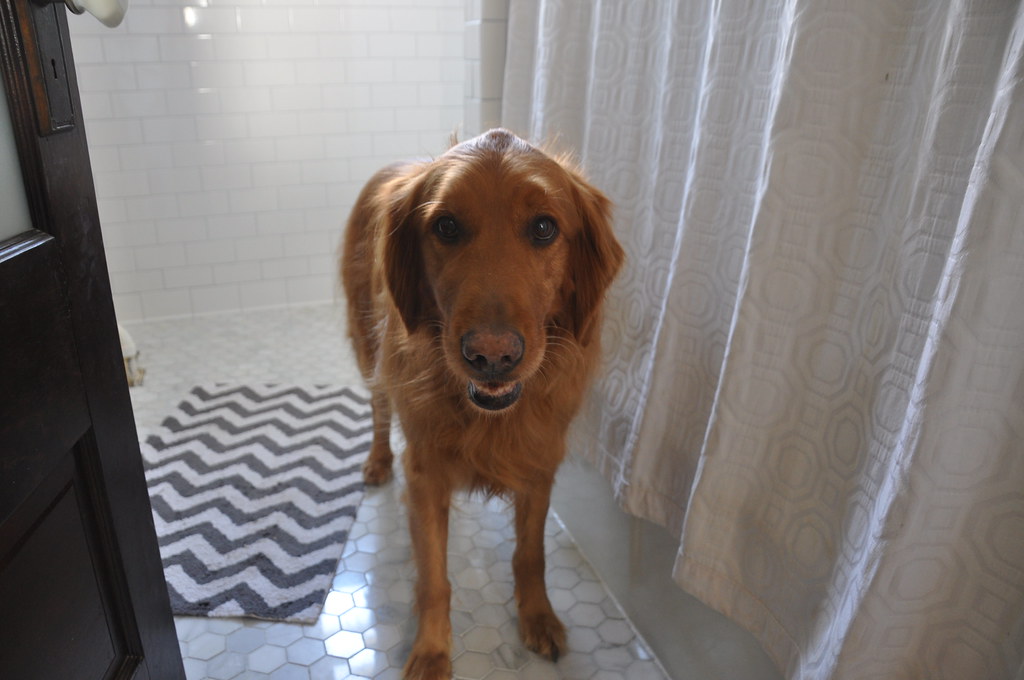
what?  distracted by the super cute dog?  the bathroom has always been cooper's favorite space (something about dogs being cave animals), and now he loves it even more because the tile is nice and cool.  i'm pretty sure he hangs on in there all day while we are at work.  we also installed some extra trim around the window and now the fact that the window ends above the ceiling is not nearly as noticeable.  we also had the tub reglazed to be white, and have been really happy with that decision so far.

DSC_0223

can't help it...  the sink had yet to be installed in these photos, but you can see the plumbing to the left of cooper.  i'll do another post about the sink soon.

DSC_0255

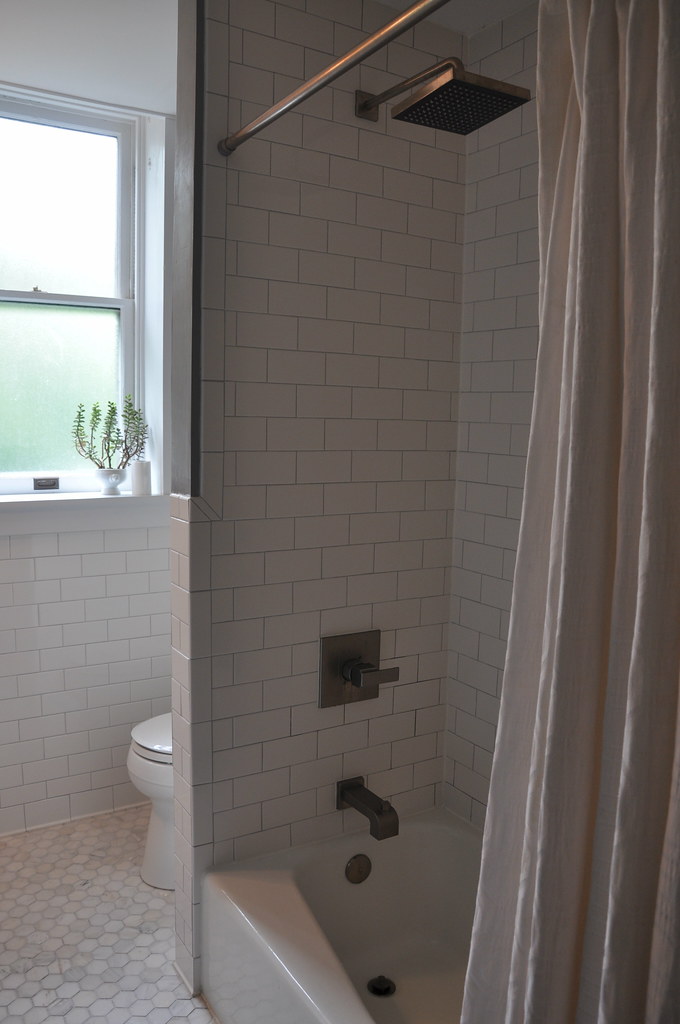
we used a gray grout on all of the tile and installed new stainless shower fixtures.  love the rain shower head.  the walls are painted a medium gray.  the space is really difficult to take photos of, but i will try to take a few more now that the sink is installed.

3 Comments

search

Swedish Greys - a WordPress theme from Nordic Themepark. Converted by LiteThemes.com.