

now that you've seen our materials list, this post will be about how we actually made the fixture.
step 1: we took down the old fixture. as i've mentioned before, we still have some knob and tube wiring in our house, mostly with overhead lights. some of our lights were also (electric) lights hanging from old gas lines (assuming we used to have gas lights). we found a handy ceiling fixture kit from home depot that happened to have a connector piece that screwed into the gas line pipe. much easier than what we used for our living room fixture. and before you all start to freak out that we're hanging lights from gas lines - this was how the old fixture was installed and was much heavier than our new fixture.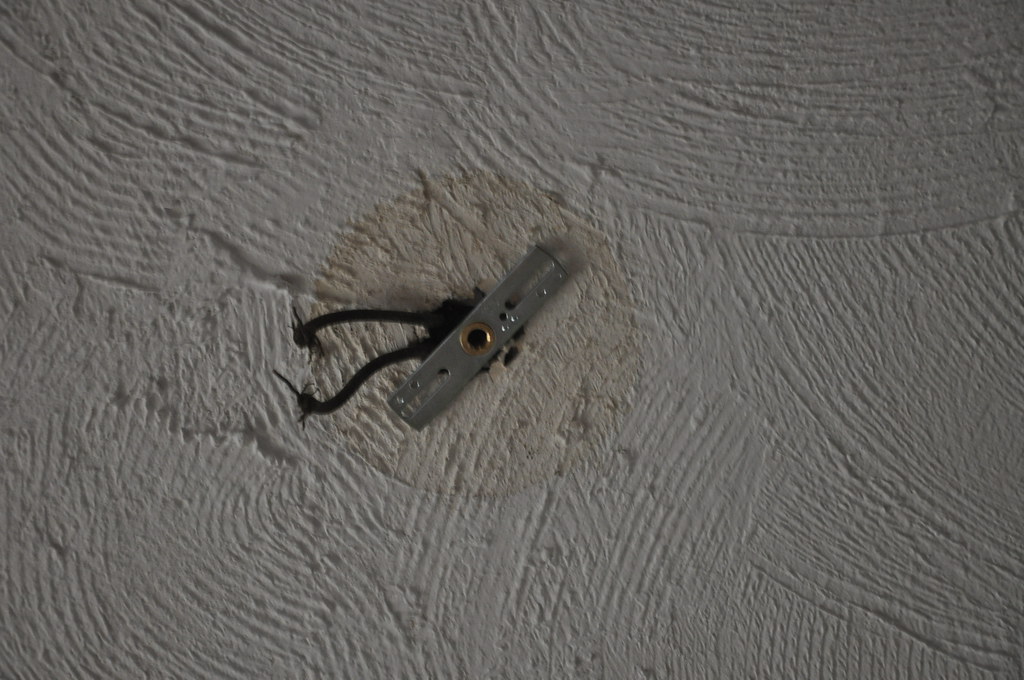
we also touched up the ceiling paint since our new canopy is slightly smaller than the old canopy.
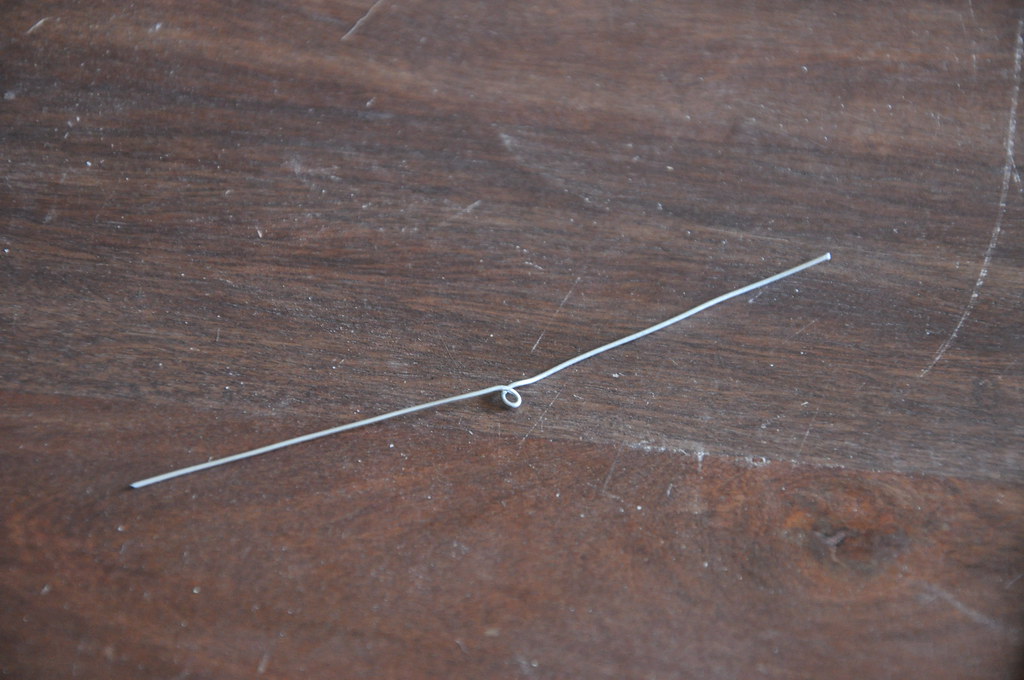
step 2: we attached the yarn/string to the glass globes. to do this i cut pieces of wire in about 6" lengths and wrapped the center around a stick to make a loop. i then tightened the loop to be slightly smaller than the small hole that was in the glass globe, and trimmed the length of the wire to be slightly less than the diameter of the globe.
next, i cut the cotton string in 6' lengths. we had measured the ceiling height and after deciding we wanted the fixture to hang approx. 30" from the table, i knew that the strings needed to be about 4.5' - i just added in some extra to make sure i had enough string to knot.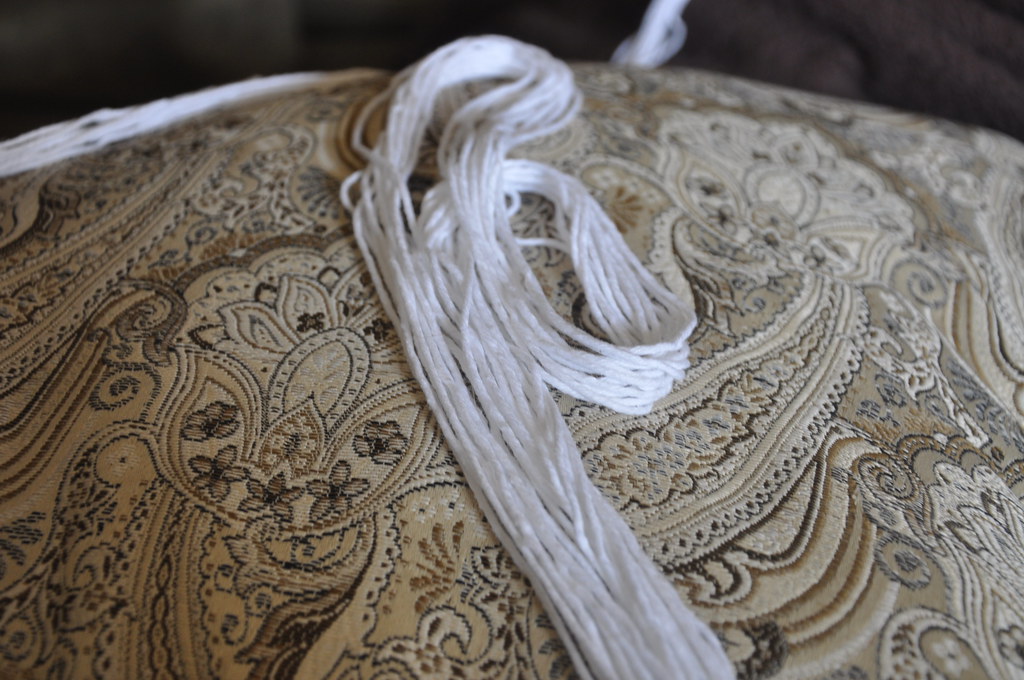
then, using mike's boy scout knot-tying skills, we knotted the string through the loop in the wire. after the string was attached to the wire, we simply inserted the wire into the hole in the glass globe, pulled on the string so that the wire/string was centered in the globe, and then gently pulled again to bend the wire slightly so that it conformed to the curve of the globe. 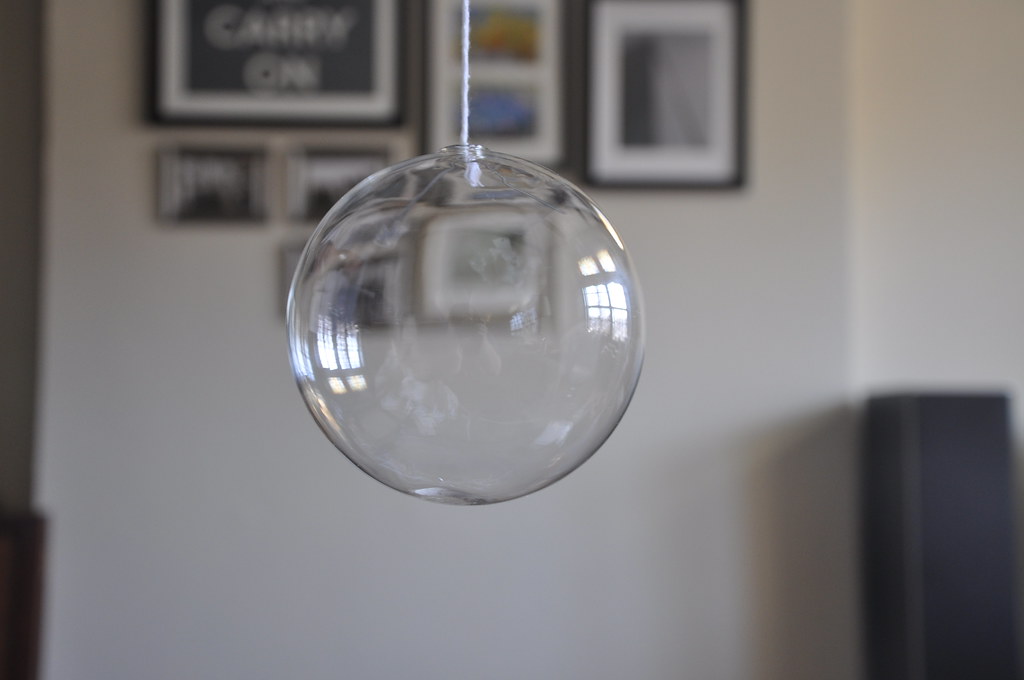
simple solution, plus the wire reminded me of the inside of a light bulb. we did that 21 times.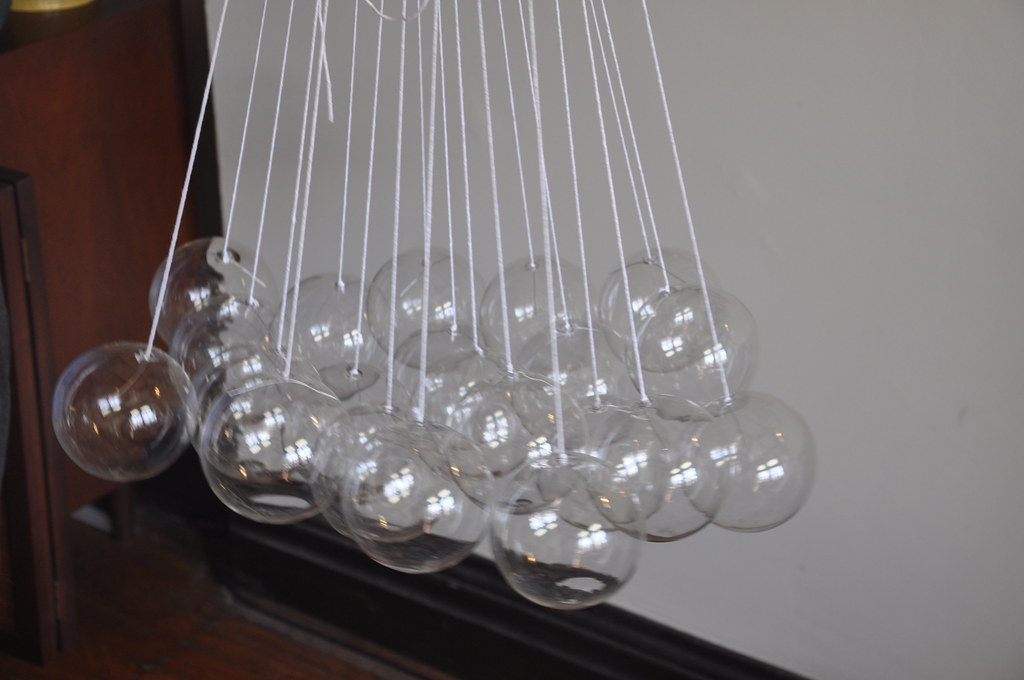
step 3: we needed to straighten the cords for the lights. 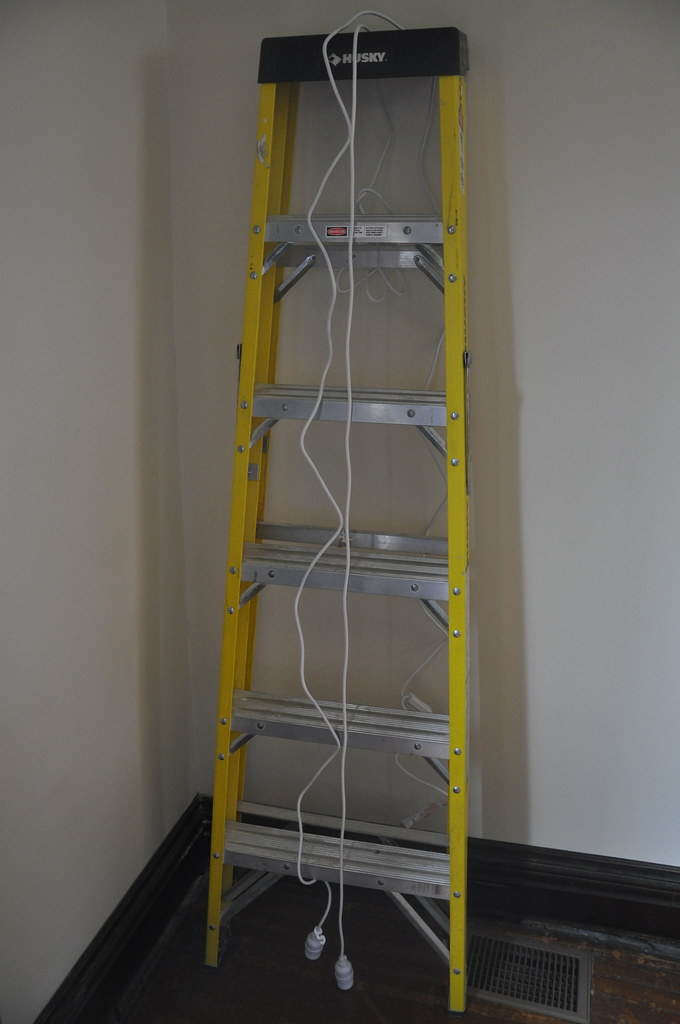
the one on the right has been straightened, the one of the left has not. so how did we straighten them? by putting the cords in super hot water and then stretching. maybe this is the part where i should start adding "do not attempt this at home" - the cords were not plugged in and we made sure not to put the socket in the water. just the actual cord for a few seconds to soften the plastic enough that we could straighten it.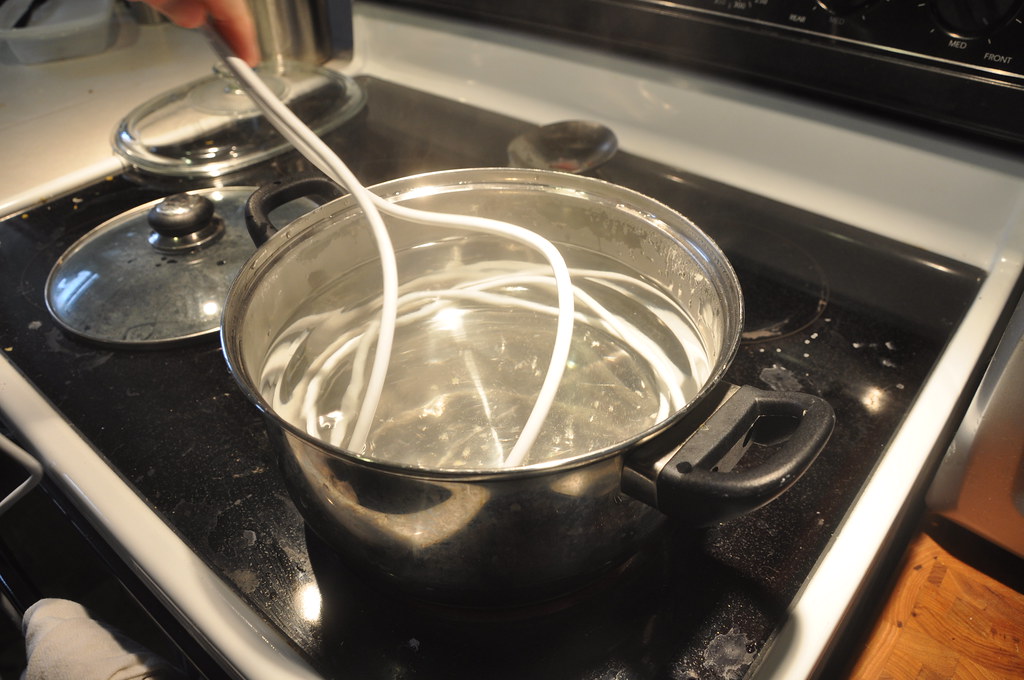
mike really likes it when i put his picture on the blog :-) kidding...
all 3 cords, straight: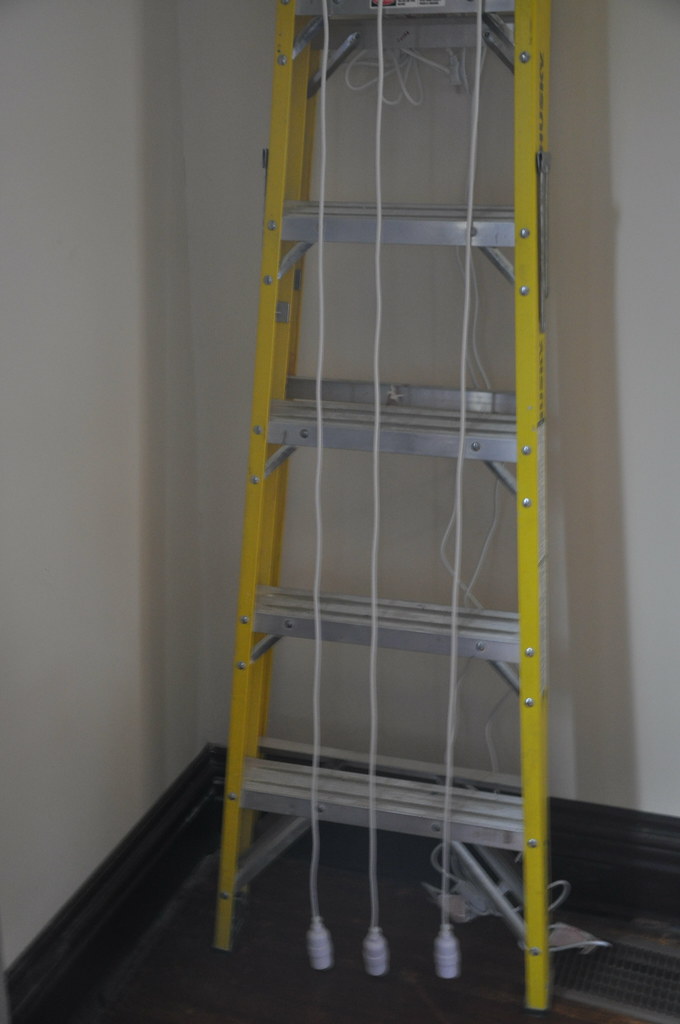
step 4: next we had to add 2 holes to our lid (canopy) so that we could attach it to the ceiling, and enlarge the center hole for the cords and string. for the smaller holes we just used the drill, but for the larger center hole we had to use the grinder attachment on the dremel. we made the center hole the same diameter as the steel extender that we bought from lowes. sorry i don't have a picture of that, but it's basically a 1.5" steel tube that we used to have a more finished look at the ceiling.
step 5: start to put it all together. we decided to hang everything from the ladder so that we could assemble it all without having to hold it up the entire time. we measured out our desired end length of the fixture, which ended up being 10" above the floor when hanging from the ladder. 
we used a couple of scrap pieces of wood and some clamps so that we could just slide everything out once it was assembled. you can see the steel extender in the picture below, we used some tape on the back side to hold it in place when working. once installed, the tension from the cords kept it from moving. we started with the light cords: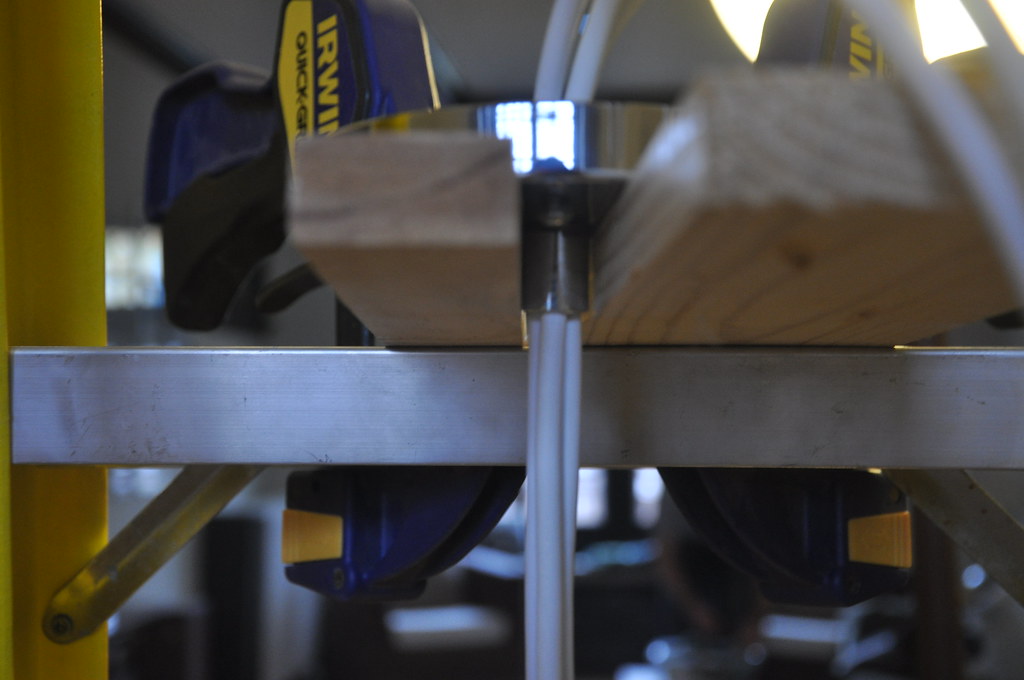
and then used a large needle to string the glass globes through. we tied each string onto the ladder to keep everything in place.
after the 3 cords and all of the string, everything was fitting super tight and tension was keeping everything in place. this made it easy to make height adjustments. at this point we quickly realized that the globes and lights were going to shift around so we just tried to keep everything at approx. the same height. not the time for perfection.
can you tell that we were worried that something would fall and break?? we also kept the light bulbs in at this point to make sure that they would be the correct height.
step 6: the wiring. now we had our 3 cords ready for wiring. we removed the outer plastic on the cords and got everything ready. all of the connections were actually made with the wires up at the ceiling. 
while not super heavy, it was easiest for us to support all of the glass globes independently from the rest of the fixture. we installed a hook up in the ceiling, knotted all of the strings together, and used the hook to hang the globes. this allowed us to make all of our wire connections and connect the canopy without having to hold up the entire fixture.
step 7: install a dimmer switch. this was just as easy as installing a normal light switch. we wanted this fixture on a dimmer because our house is so open, it's nice to have a bright fixture for everyday use, but we wanted to have the option of dimming it for dinners, etc. 
step 8: celebrate being done!! yay!
blogs i follow
-
1 day ago
-
2 days ago
-
5 days ago
-
1 week ago
-
2 weeks ago
-
8 months ago
-
8 months ago
-
1 year ago
-
2 years ago
-
2 years ago
-
3 years ago
-
3 years ago
-
4 years ago
-
4 years ago
-
5 years ago
-
6 years ago
-
6 years ago
-
6 years ago
-
6 years ago
-
7 years ago
-
7 years ago
-
7 years ago
-
7 years ago
-
8 years ago
-
8 years ago
-
9 years ago
-
9 years ago
-
9 years ago
-
9 years ago
-
9 years ago
-
10 years ago
-
10 years ago
-
10 years ago
-
10 years ago
-
10 years ago
-
11 years ago
-
11 years ago
-
11 years ago
-
11 years ago
-
11 years ago
-
11 years ago
-
11 years ago
-
12 years ago
-
13 years ago
-
-
-
-
8 Responses to dining room light: part 2
This was seriously creative. Thanks for the how-to!
GREAT 'How To'!! And I love the final result. Love love love! Awesomely done!
Eeek! This is fabulous! I love it---I am really interested in this light for our dining room!
This is so cool!
Just want to tell you how smart and creative you are. Love it :)
That is CRAZY gorgeous!!!
thanks all!
AMAZING! very inspirational. I so want to do this.
xo Nancy
Post a Comment