

since we bought a discontinued door style from ikea, we weren't able to buy their matching filler panels, end panels, or kick plates. i also knew that we'd have some unique conditions because our kitchen is so tight. so we decided to make all of our own trim pieces. this will also help us get a custom look to our ikea kitchen. since we also painted our door/drawer fronts, we will just paint the trim to match.
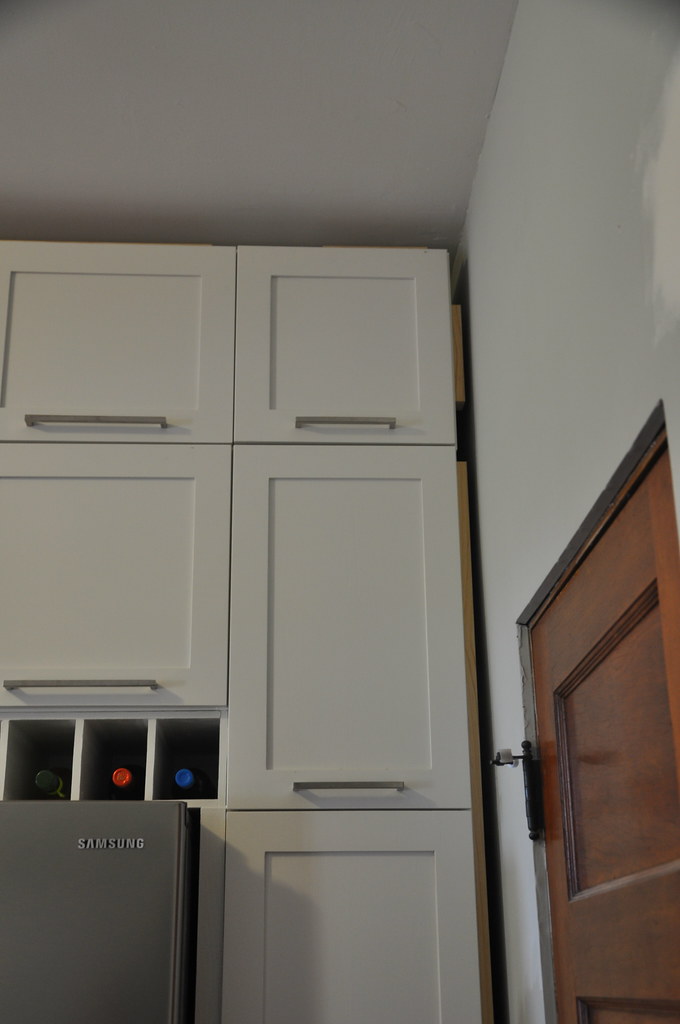
before we installed the cabinet boxes, we nailed a few pieces of scrap wood (offset 1/2" from the front edge) to the top and sides of the boxes where we knew we'd be installing trim. this allowed us to have something to nail the trim to from the front. most of the trim is just 1/2" oak plywood, riped down to whatever width and length we needed.
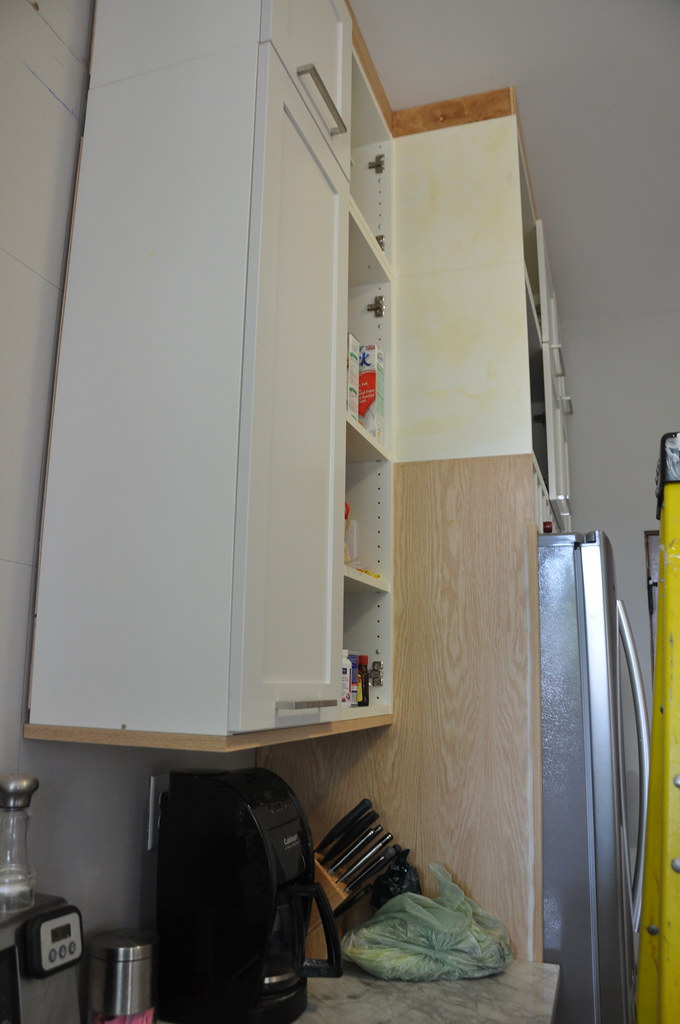
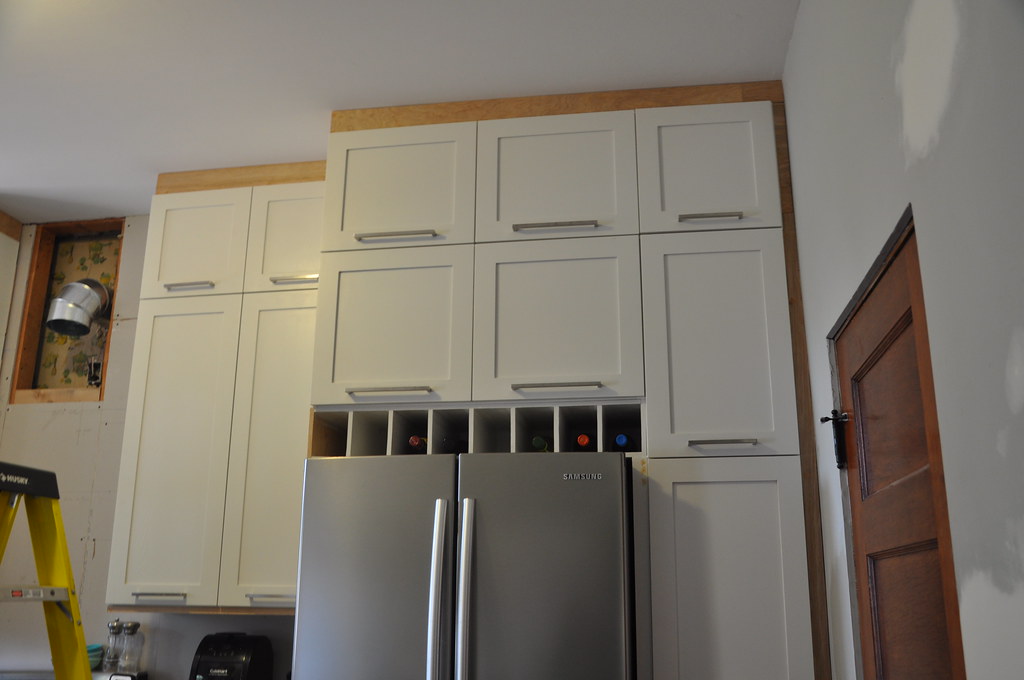
as for the end panels, we didn't have the width across the kitchen to install the typical 1/2" thick end panels. if any of you have installed an ikea kitchen, you know that the sides of the ikea cabinets are white laminate - not meant to be exposed. plus the white laminate didn't match the white of the doors. we needed something on the sides of the cabinets by the range hood, and the fridge. we decided to try a sheet of oak veneer.
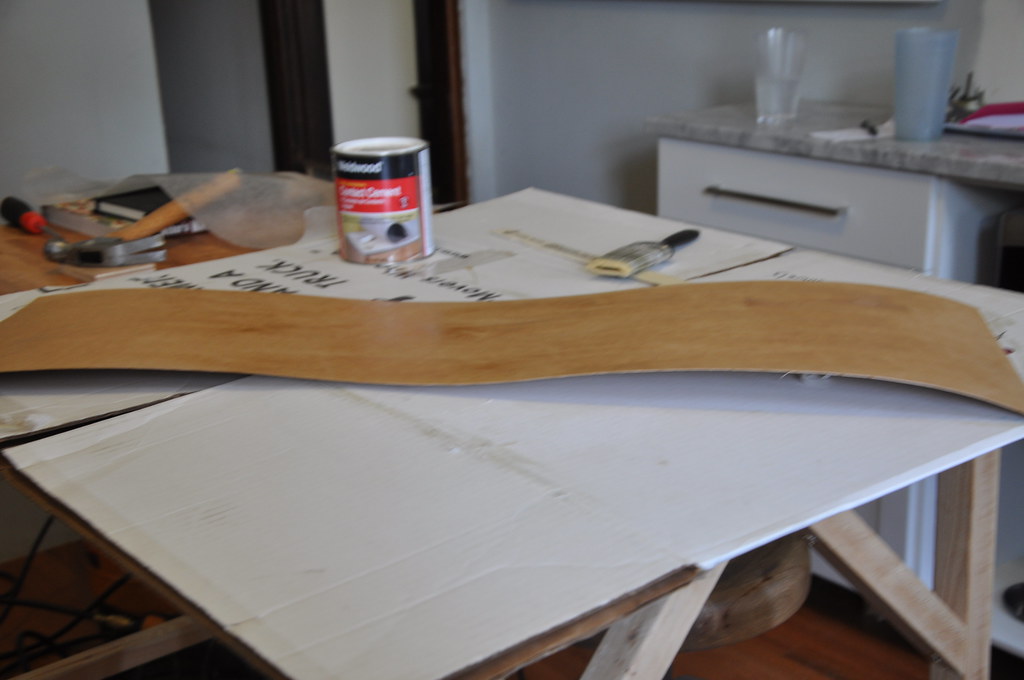
we cut the veneer to size, and then applied the contact cement according to the directions on the can. i had used contact cement before, but was still not prepared for how quickly this stuff adheres. they are not kidding when they said it becomes permanently attached on contact! we were nervous applying it to the sides of cabinet boxes since we had to get it lined up and right the first time, but it worked out ok.
this should allow us to paint the sides the same white as the doors. since the doors are painted oak, i'm hoping that some of the oak grain will still show through the painted finish. hopefully it will all look consistent when it's done.
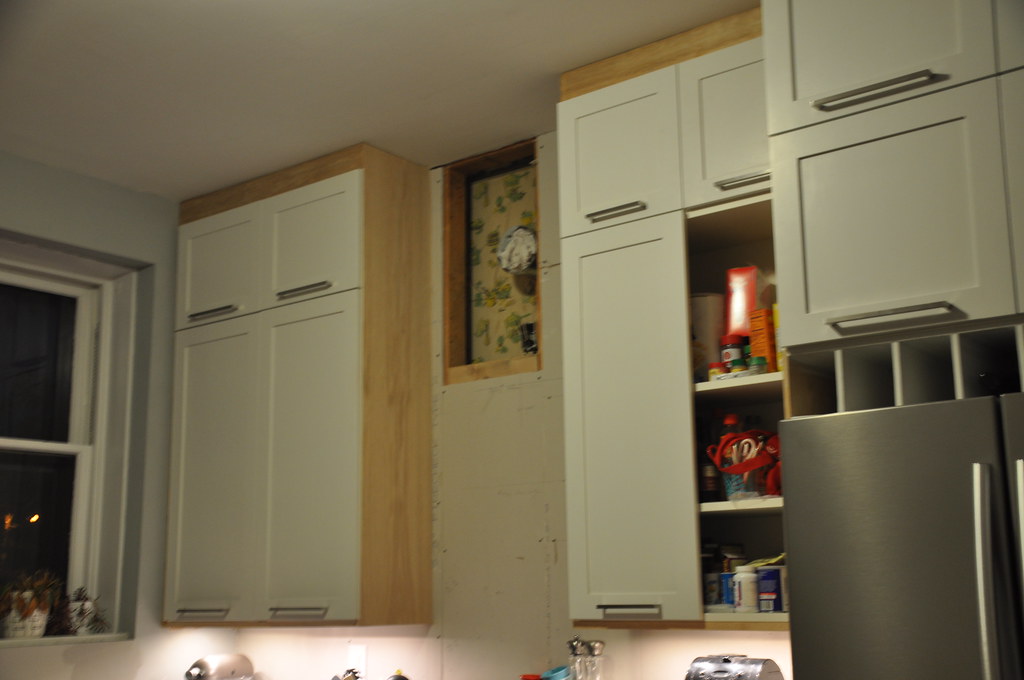
the trim along the bottom edge of the cabinets is to hide the under cabinet lights. we were able to finding lighting that was only 1/2" thick, so after installing the trim, you can't see the fixtures. now we just need to prime, caulk, and paint all of the trim. i'm hoping that once painted, everything will have a built-in appearance and the inconsistencies by the ceiling and walls won't be as noticeable.
yay old houses with uneven walls and ceilings!
next on our to-do list is picking out and installing the door and window trim, and baseboards (kick plates for cabinets and base for the walls). then it's on to painting the walls, tiling the backsplash, installing the range hood. and making our light fixture and building a new island... someday we'll be finished with this kitchen!
blogs i follow
-
7 hours ago
-
3 days ago
-
6 days ago
-
3 weeks ago
-
4 weeks ago
-
8 months ago
-
9 months ago
-
1 year ago
-
2 years ago
-
3 years ago
-
3 years ago
-
3 years ago
-
4 years ago
-
4 years ago
-
5 years ago
-
6 years ago
-
6 years ago
-
6 years ago
-
6 years ago
-
7 years ago
-
7 years ago
-
7 years ago
-
7 years ago
-
8 years ago
-
9 years ago
-
9 years ago
-
9 years ago
-
9 years ago
-
9 years ago
-
9 years ago
-
10 years ago
-
10 years ago
-
10 years ago
-
11 years ago
-
11 years ago
-
11 years ago
-
11 years ago
-
11 years ago
-
11 years ago
-
11 years ago
-
11 years ago
-
12 years ago
-
12 years ago
-
13 years ago
-
-
-
-
2 Responses to some details
Ooh I love it!! I think it will be perfect once painted. Nice job :-)
So exciting! I had no idea IKEA had a cabinetry option where you can paint your own finish. It's so brilliant if ambitious people like yourselves are willing to go the extra mile to make it look built in. I'm so happy to see it all come together. The finish stuff is the fun part! Enjoy!
Post a Comment