

and the floors are finally complete. 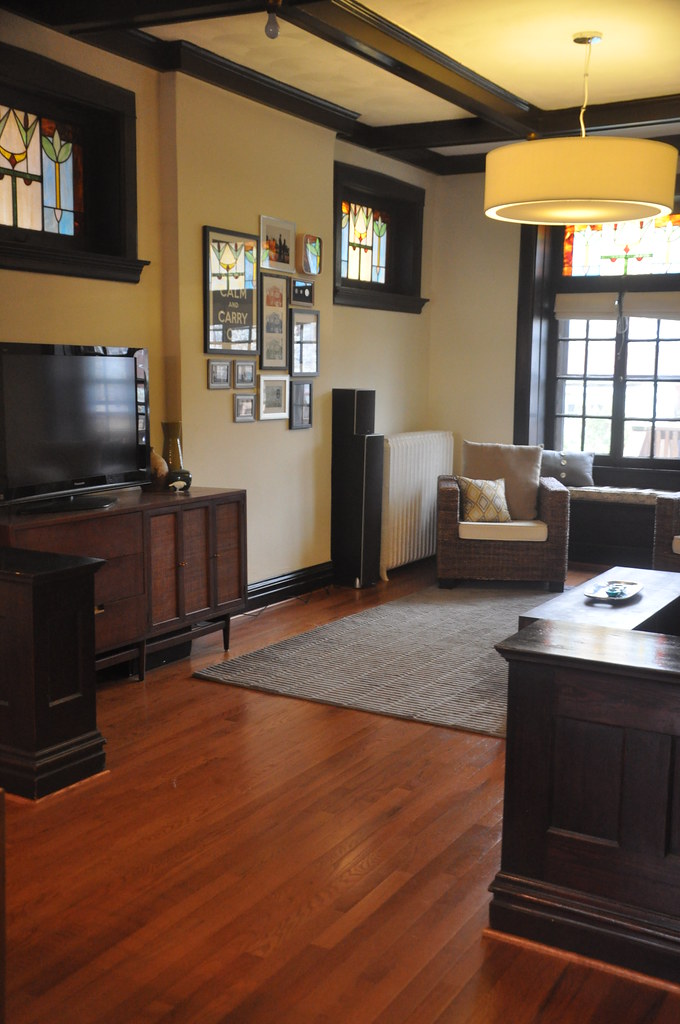
plus we are kind of perfectionists when it comes to our house and we wanted to make sure we were taking our time and not cutting any corners.
we ended up using 4 bags of liquid leveler to help level out the existing floor and about 20 sheets of 1/2" osb as underlayment for the new floor.
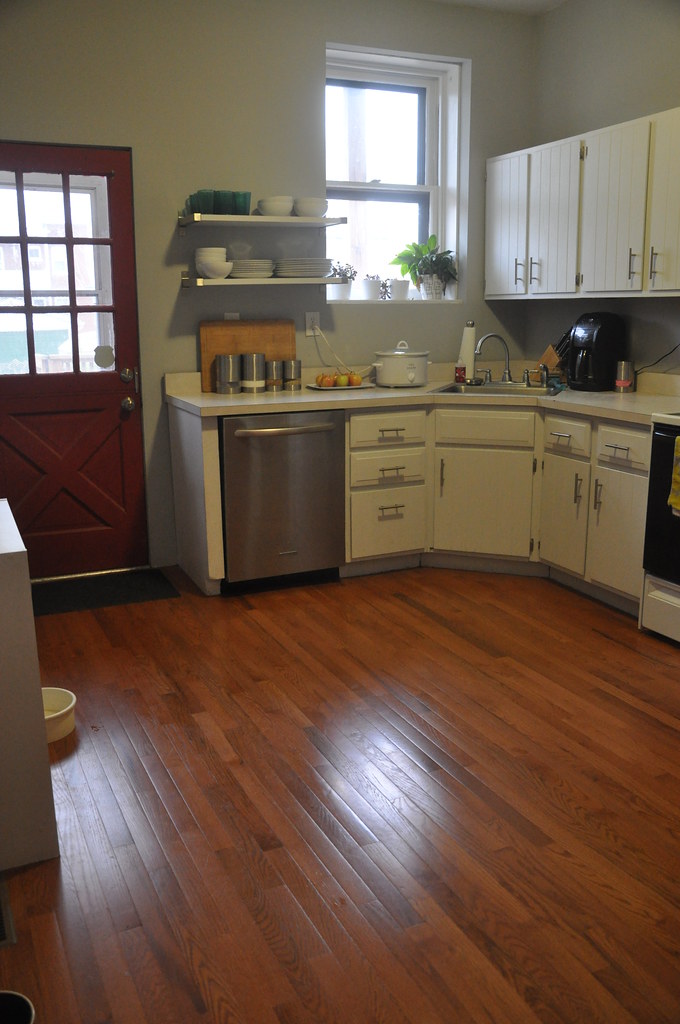
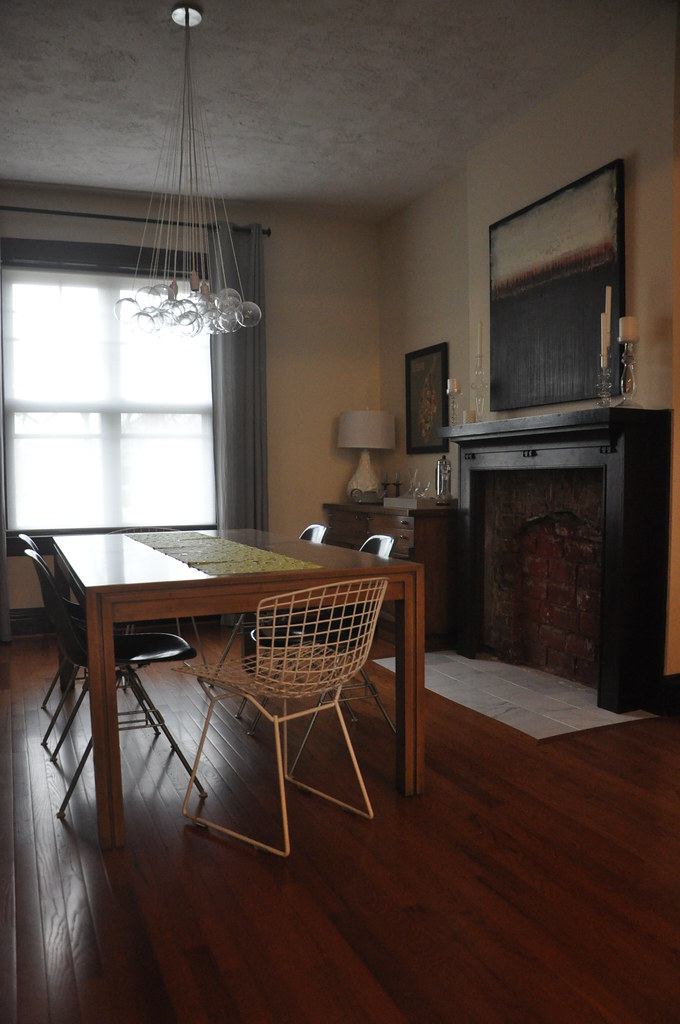
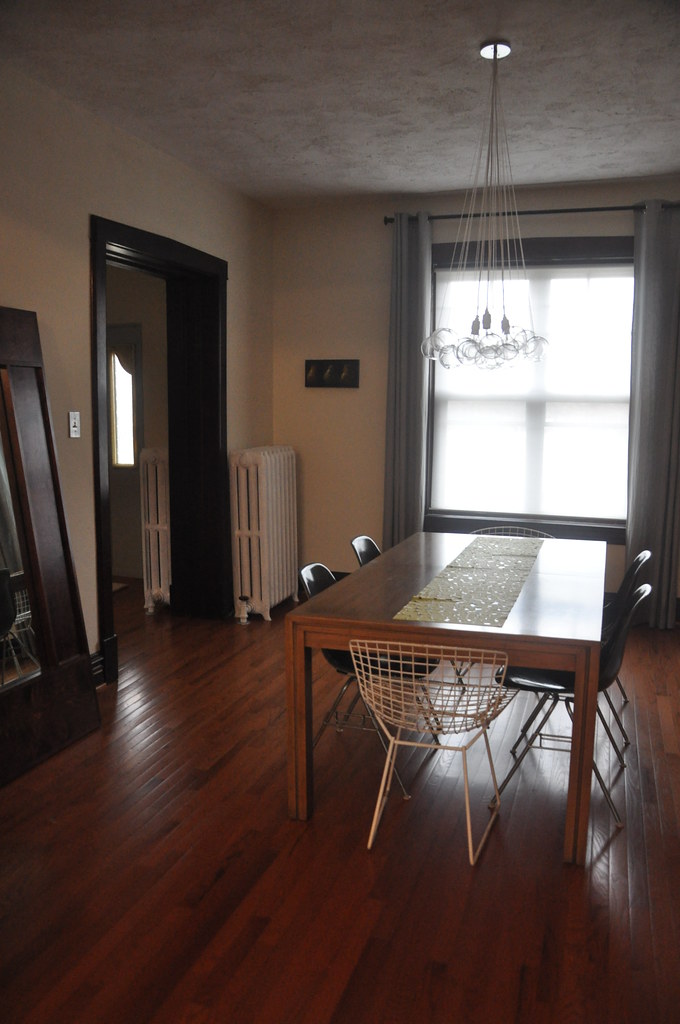
we installed 18 out of the 19 boxes of hardwood floor that we purchased, approx. 720 square feet of solid hardwood flooring.
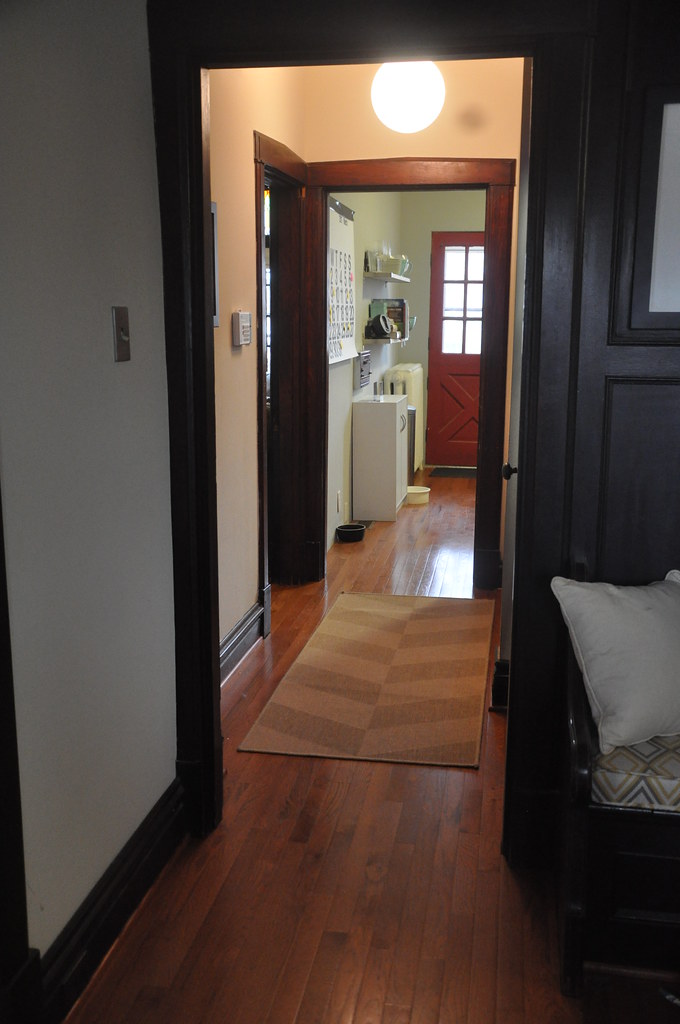
it took a lot of careful planning, but we were able to install the new floors so that they are at the same level throughout the house. standing at the front door and seeing the floor continue all the way to the back door makes me happy.

i am really happy with how the new floors look, i think that the color, width, and type are perfect for our house. i am amazed at how different the house feels now - it seems brighter, cleaner, and just more complete. it's hard to believe that we lived with the old floors for so long, with the stains, splinters, and all of the dirt stuck between the boards. it was so nice to finally really clean the first floor of our house on sunday, and to put away the air compressor and tools after 5 months of using our dining table as a work bench.
i think i'm ready to take a little break from house projects and just live in the house for awhile!
16 Responses to 5 months later
The floors look fabulous!!! And you guys totally deserve a break ... but you're my energizer bunny friend when it comes to home repair. I KNOW you deserve a break ... will you take one? Not so certain ;)
Nothing short of amazing!
You did a great job!
Oh they look so nice! Your house is looking fabulous. Great job! Take a break :)
amazing! you did a great job on these!
Gosh! Your home looks beautiful!
they look fantastic!!! love it - the whole look really came together!
cheers,
meagan
row house nest
They look amazing. I cannot even to imagine how much work that whole project was!! Kudos. You deserve a nice looonnnnngggggg break!!
They look gorgeous! I love the texture. And I've said it before but I'll say it again: I LOVE the dark trim in there. Oh and can I have your dining room chandelier and table? Your house is amazing!
Can you please share with me the color of the paint used in your living room area? I am trying to find this color of golden yellow for my daughter's new home. I'm not having any success. I'd really appreciate any help, THANKS!
clarkcreek - it is antique white by sherwin williams. hope that helps!
Thanks so much for the quick reply! I will go to sherwin williams in the am to look for this color of paint. :-)
Great job!!..Love your livingroom...stained glass is soooo nice!!!
Congrats on finishing your floors!
Just found your blog and holy cow! congrat's!! lots of hard work, we know what it's like :)
Hi, I stumbled upon your blog and saw your other entry about your radiators (whether or not to remove them or work around them). What did you actually decide and are you happy with that decision? Your floors look amazing by the way, excellent job!
weekend- we ended up keeping the radiators in place and notching the new floor around the feet. since the new floors are thinner (5/16"), you really cannot tell unless you are looking for it. i am very happy with this decision. it was time consuming while installing and took some thought/planning, but i think it was the best way to go for us. are you doing a similar project? i can give you more info or detailed pictures if you'd like!
We are putting down new hardwood/engineered wood in our LR/kitchen area and have to work around 3 radiators. After talking with a bunch of other people who suggested what you did and also jacking up the rads (yikes!) and removing them, I came across one person who suggested covering up the rads with covers. Then, you can just cut around the legs, be a little sloppy, and nobody will notice. Plus, you get the added charm of rad covers! :-) I haven't started yet, but I feel good about this decision. Thanks for the feedback!
Post a Comment